

NES Controller Fix (USB)
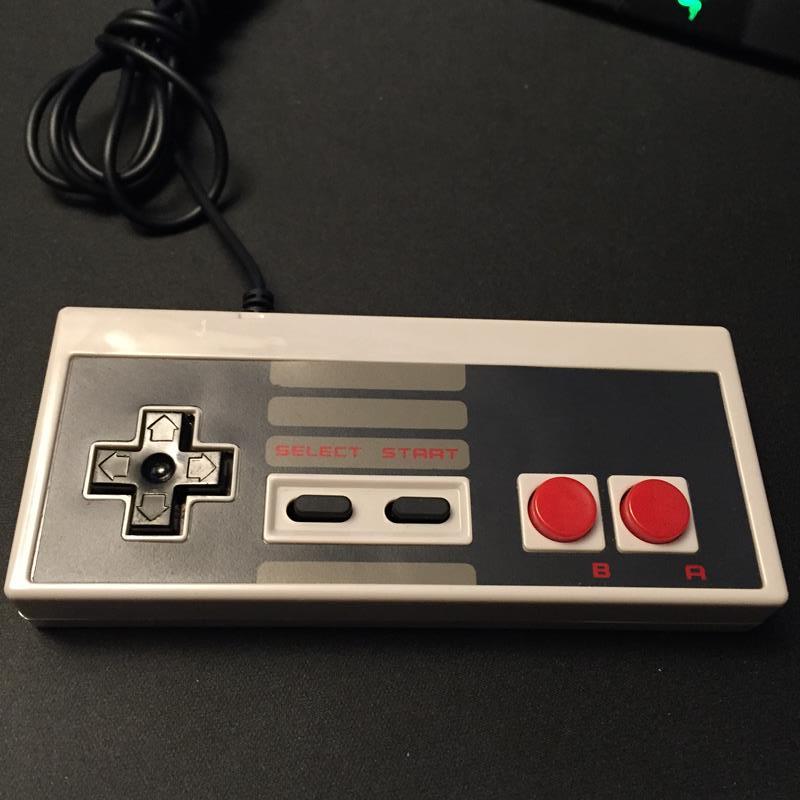
So you’ve probably seen one of these USB retro style NES controllers or something similar at your local game shop or online retailer. It’s a cool concept for anybody who desires that nostalgia factor while indulging in some old school ROMS. Although, the execution isn’t perfect and they lack the overall quality of an original NES controller.
Having a USB-ready gamepad in the likeness of a classic controller is awesome. It’s easy to forgive a few minor differences in the overall feel EXCEPT for one issue in particular, the D-Pad.
(This is the problem)
The issue with the D-Pad is that despite how deliberately you press and hold a direction such as, DOWN to duck, the input almost always rolls over to the diagonals. DOWN constantly fluctuates between DOWN+LEFT or DOWN+RIGHT, leaving your character vulnerable to oncoming attacks.
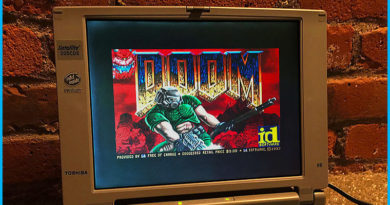
Even after a few minutes of gameplay your trust in yourself and the controller will be questioned, In turn, this makes any game that requires precision too difficult to play. In a game like Contra, as illustrated in the above example, every single movement is life or death.
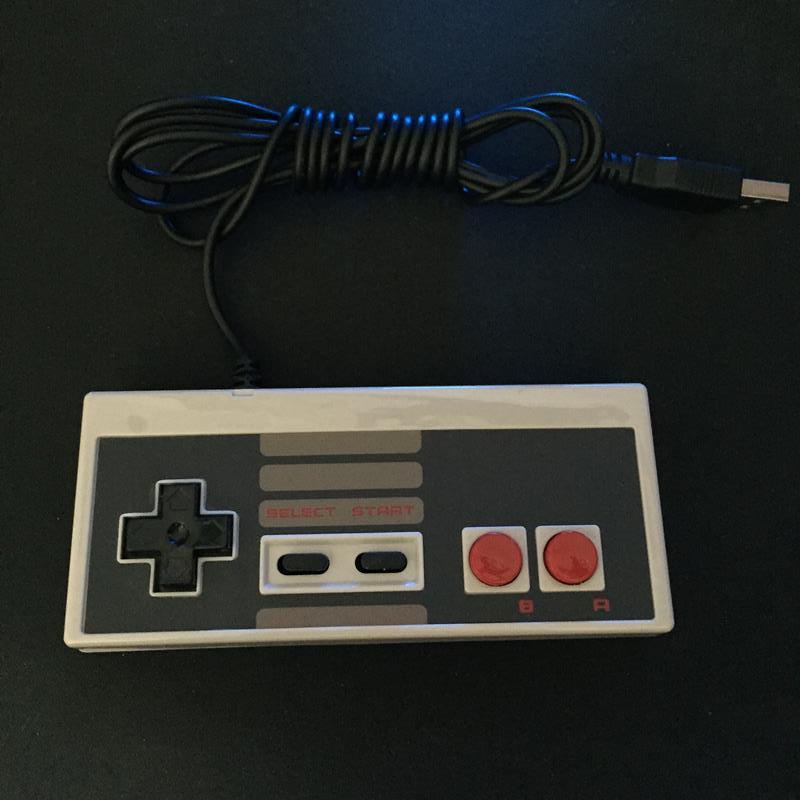
Aesthetically the controller is very similar to an actual 1980’s NES version. Overall, the main outstanding differences are the hard plastic START and SELECT buttons which were originally rubber and the all around lighter weight compared to the original controller.
In essence there’s a cheaper feel to this controller which seems to be a universal complaint among the NES USB clones. So I decided to open up the controller and dig around a bit.

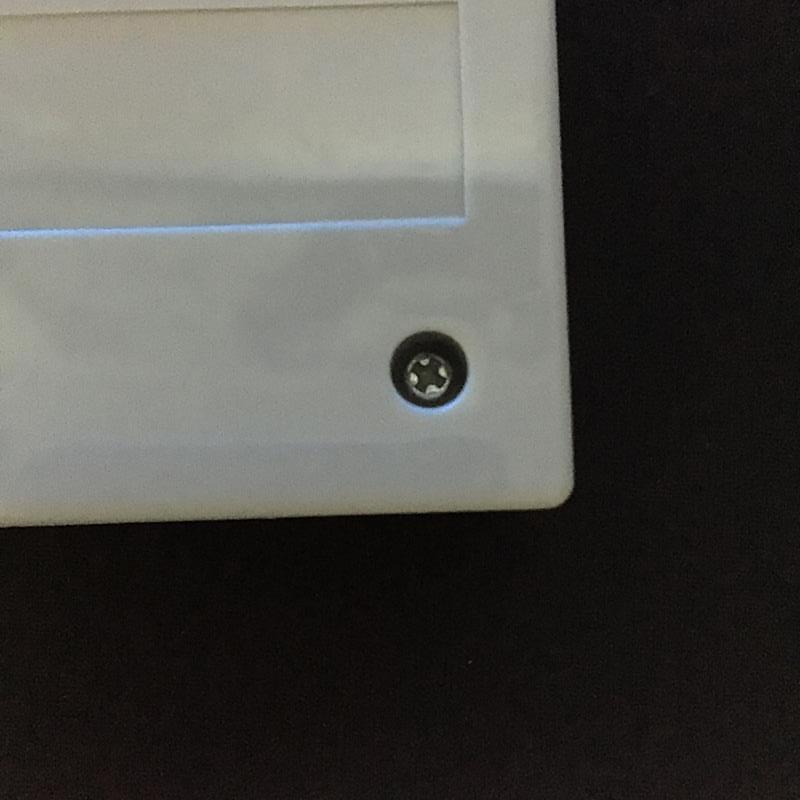
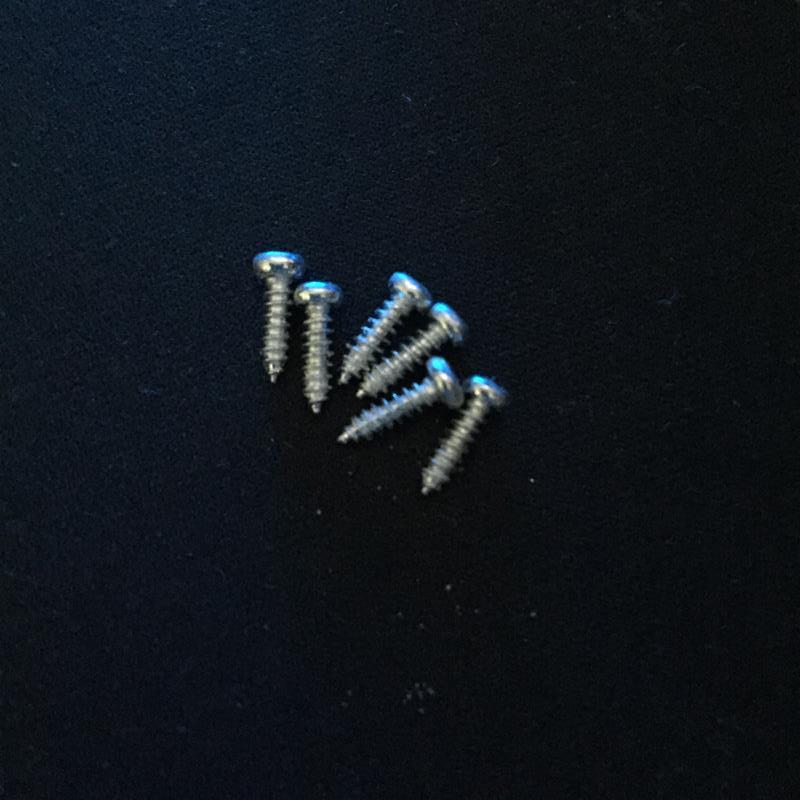
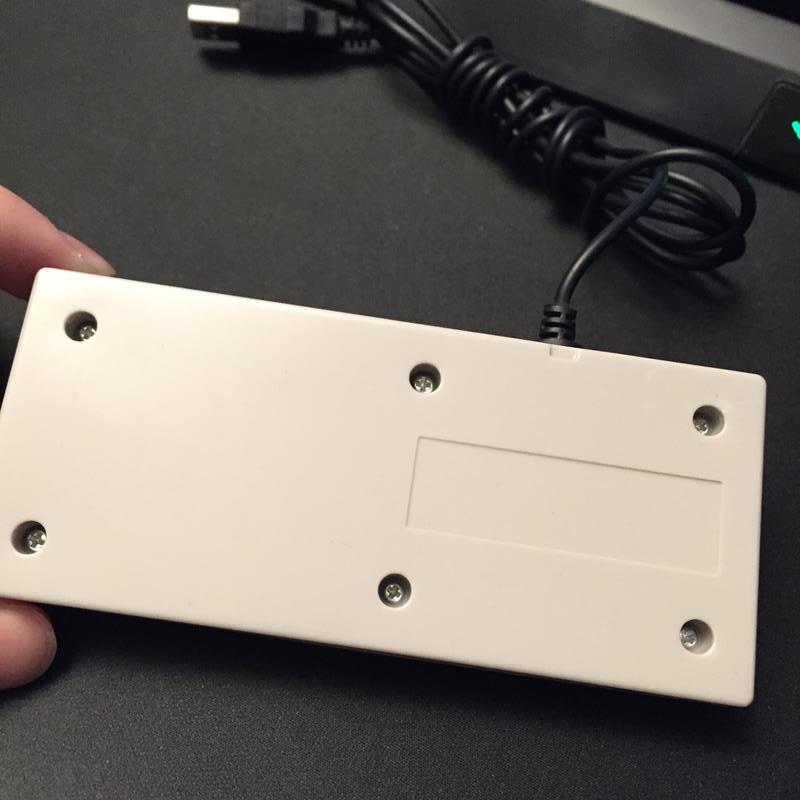
I proceeded to remove the 6 screws in the back with a Phillips head screwdriver.
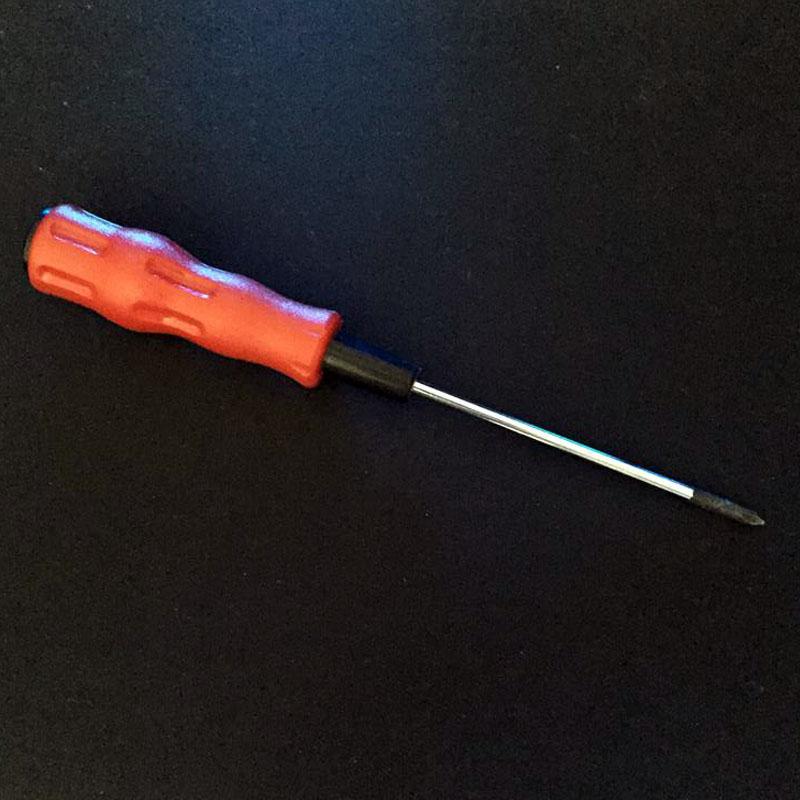
My trusty screwdriver
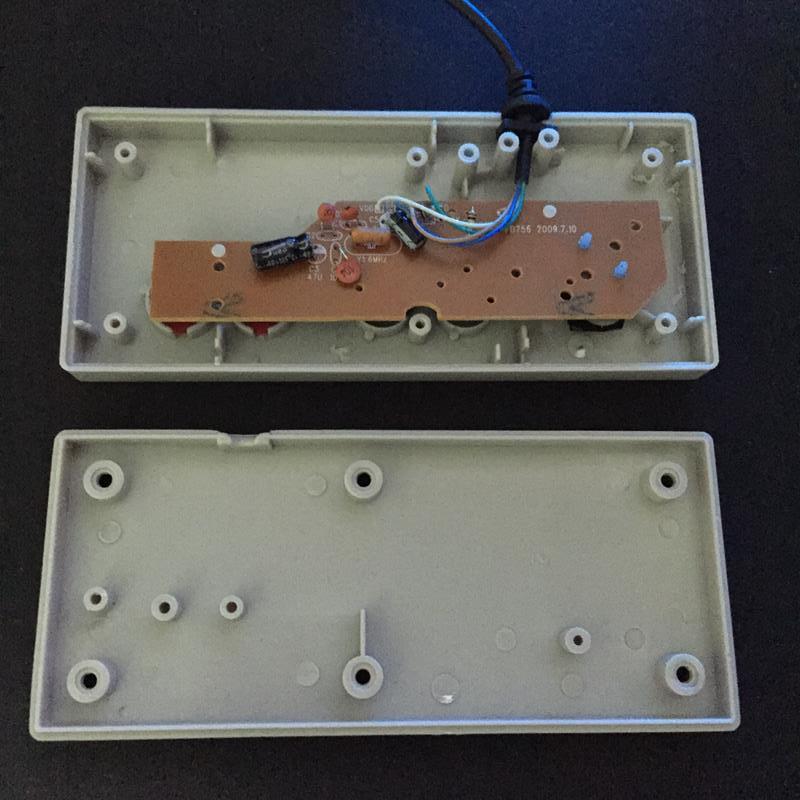
As you can see there’s not a whole lot going on in there.
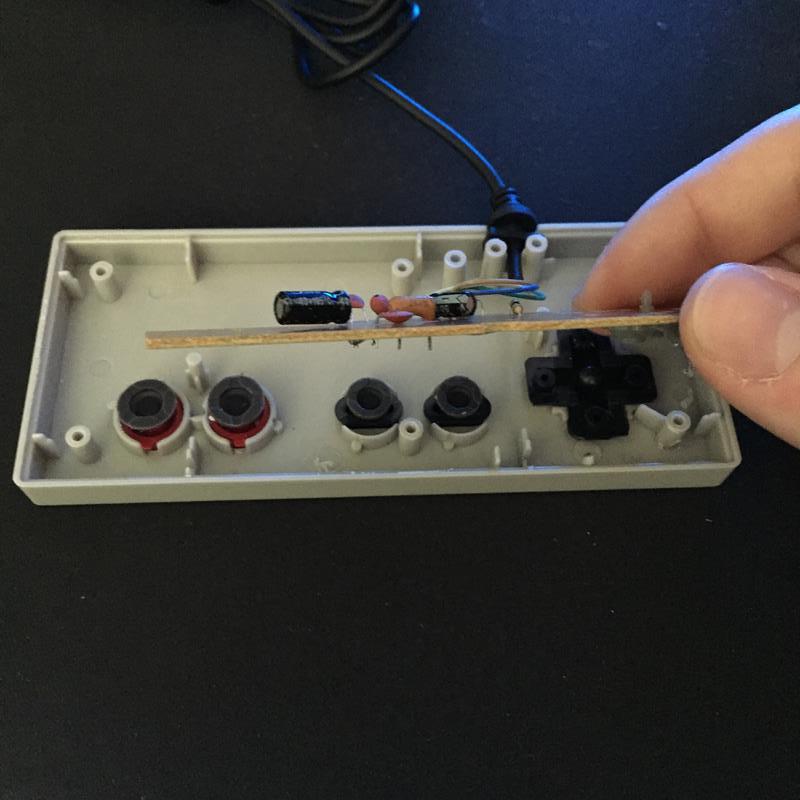
The PCB pulls right up with little resistance. Underneath the board you will find the rubber button pads fixed upon their corresponding plastic buttons.

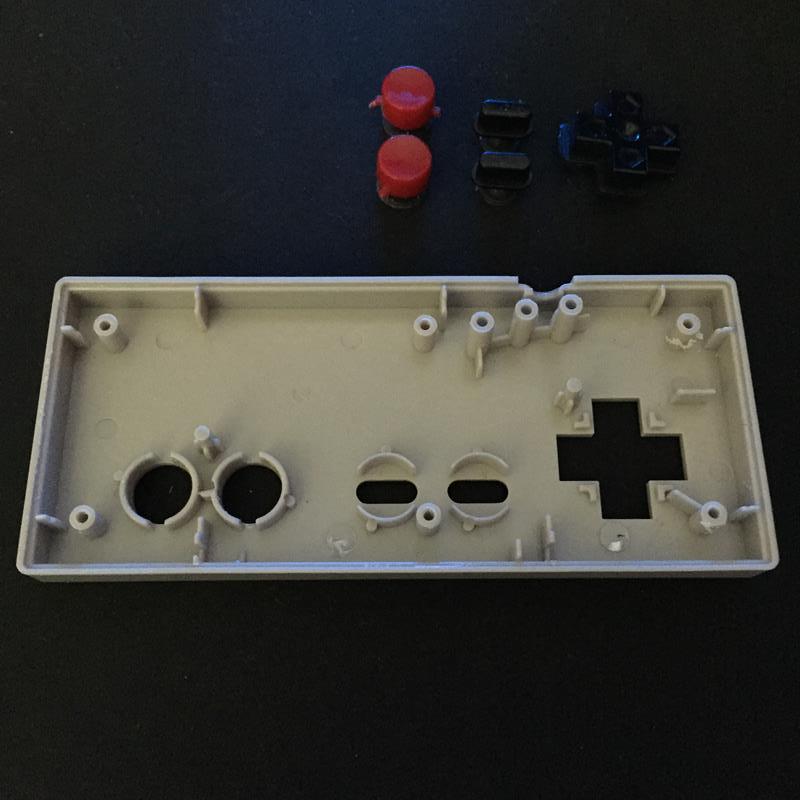
The buttons are aligned with a notch in the plastic and simply fall out if you tip the faceplate over.
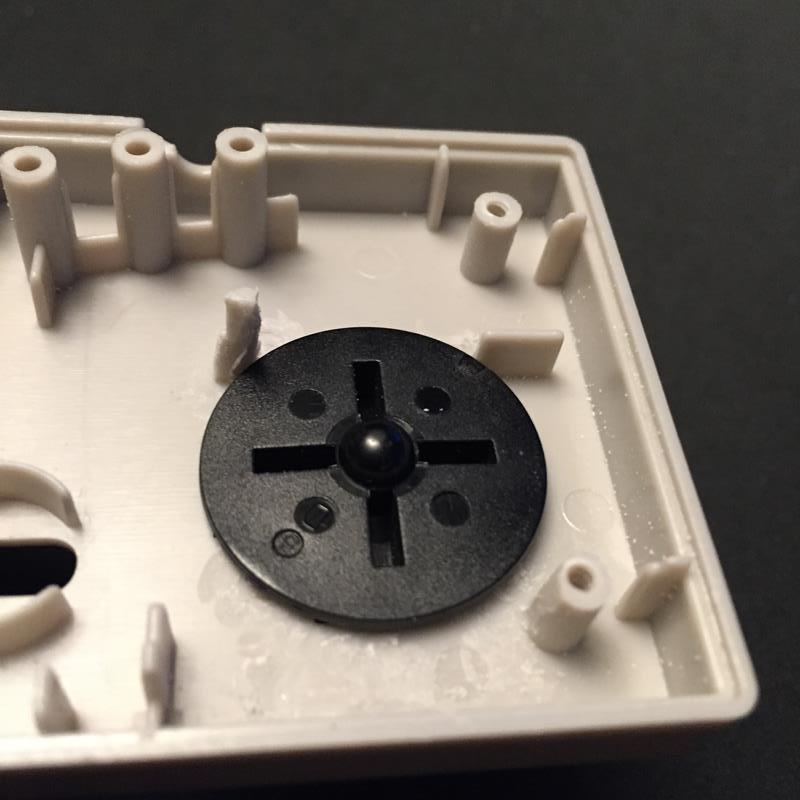
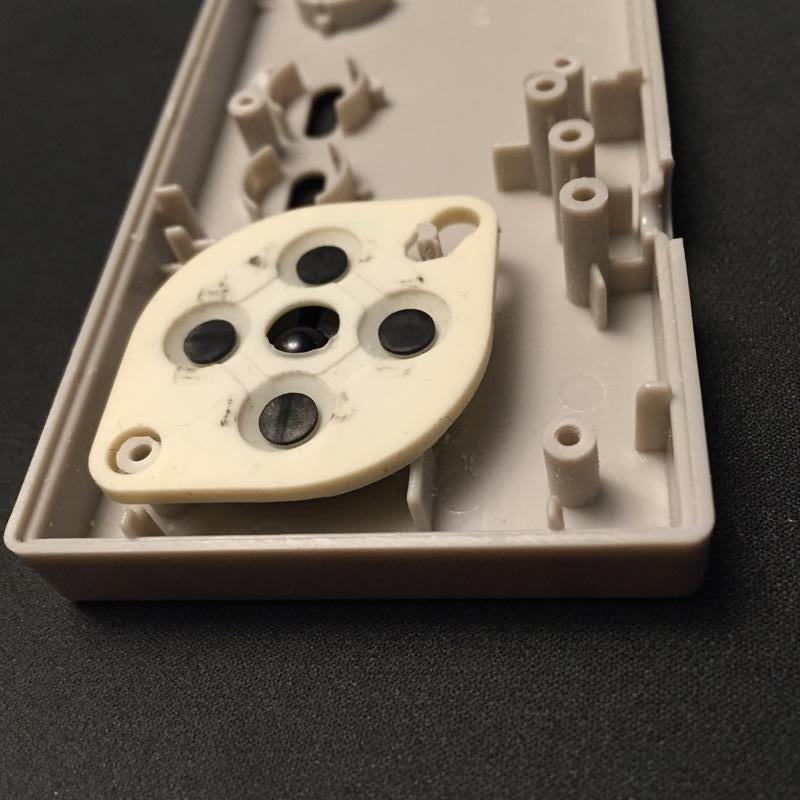
The D-Pad
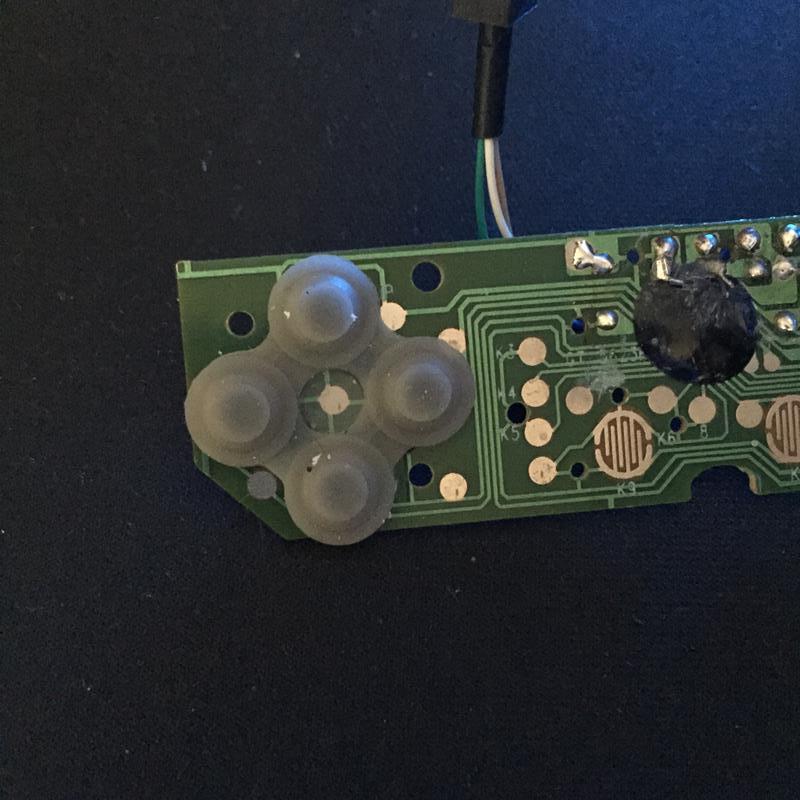
The D-Pad has its rubber button pad fixed atop the PCB by two elongated rubber fingers sticking through a couple of holes. It is simply removed by pulling the button pad upwards with some slight pressure.
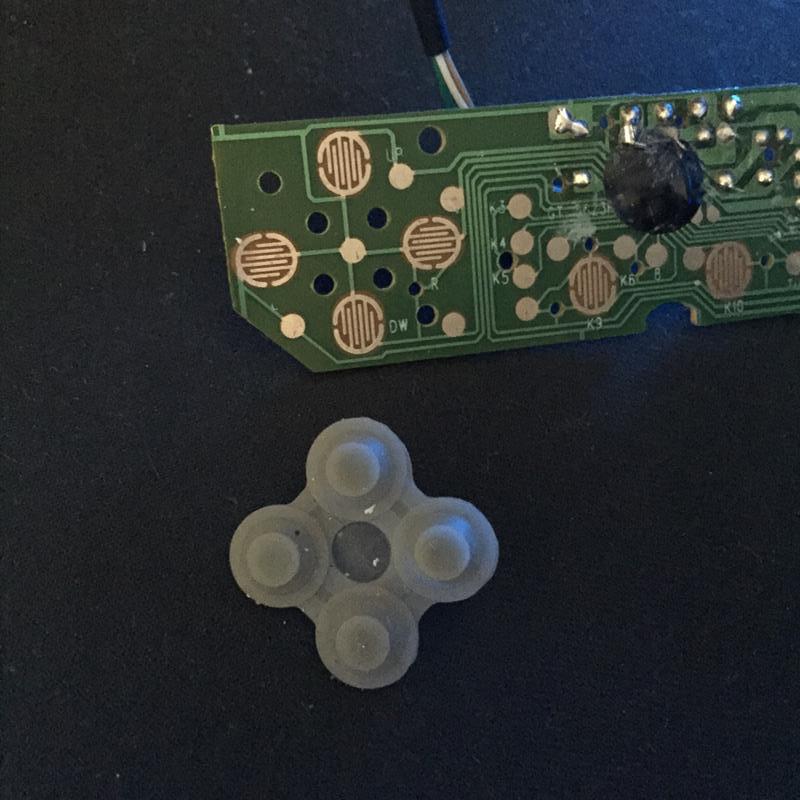
Upon first examination there doesn’t appear to be anything outstanding that would cause such movement issues. However, when I started to look into this issue online I found other people who noticed the problem via message boards.
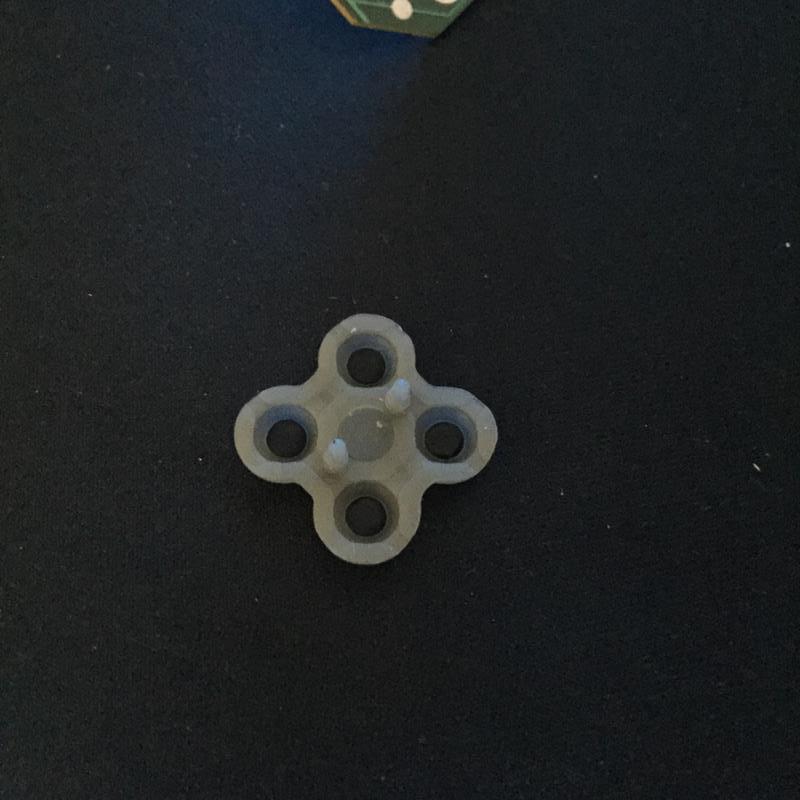
Most notably was this video which pointed out the difference in shape of the original and USB TOMEE D-Pads. I wanted to see this for myself so I opened up an old broken NES controller and removed the innards.

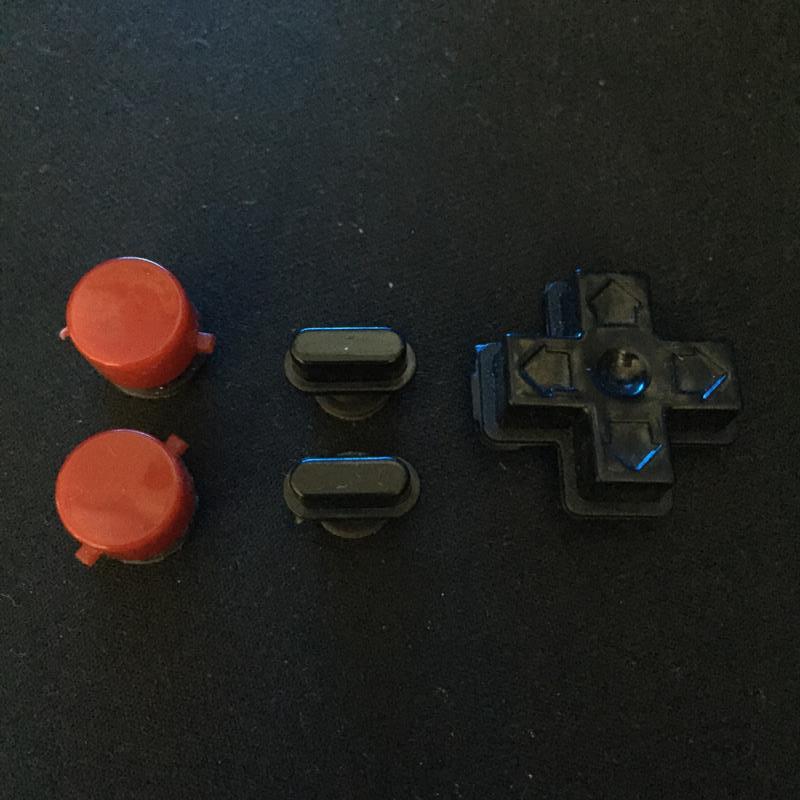
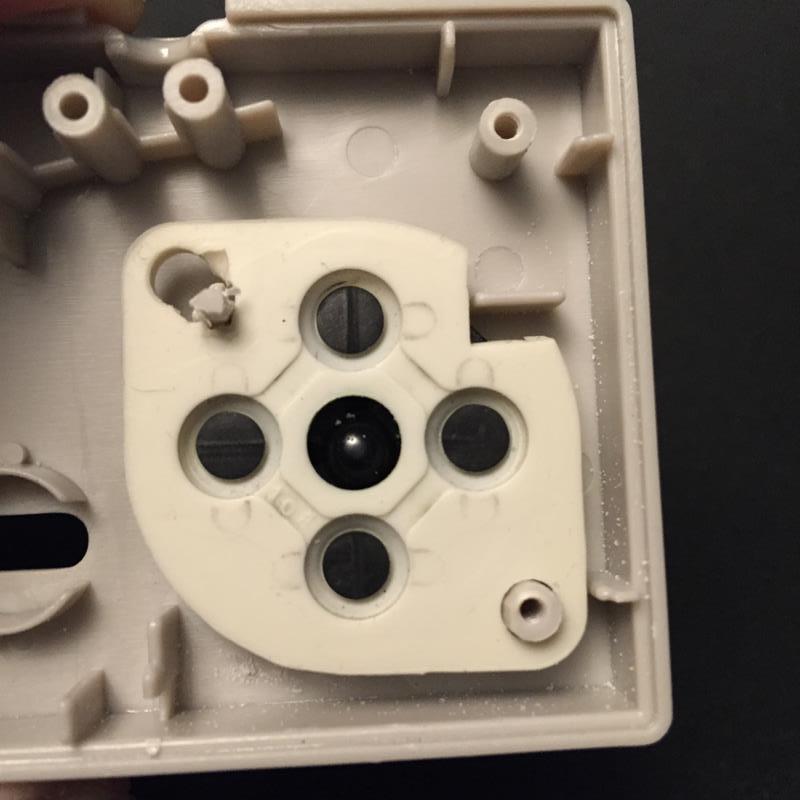
- TOMEE brand NES USB Controller D-Pad
Once the parts are extracted you can clearly see major difference in the D-Pads design.
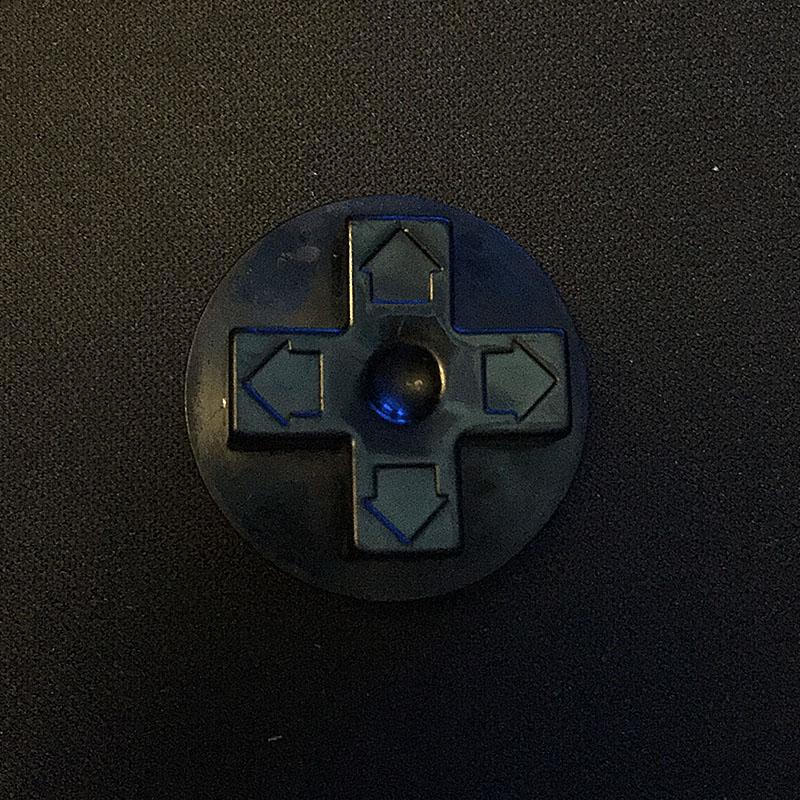
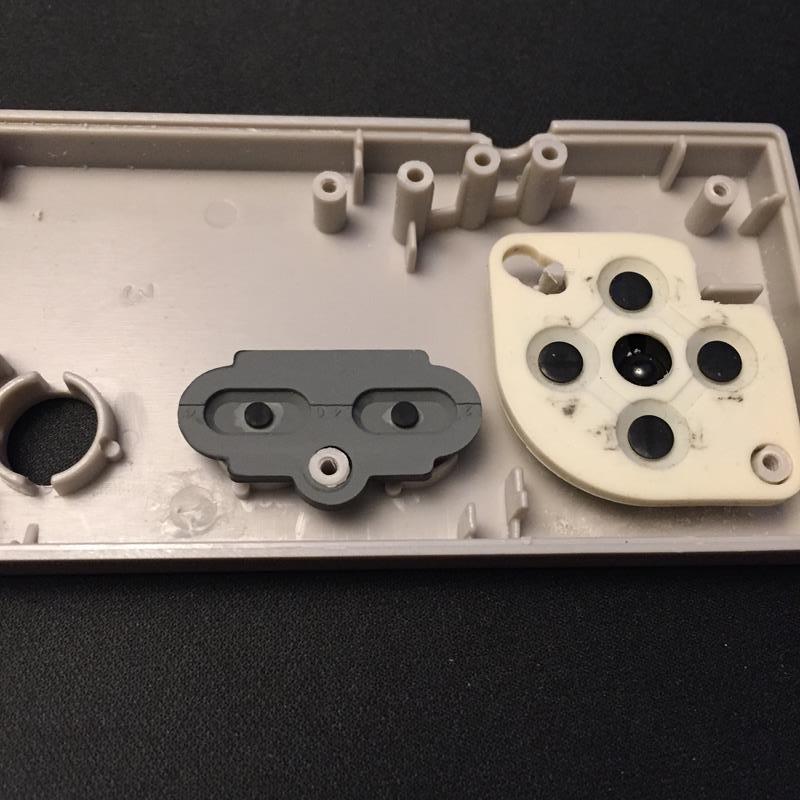
- Nintendo brand original controller D-Pad
Where the USB D-Pad is a simple cross shape the original NES D-Pad is a round plastic platter with the directional cross sitting atop.
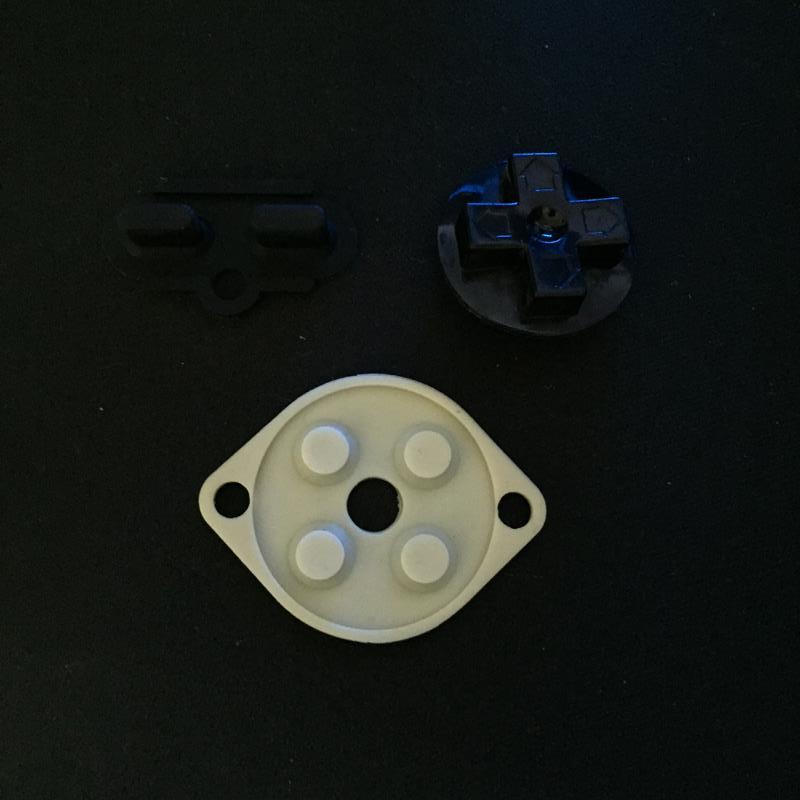
The rubber button pad is also quite a bit larger than the one contained within the USB version. You’ll also notice that the START and SELECT button pad is unified into a single rubber piece.
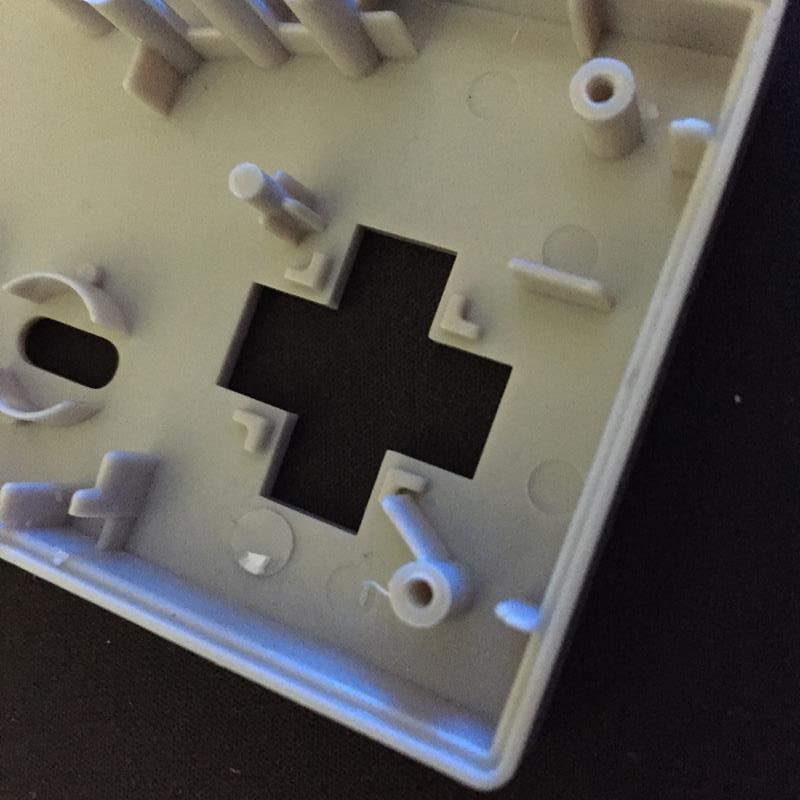
My first inclination was to simply swap out the D-Pad from the USB controller with the D-Pad from the original, but once you start looking at the inner design you’ll notice that that is not possible.

There are various pole pieces and other plastic shapes that prevent the rounded disc portion of the D-Pad to seat properly and at level with the faceplate. I decided to remove these obstructions and see if I could get the original D-Pad platter to seat comfortably.
Modding time
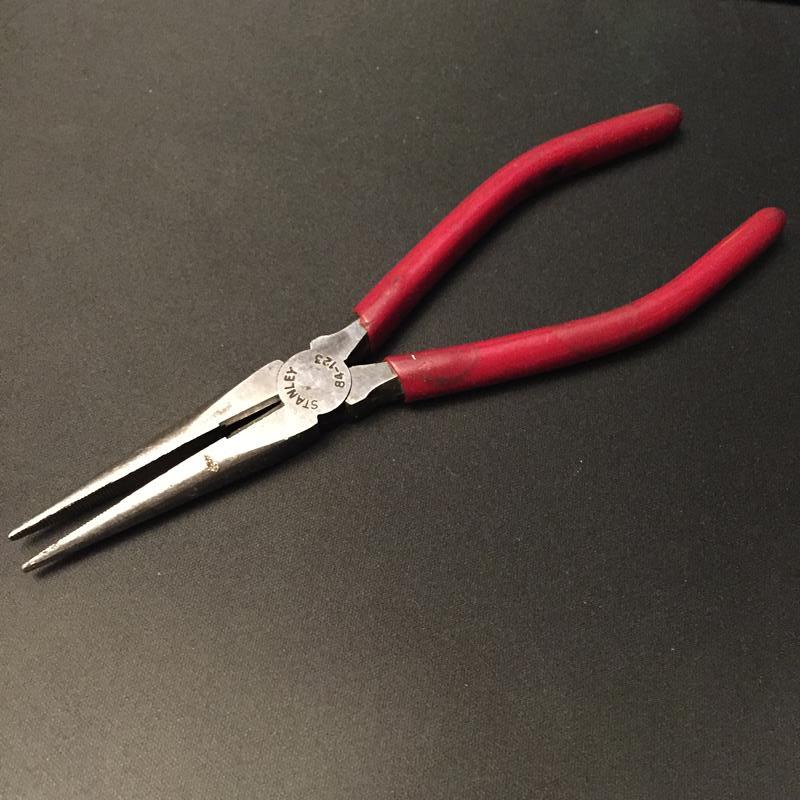
I started by grabbing some needle nose pliers and attempted to gently crack off some of the connected pieces.
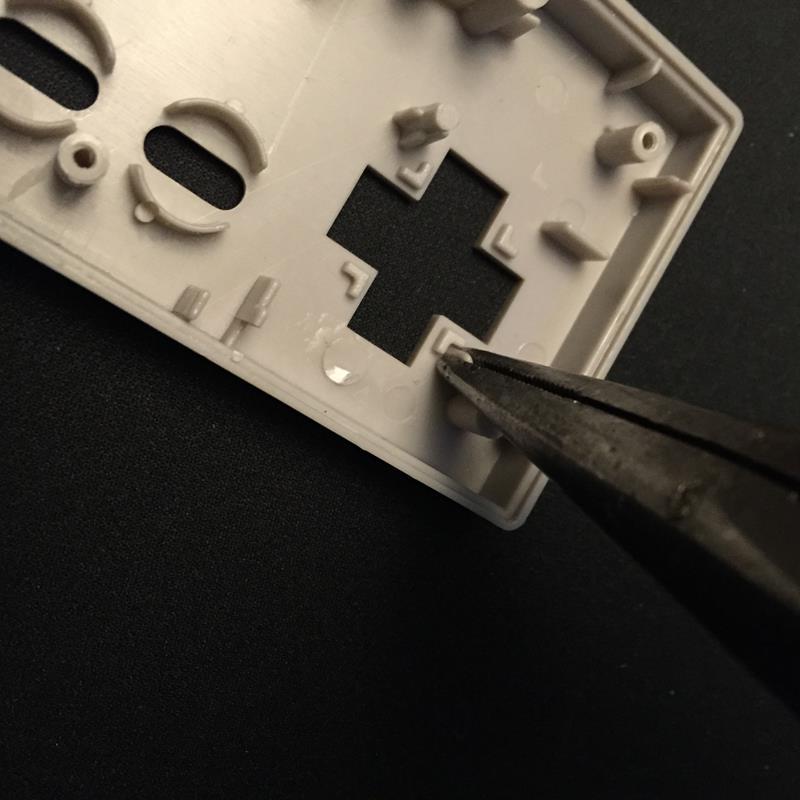
I pinched this small plastic wall that was most prominently in the way between the pliers and twisted it slowly to the side, cracking it off.
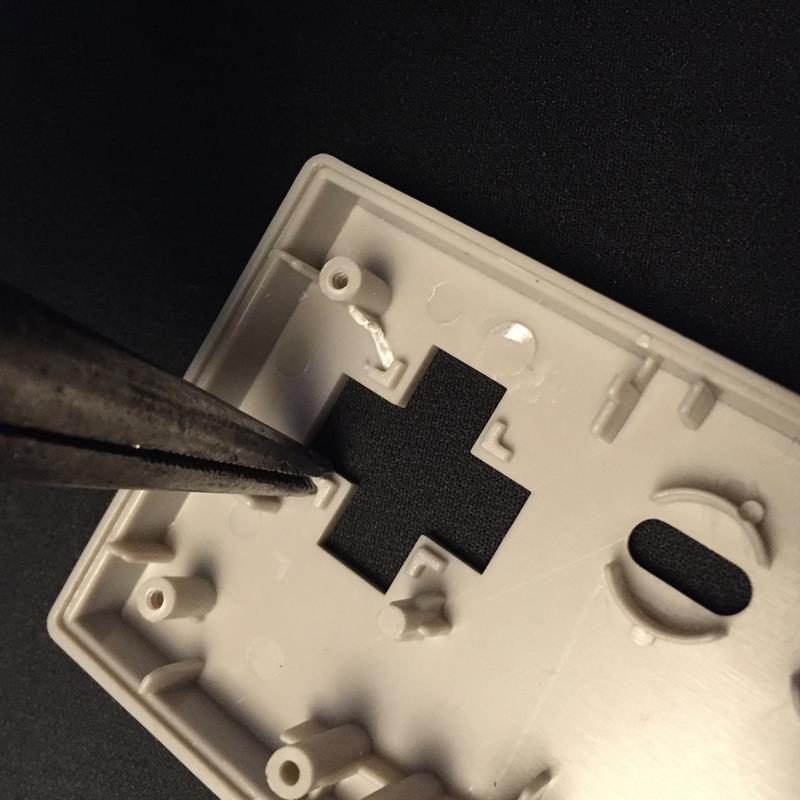
Realizing that this method was too brutish, I decided to grab my Dremel tool.
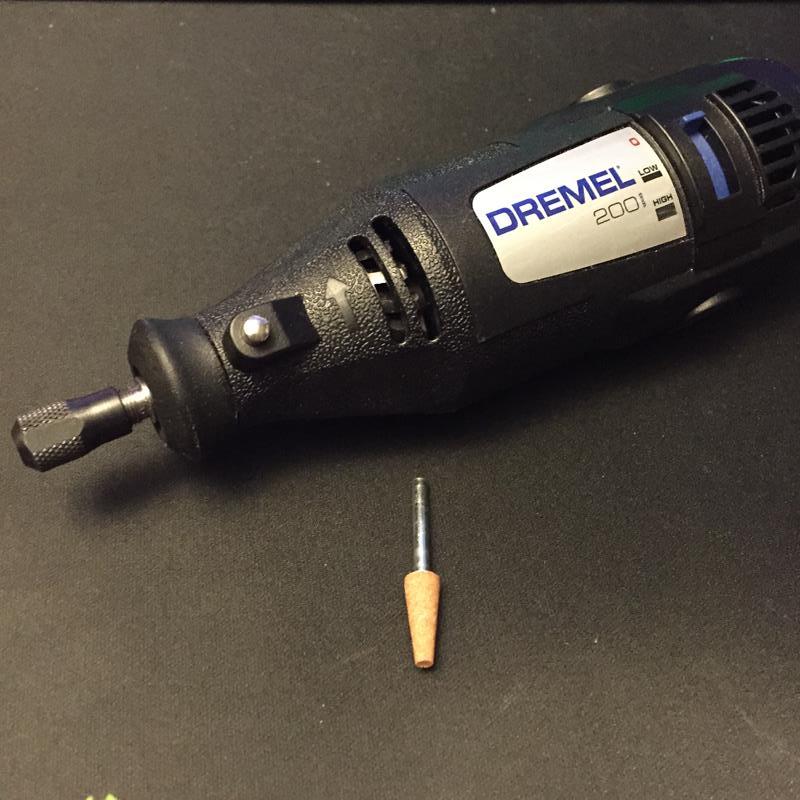
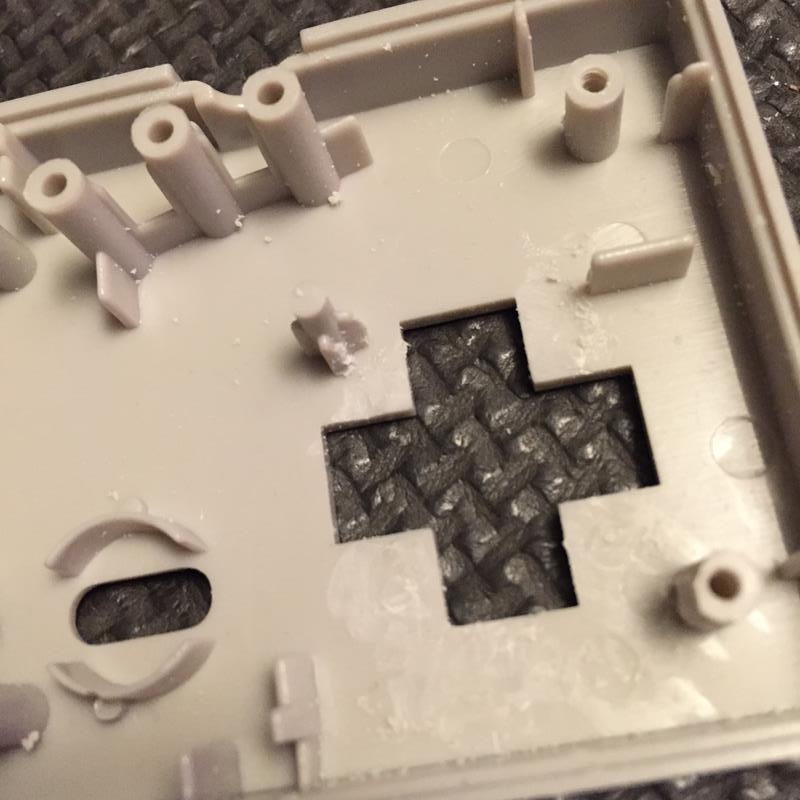
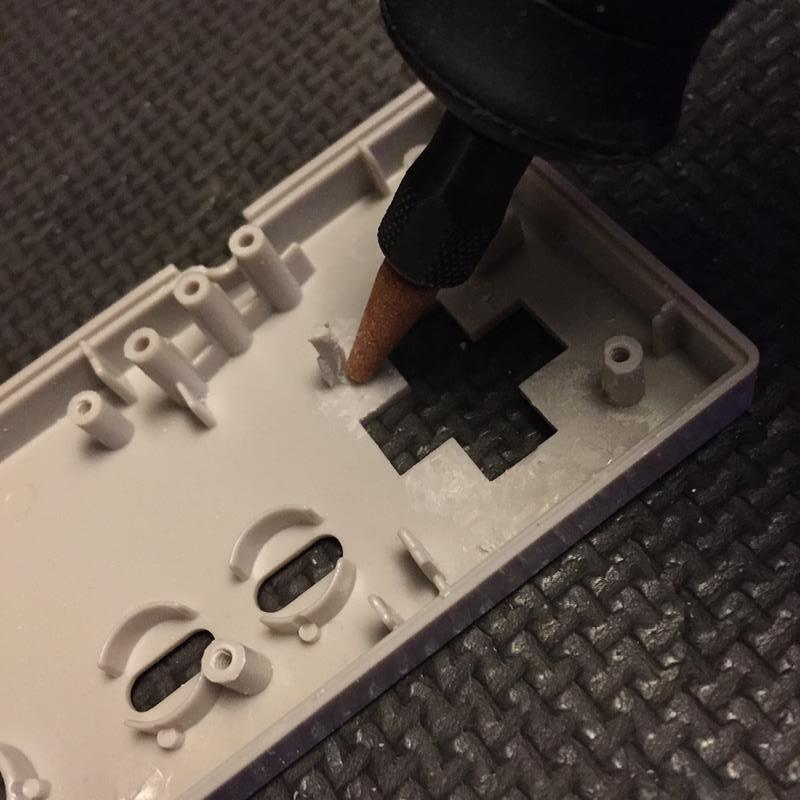
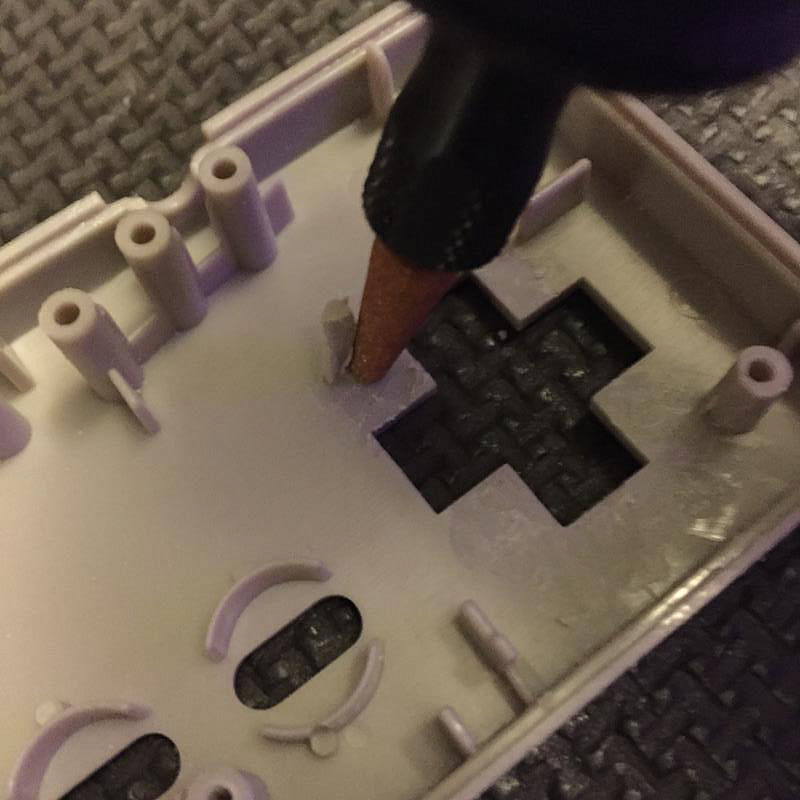
Using a thin grinding stone bit, I began to whittle down the plastic support structures surrounding the D-Pad entry way.
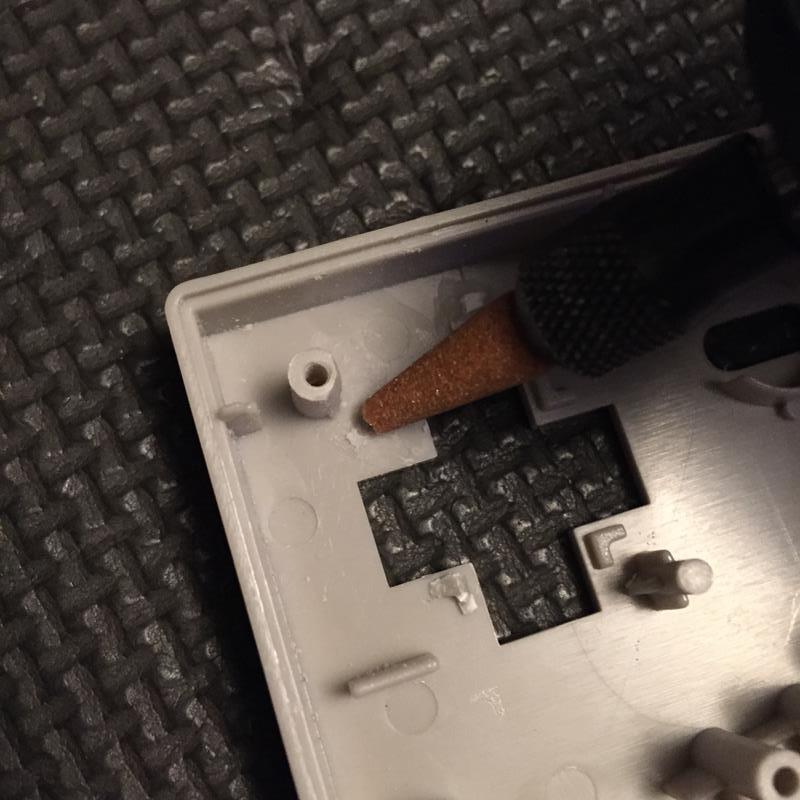
I worked off the rest of the wall and began on the L-shaped bits in the corners.
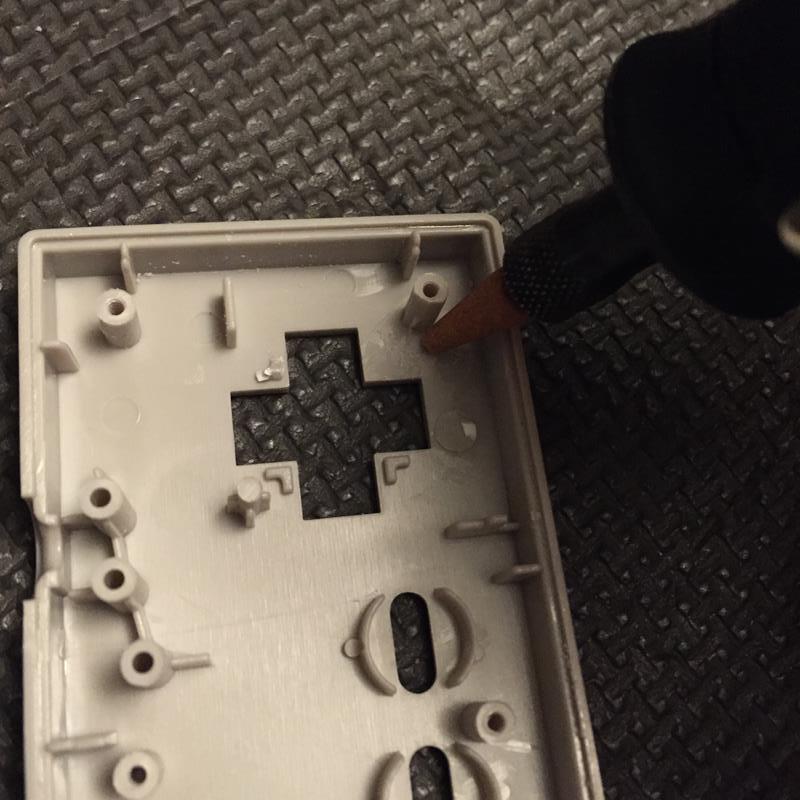
One down, three to go.
 After all four sections were flattened, I attempted to seat the circular D-Pad. Although I was unable to get it to to lay flat because of the wings attached to the pole piece in the corner.
Then after shaving off the plastic wings, I held the Dremel at an angle to grind off a 3rd of it.
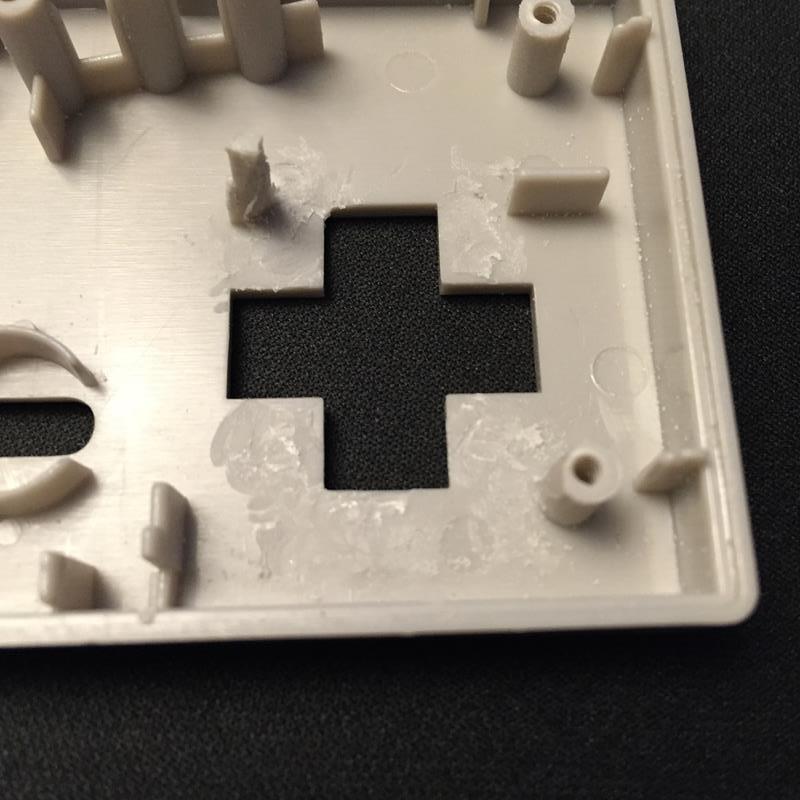
Once completed I finished blowing off the debris.
I was able to successfully place the full original D-Pad into the controller’s opening.

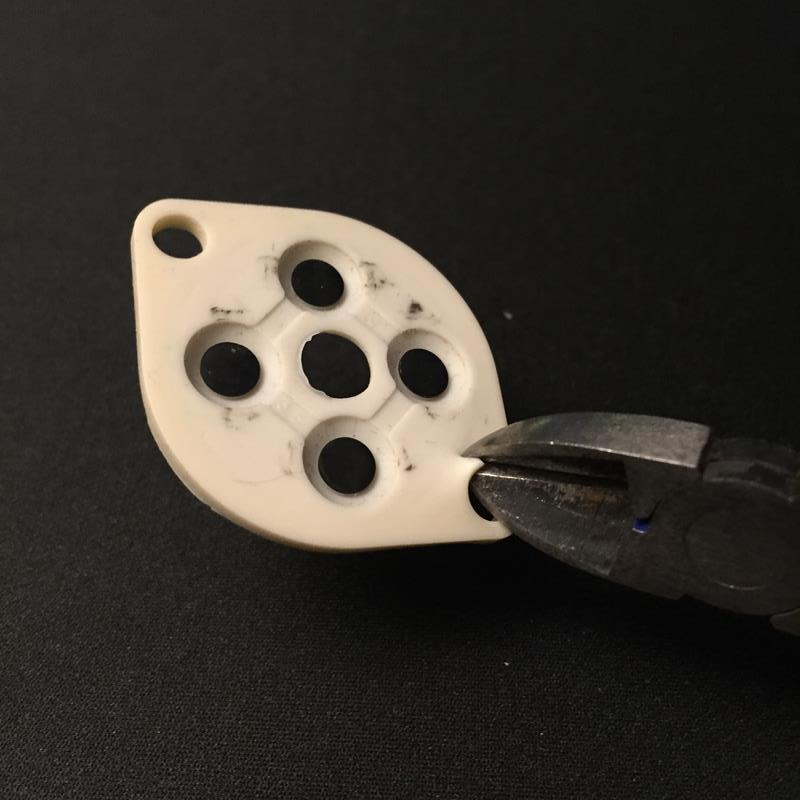
The next issue was the button pads pre-cut entry holes that did not fit onto the current configuration. This resulted in the pad folding upwards in the center.
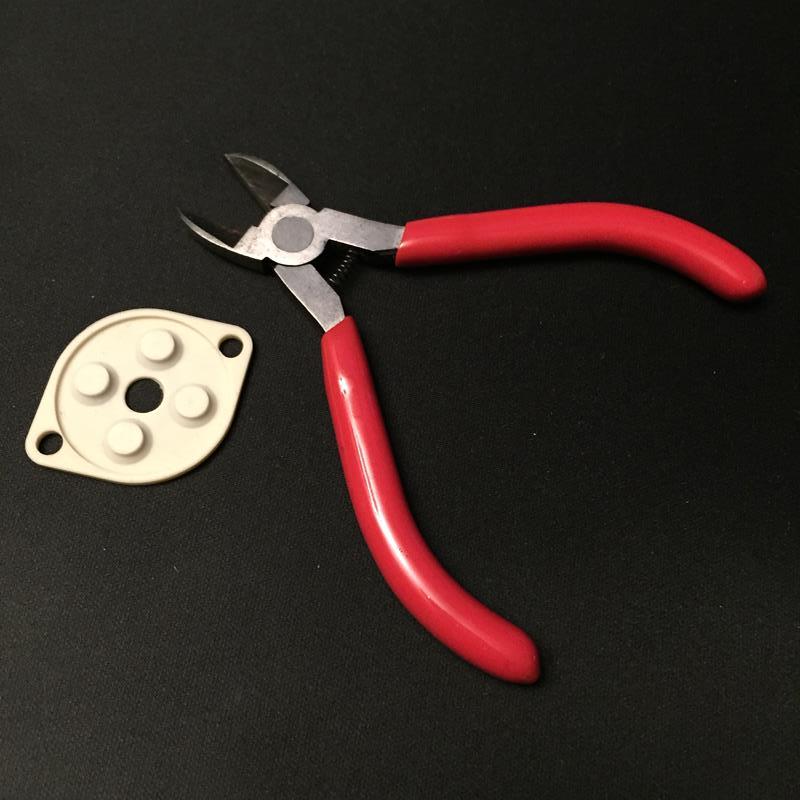
I used a pair of wire cutters to snip off some of the excess from the alignment hole and create some clearance. This was to allow the pad to sit properly,
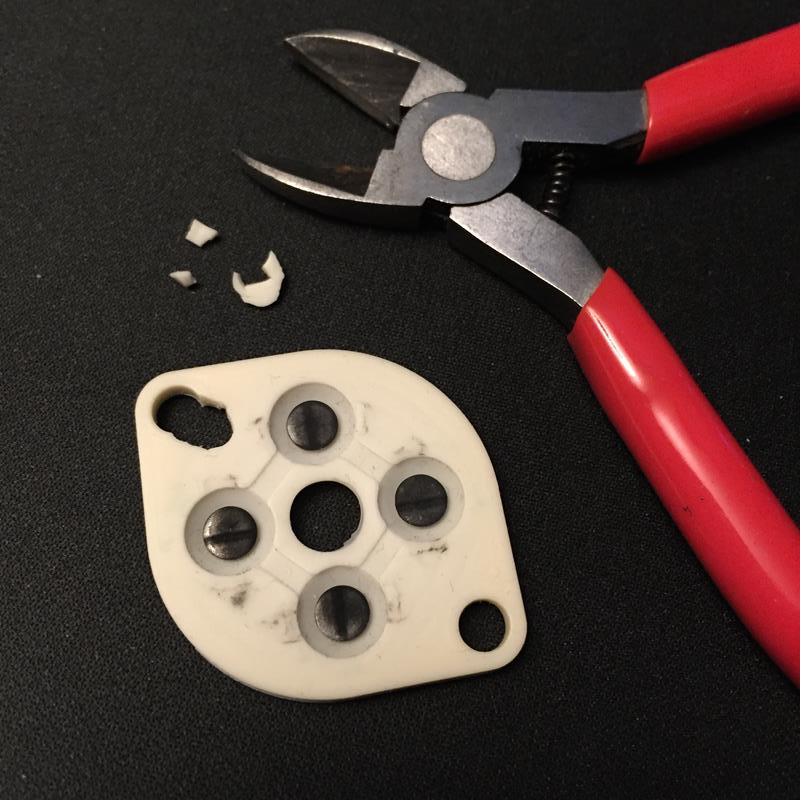
Once I finished with that, I proceeded to press down the button pad. I also found one more obstruction preventing it from laying flat down upon the back of the D-Pad.
This plastic wing in the corner that was easily avoided by snipping the corner of the pad off.

Finally, I was able set the D-Pad without all the housing restrictions.
A fresh START
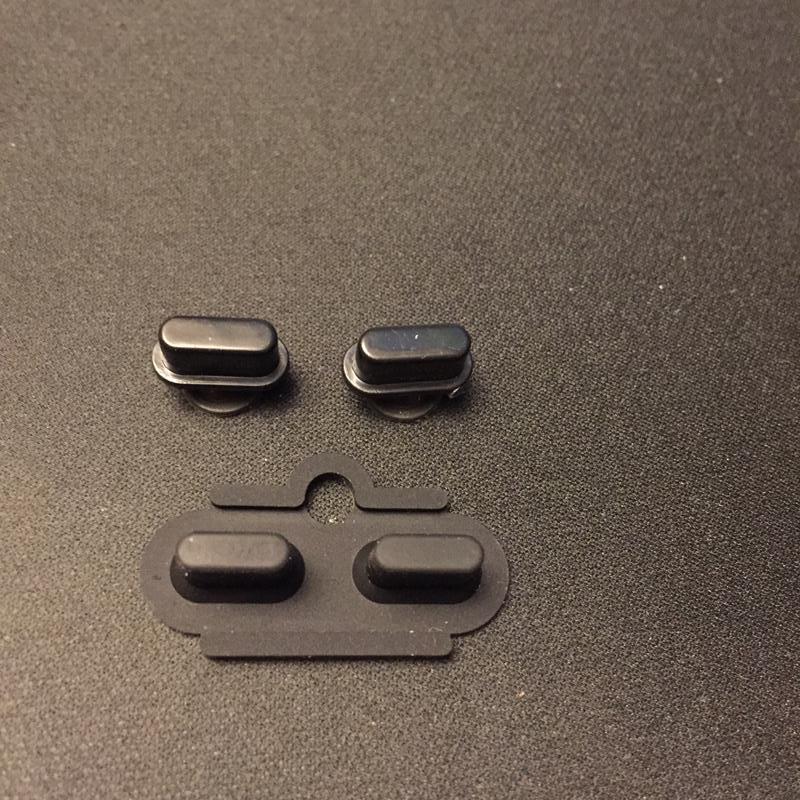
There was enough similarity between the TOMEE START/SELECT buttons and the original to seat it in the faceplate.

Now I had to massage the button pad into the faceplate. It was a pretty satisfying fit. I definitely prefer the feel of the original rubber START/SELECT buttons over the raised, hard, plastic buttons in the TOMEE version.

After inserting the A and B buttons back into the proper slots, I placed the PCB back into position. Also, I gently slid the controller’s cable back into its seated groove.

Now with the buttons in place, I carefully pressed the back plate in place and began replacing the screws.
Once the screws were tightened I figured I should give the controller a test run.
The Result
I immediately noticed the difference in gameplay as the replaced D-Pad now functioned accurately and reliably with tight responsive control. This stood out especially while holding down a particular direction. I noticed my confidence had returned in difficult timing-based games. It was now me VS the game again as opposed to me VS the controller VS the game…
(Ninja Gaiden is a perfect example)
The hybrid of old and new parts seem to be the perfect blend. The superior D-Pad has now been installed. The comfortable, rubber START/SELECT buttons are in place with the crispness of new A and B buttons.
Now, I can have an optimal experience combining the old with the new. I hope this has been an informative confirmation for anybody out there who’s noticed the issues with these USB controllers.
Since you had a regular nintendo controller sitting around, did you try moving the USB PCB into the original NES controller housing?
I did not. The original controller was sort of yellowed with age and the cord was chewed up it a bit so it wasn’t worth saving.
What about the A and B pads? I’ve noticed that the response rate in pushing these buttons is much slower than I used to experience with the original. Is it my computer or the cheap usb controller?
Hmm, well it has certainly been a while so I’m not sure how accurate my response will be but I remember testing the controller playing Ninja Gaiden which definitely requires sharp timing. I recall that it was very responsive and I was able to attack and dodge with confidence.
Is the generic NES USB controller you used just a “Tomee NES USB Controller for PC/Mac” ($4.99) on Amazon these days? Do you suppose several other generic/knock-off NES USB controllers are restorable in the same way?
Yes and yes