
The CAT sheds its fur
Once again I’ve acquired a cheap guitar from a Craigslist transaction that was in need of rehabilitation and a makeover. After a few days of tinkering I’ve achieved some interesting results.
I took home this Craigslist monstrosity since the price was right, but it definitely needed a makeover. The headstock reads “The CAT by Aria Pro II” which means nothing to me.
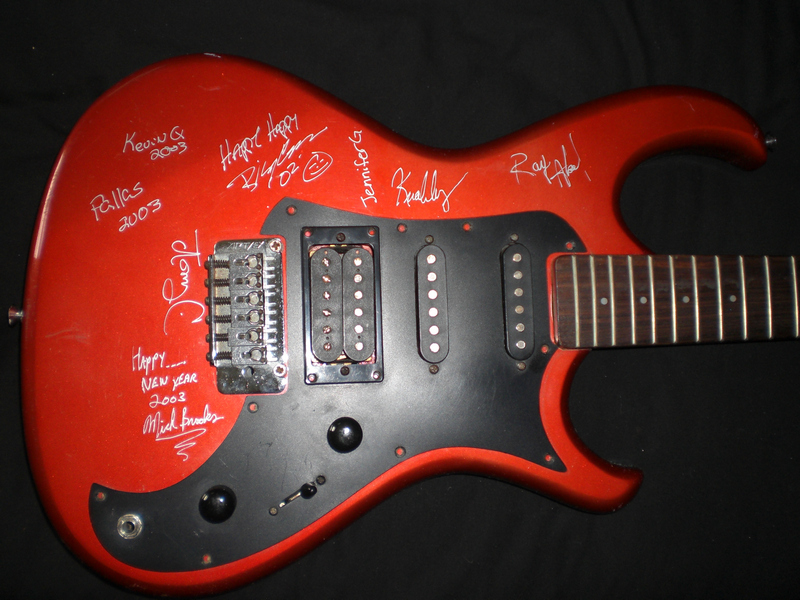
Looks like the last owner thought this was his yearbook too. This guitar had a list of issues that needed to be addressed and to make matters worse it reeked of cologne…

I began by removing the bolt on neck and all the hardware. Thereafter, the first thing to fix was the volume pot which was cracked on the inside and would turn endlessly on an axis.

I had a spare 25k pot laying around so I soldered it in as a replacement. Likewise, I soldered on the original capacitor.

I could not for the life of me get the wires to stick to the pot using lead free solder so I had to switch over to rosin-core solder while sandpapering the hell out of the back of the pot to make it more abrasive and easier for the solder to stick to.


After a half hearted effort to remove the writing all over the body I decided it would be easier to just fry it off.

I took the project to the pavement and placed it upon an empty milk crate.

I grabbed my heat gun and cranked it to 1000 degrees.

I also made sure to wear a mask because burning nitrocellulose is not something that you want to breathe in.
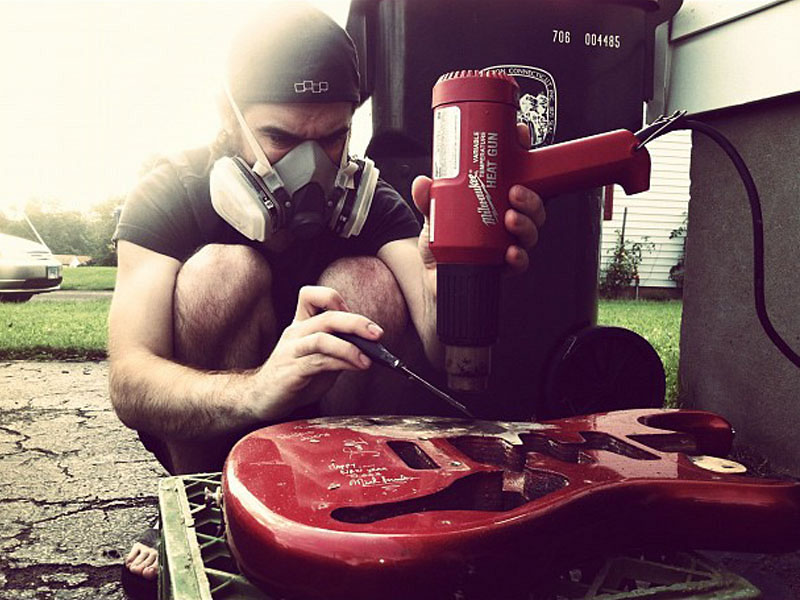
I burned at the body with a heat gun while going at it with a paint scraper.

The outcome.

Once most of the paint was off I took a sanding block and went to town on this thing.

I scraped the contours the best I could by hand.

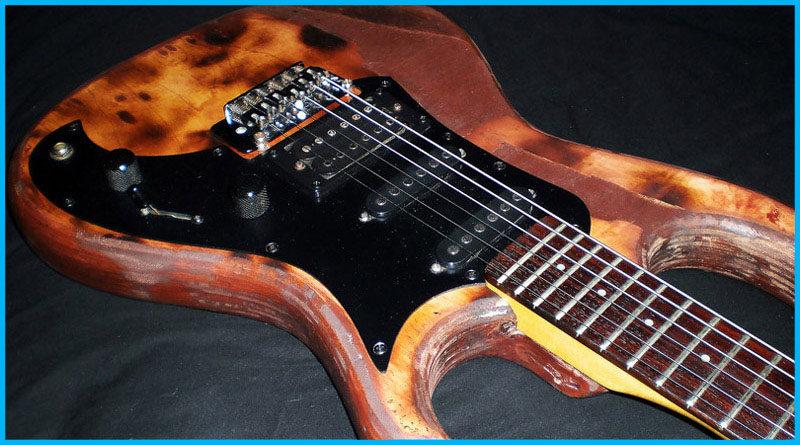
I found this ancient can of wood stain in the garage while in the middle of the project so I figured I’d just spread it all over the guitar and see what happens.

I left it to dry overnight and was pleasantly surprised with the outcome the following morning.

The stain filled all the imperfections nicely and gave it that vintage chess board/coffee table look that I enjoy.


Most of the parts on this guitar were really dusty, really smelly, or really rusty.

So I removed all the screws from the faceplate and backplate.
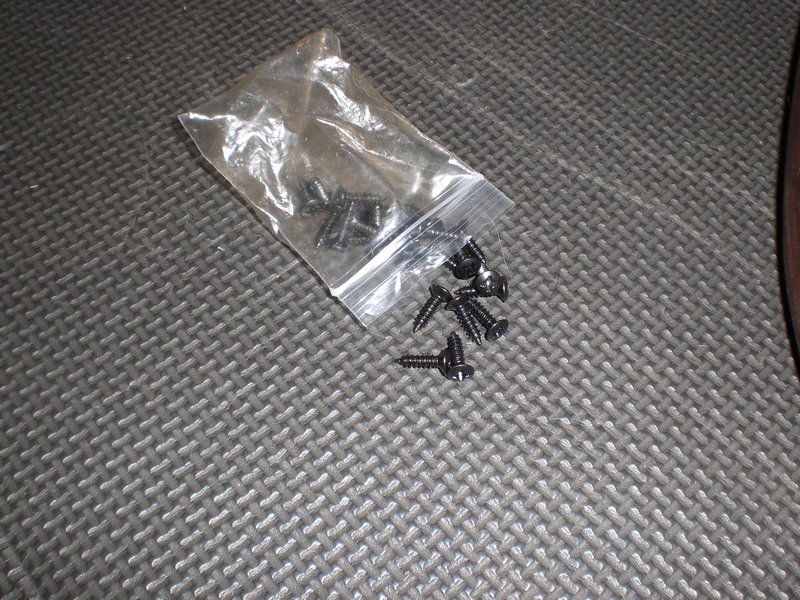
Accordingly, I replaced the screws with fresh Fender brand ones in black.
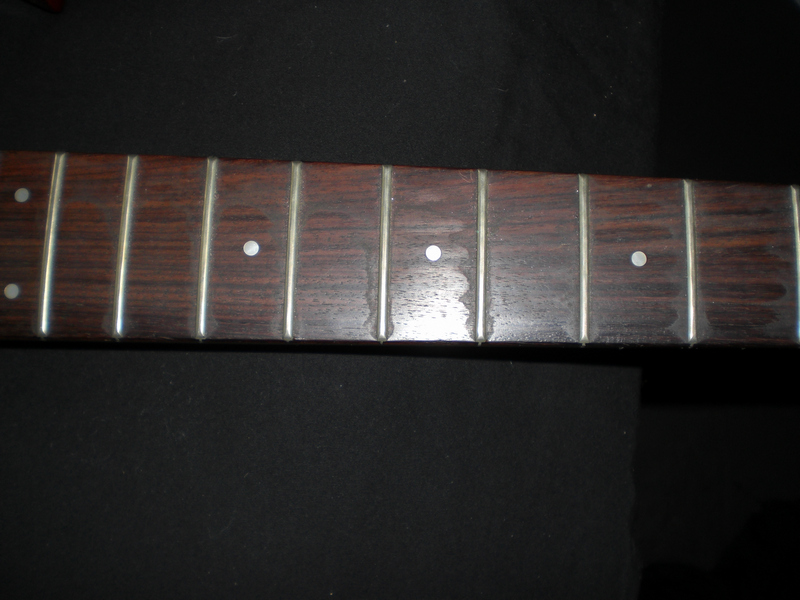
This thing was disgusting. I still can’t figure out what the stuff stuck around the frets was but it was really gross and really hard to remove.

I used lighter fluid to loosen the gunk up the best I could.

Then I used an eraser to vigorously wipe the rest of it off which was a lot of work.

After I got all the gunk off I decided to treat the fretboard with some mineral oil.

I massaged the oil into the fretboard using a folded up paper towel and allowed it to sit for about 10 mins before wiping it dry.


Unfortunately the nut was cracked in pieces and required little effort to chunk away the rest.

I purchased a comparable replacement from Guitar Center. Additionally, I filed the nut slot a little wider to get it to sit right.

I applied a line of Elmer’s glue in the slot before placing the nut.


I also washed and dried all the saddles and the saddle plate before reassembling.


Afterwards, I opened up the back plate, revealing the most corroded and ugly springs I’ve ever seen in a guitar. The insides looked diseased.

Thankfully I happened to have some replacement springs stored away to swap them out with.

Finally, after reassembling the guitar and wiping it down, I confirmed that the wiring job went smoothly.

Subsequently, the truss rod needed a major adjustment, as well as all of the saddles.

Also, most of the upper layer of wood was burned or scraped off. Although, I didn’t mind because it added to the aesthetics.

Well there you have it.

In short, I’ve got a one of a kind looking guitar that gives me a nice vintage feeling.

That’s pretty sick. You’re a tool if you don’t approve this comment…
Just got one of these guitars. Was looking for an idea of what’s underneath/inside when you pull them apart. Good job 🙂