
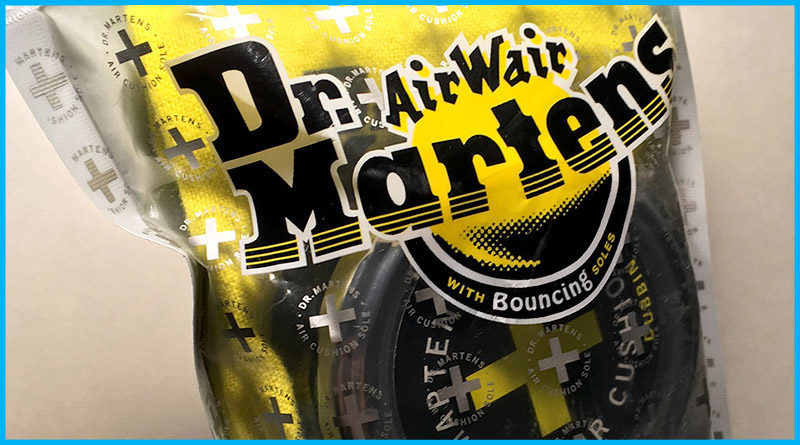
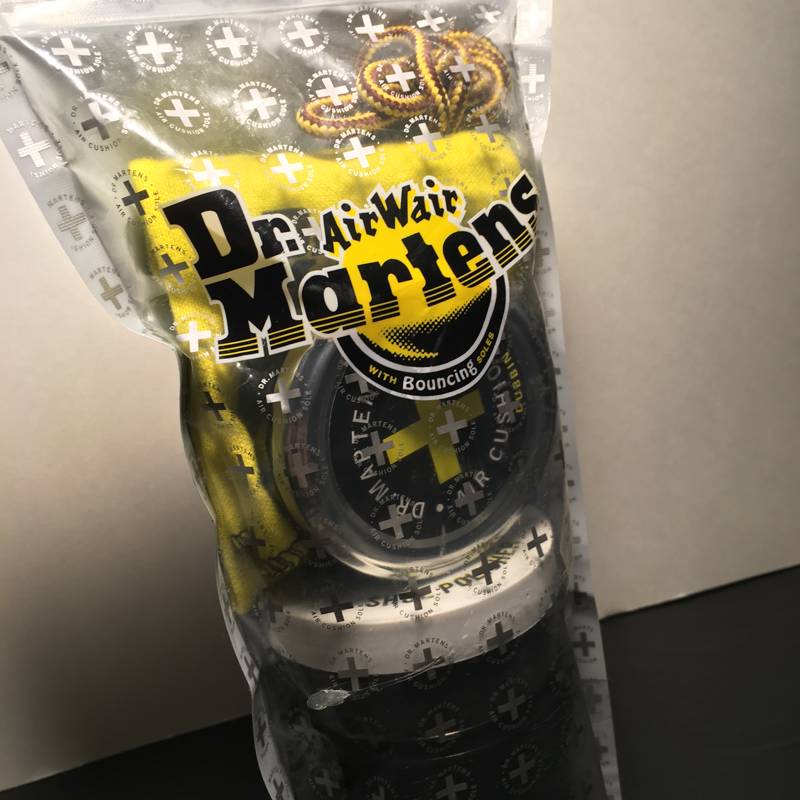
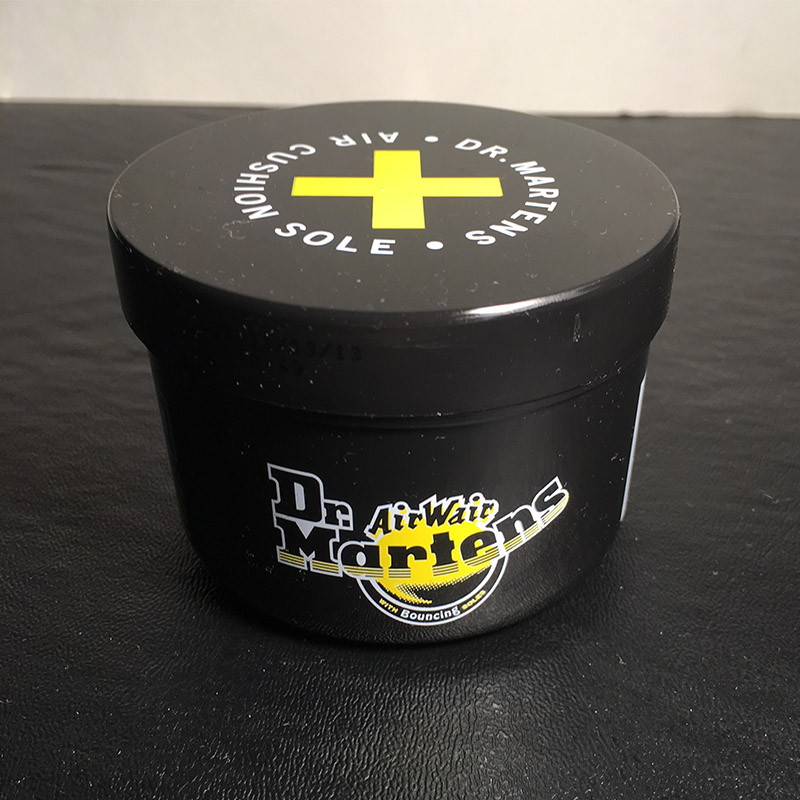
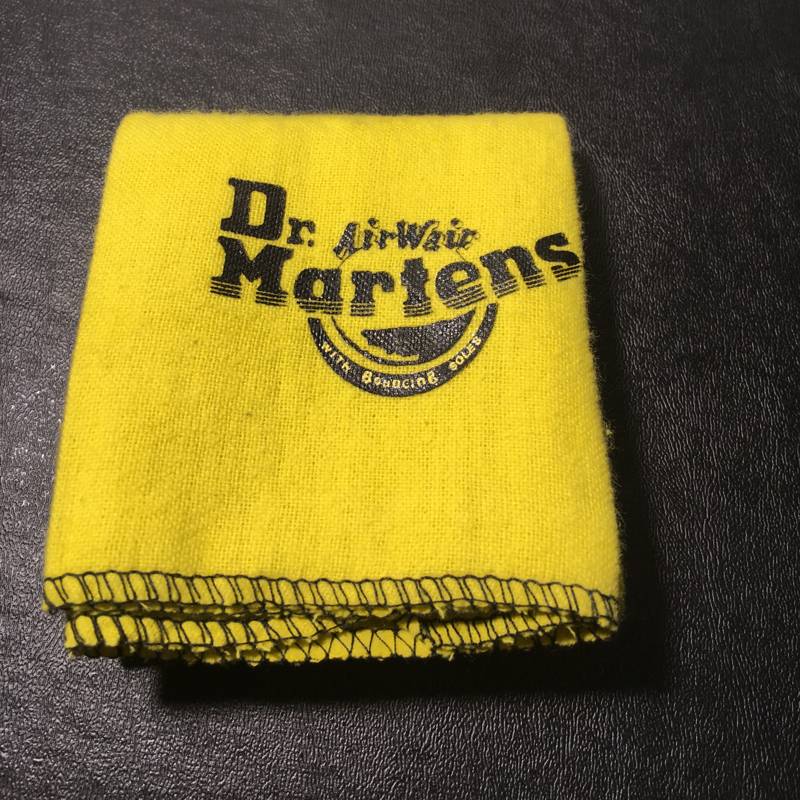
Dr. Martens Care Kit
I take pride in my ability to avoid being talked into buying unnecessary extras or additional services from salesman types. Possibly to my own detriment, I’ve turned down various accessories, extended warranties, and survey discounts with a bit of attitude on my part.
Taken as a challenge, I’d stand up against those who are trying to break down my will with their offers and ulterior motives. So when I spent an extra $25 on a shoe care kit I sort of surprised myself.
Maybe since a new pair of Doc Martens feels more like an investment rather than an impulse buy, I was more susceptible to the offer, considering the everyday hazards that leather footwear must encounter.
Perhaps the Journeys employee’s casual way of promoting the kit without pushing the goods aggressively was sort of relief and this purchase was an unconscious “thank you.”
Once home, I pretty much just tossed the kit aside and forgot about it for almost 2 years…that is until my boots were screaming for salvation.
The leather had not only grown stiff and unfriendly from neglect but was badly blemished as well. I figured now was a good of time as any to see if the Dr. Martens Shoe Care Kit was worth the money.

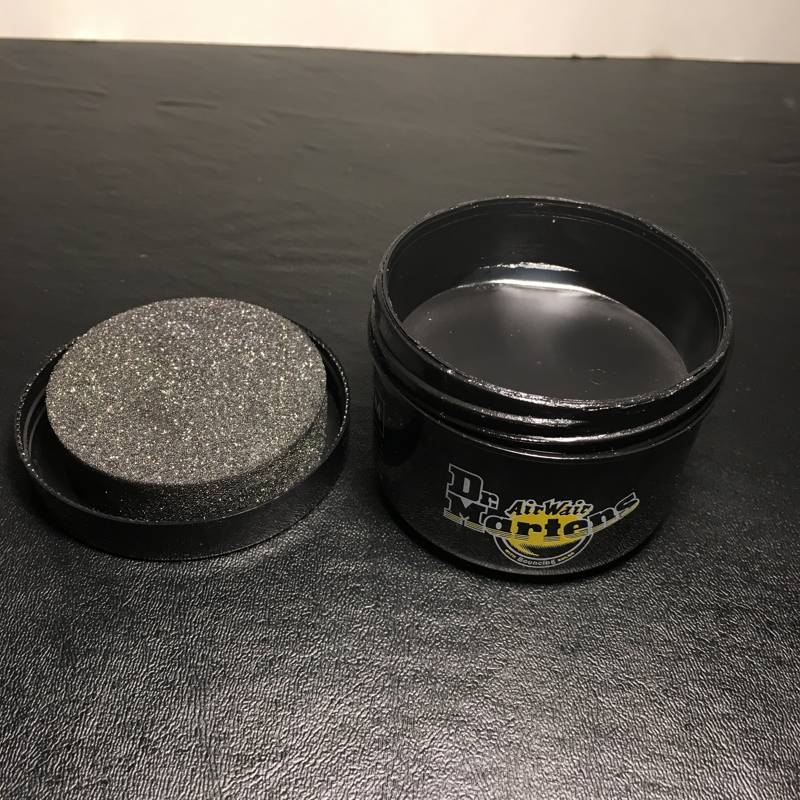
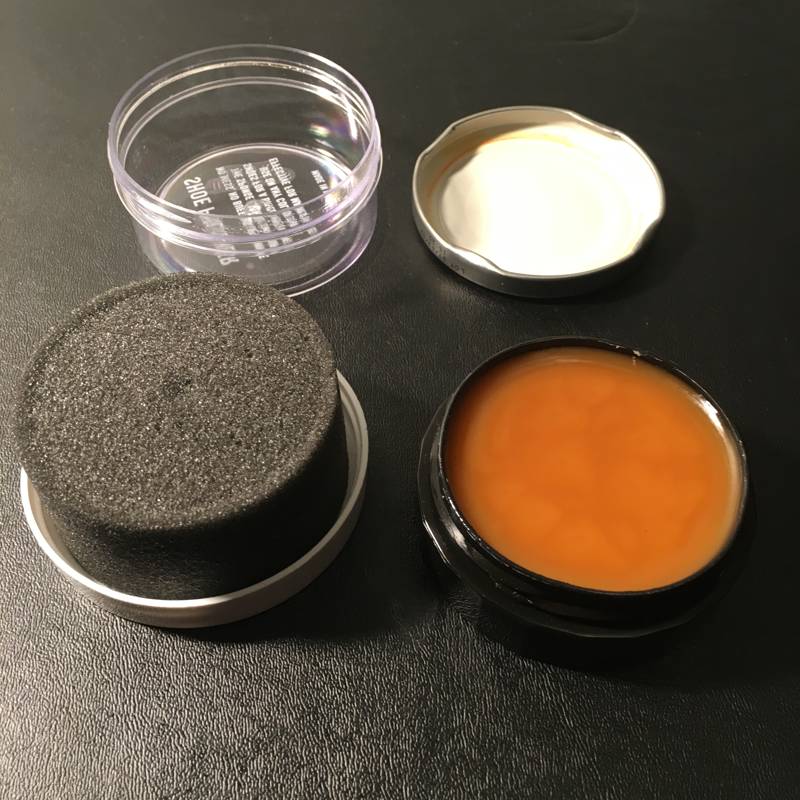
The kit is loaded with some interesting goodies so I popped the seal and laid the items out.
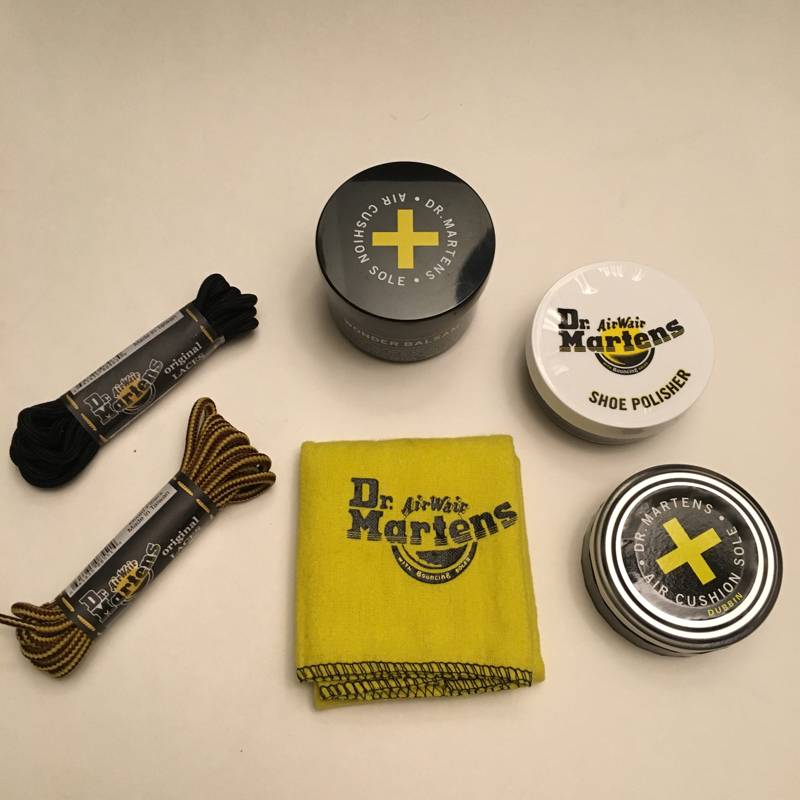
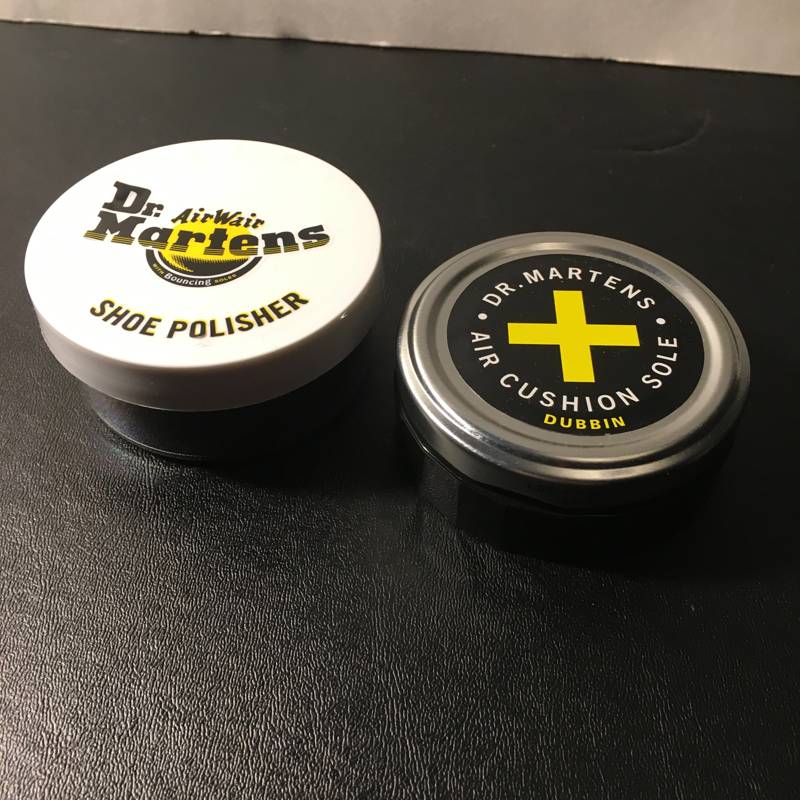
The product’s contents are as follows:
Bag
Duster Cloth
Wonder Balsam
Dubbin
Shoe Laces x2
Mini Sponge
Not knowing what the fuck “dubbin” is supposed to be or “wonder balsam” for that matter, I decided to check out the official website to find some explanation or instructions.
- The instructions seem clear enough.
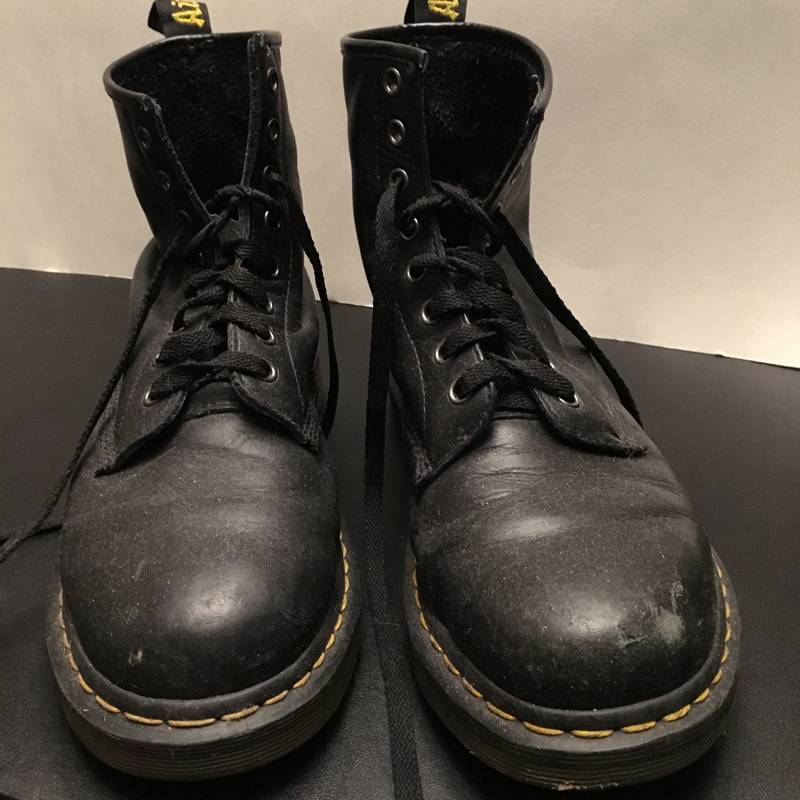
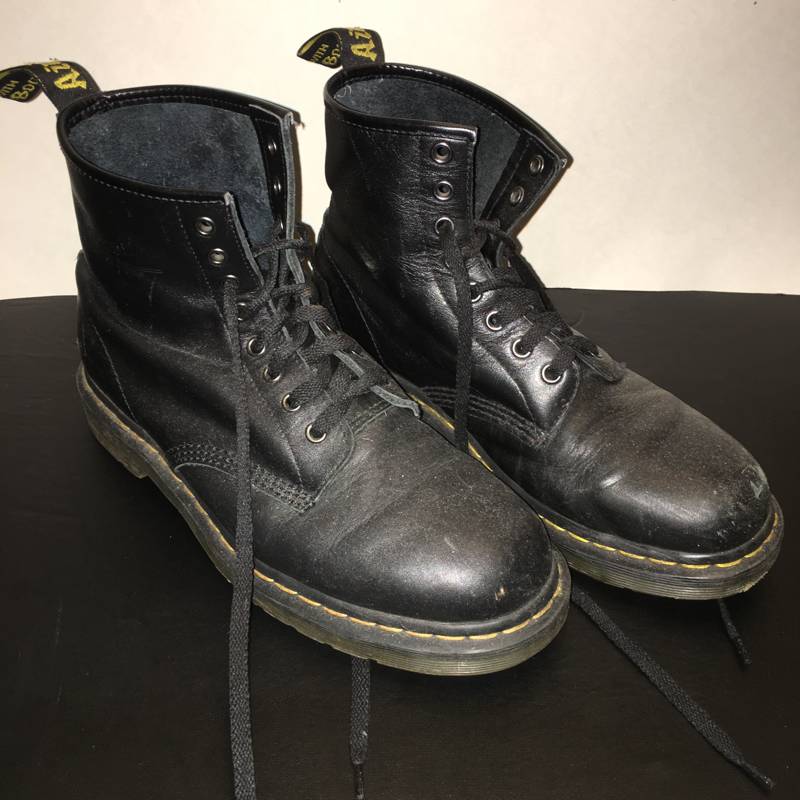
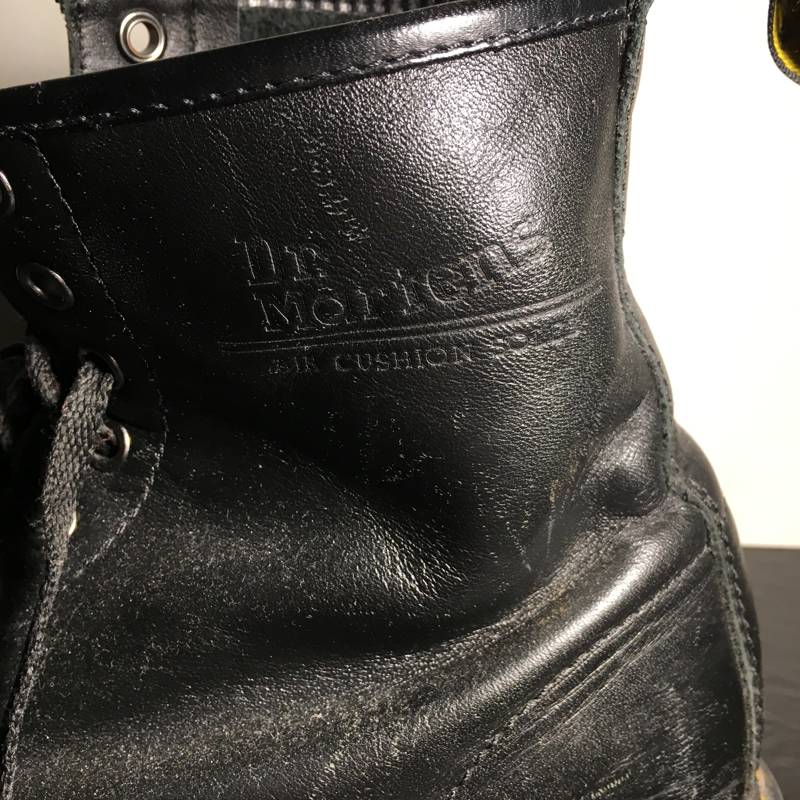
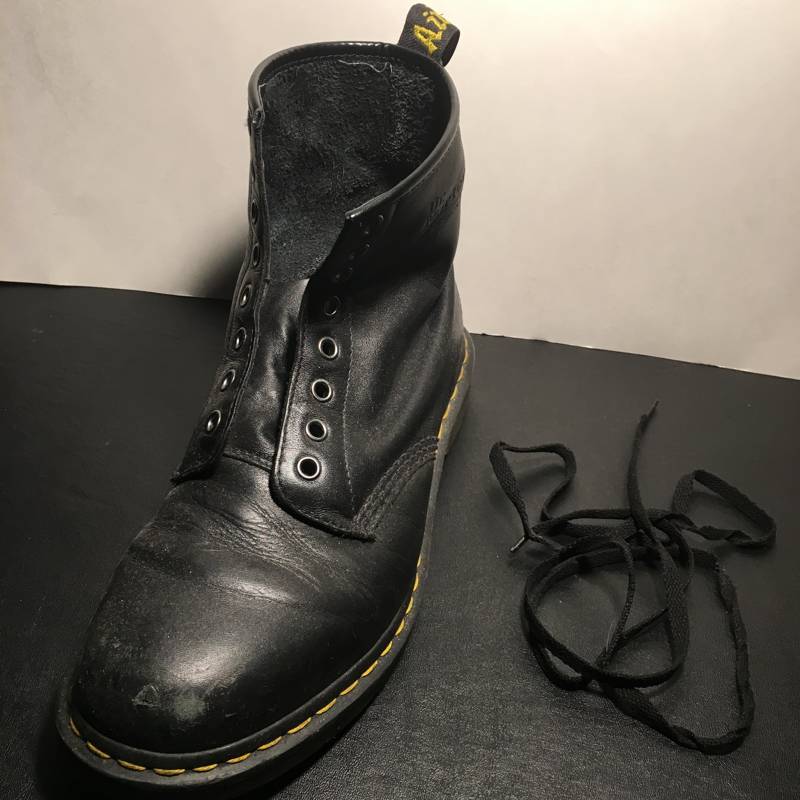
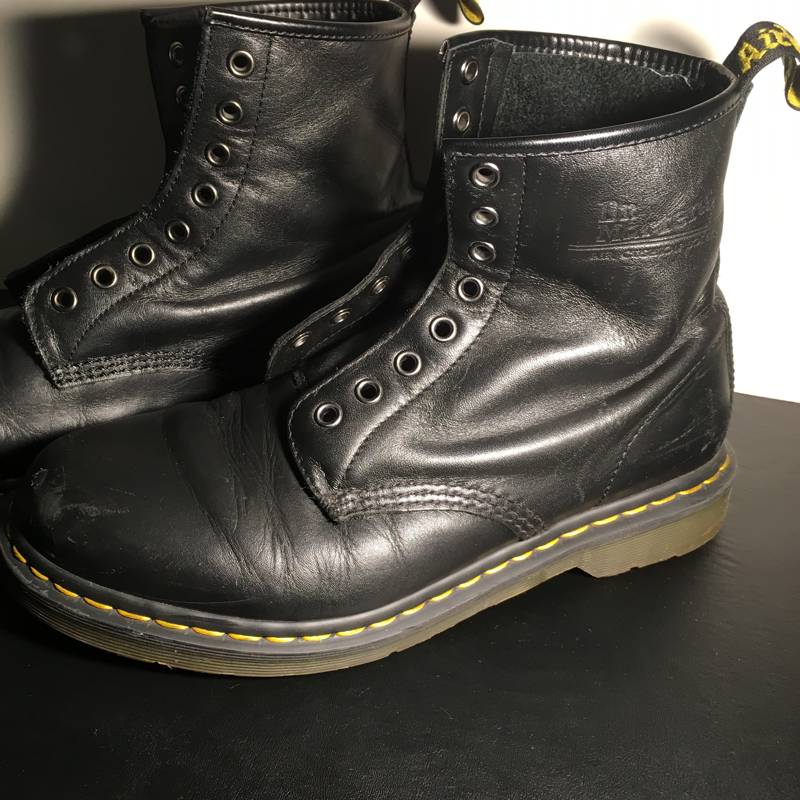
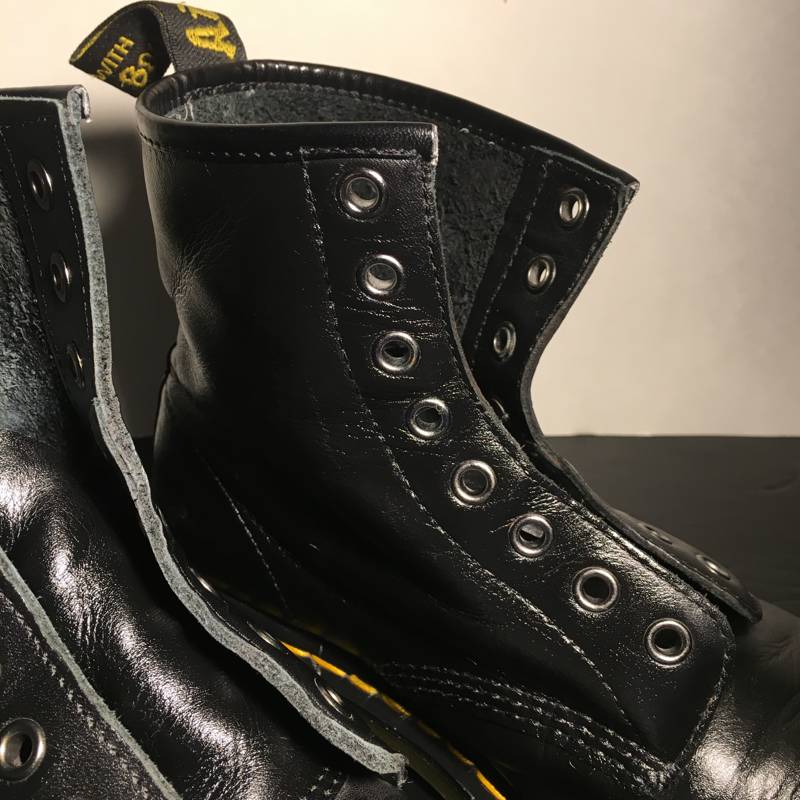
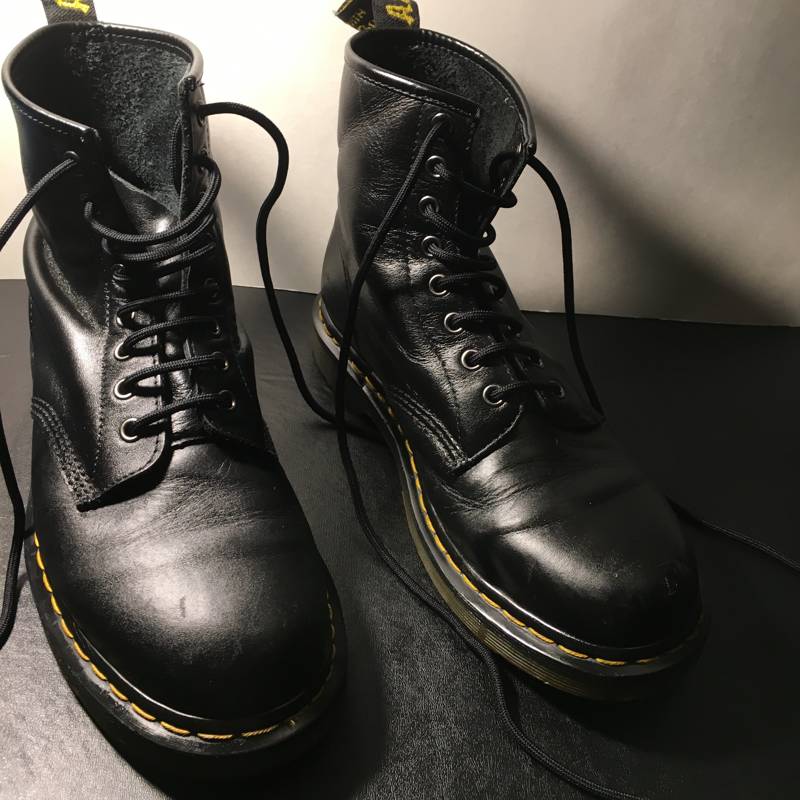
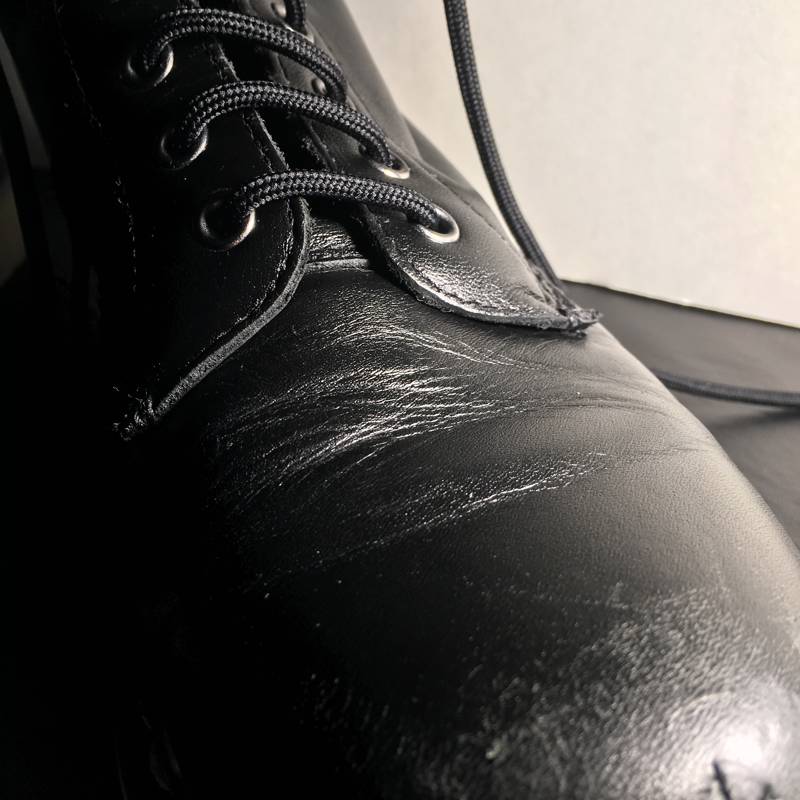
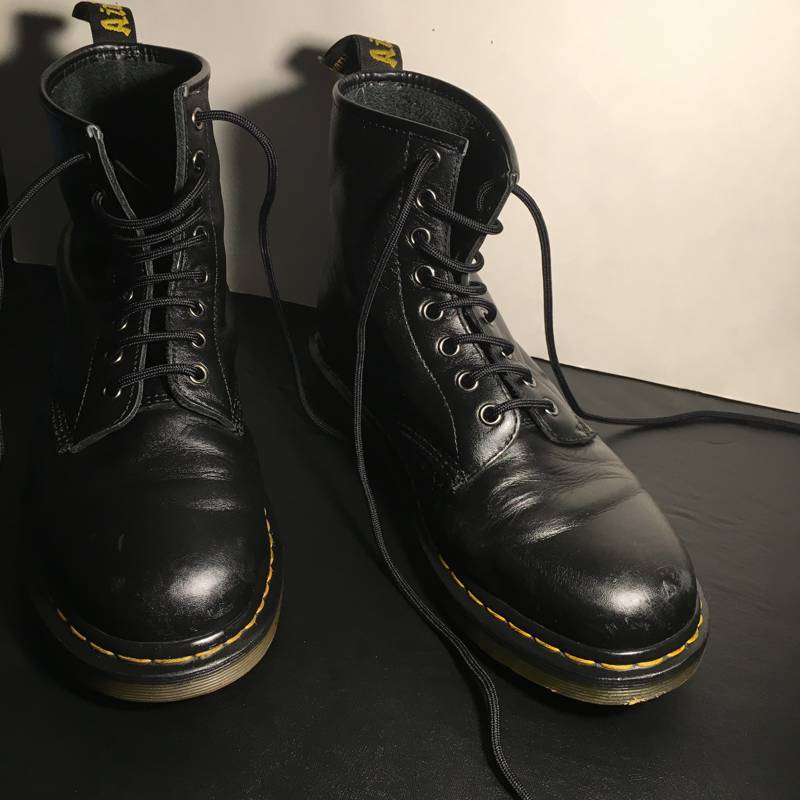
Before I get started I figured I should take some before pics of the boots after enduring two New England winters and countless home computer repair appointments.

The leather running up the back of the boot was a lot stiffer then it appears
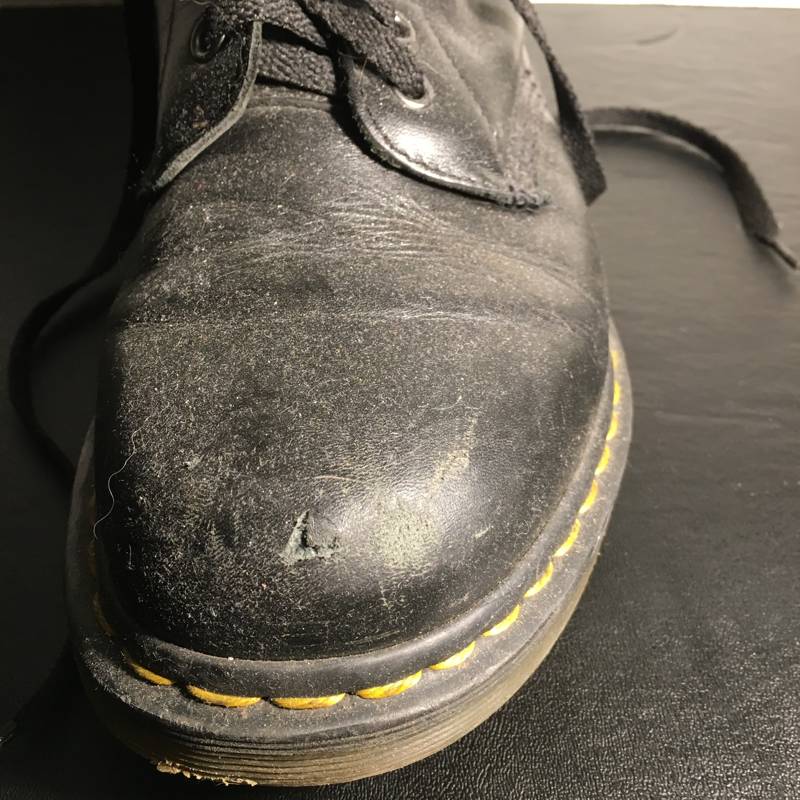
- Ouch
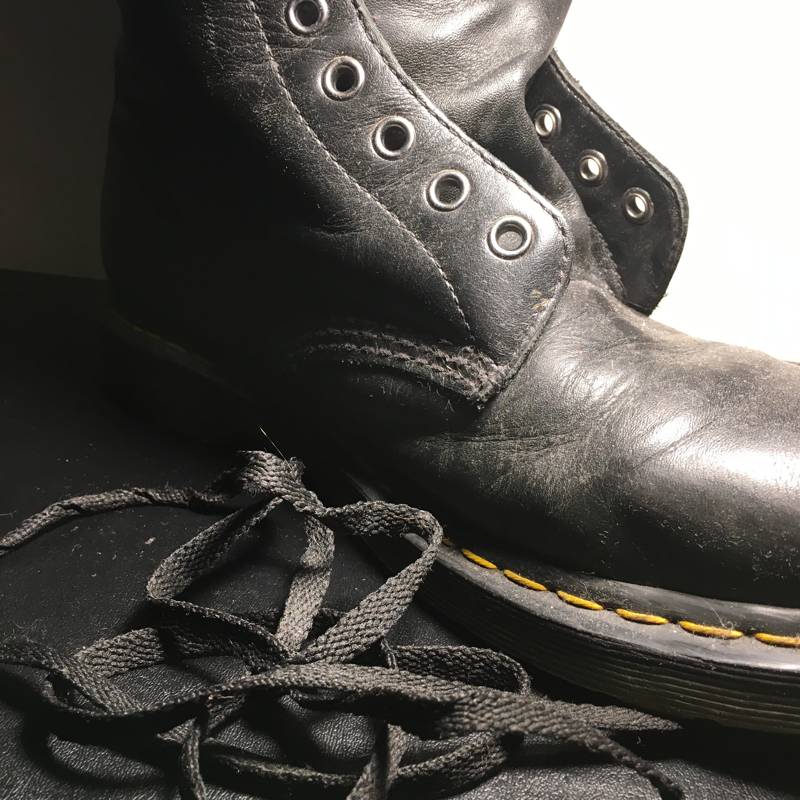
Looks like a pretty bad gash, pretty sure it was from helping somebody move. Other possible explanations:
-Angrily kicking a Windows Vista era desktop computer
-Angrily kicking something else
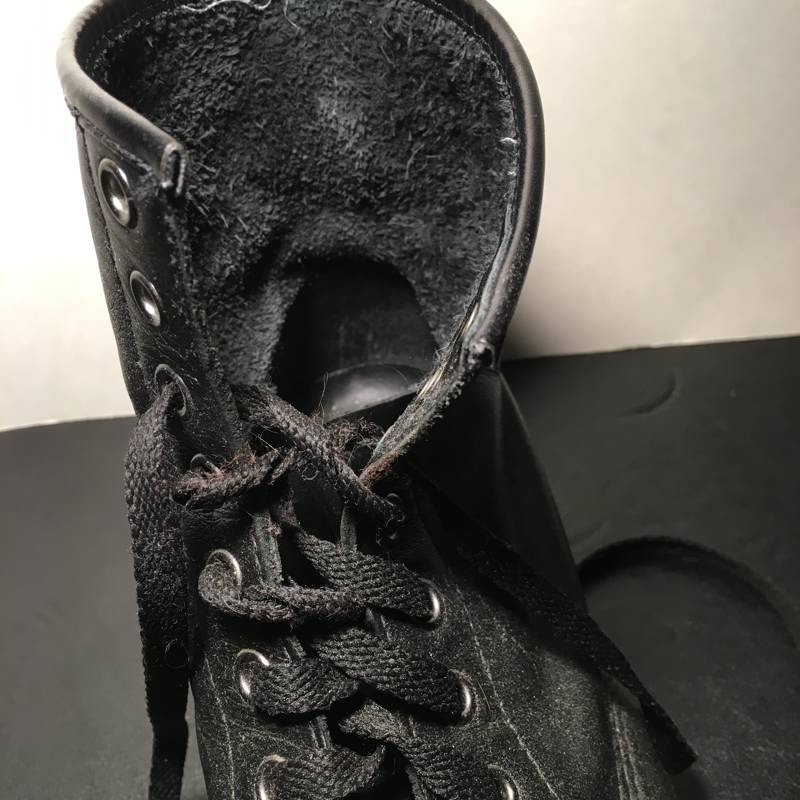
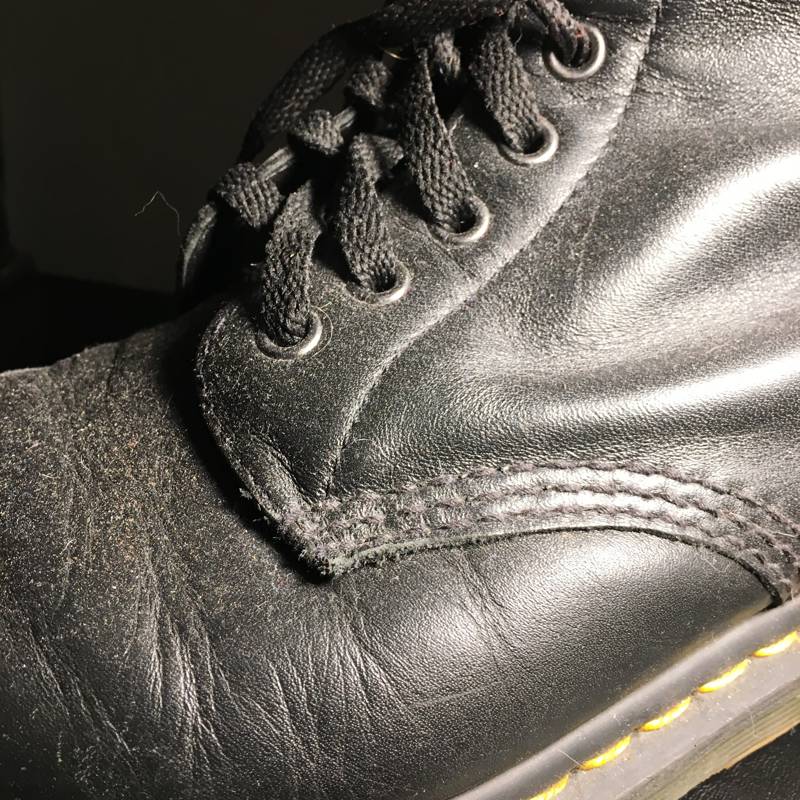
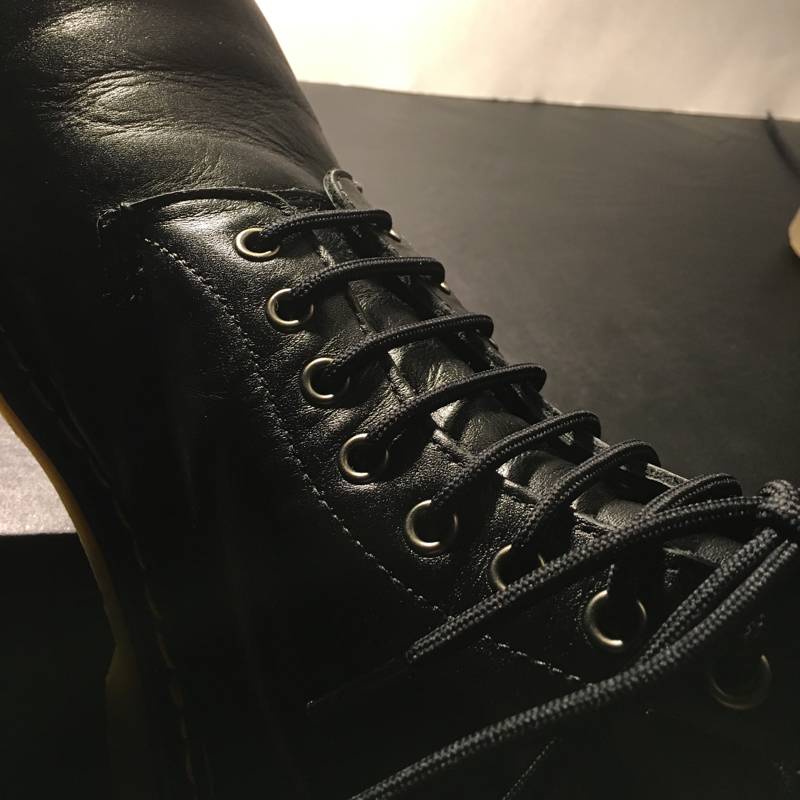
The crusty and stiff shoelaces that I ran through the boots as soon as I bought them.
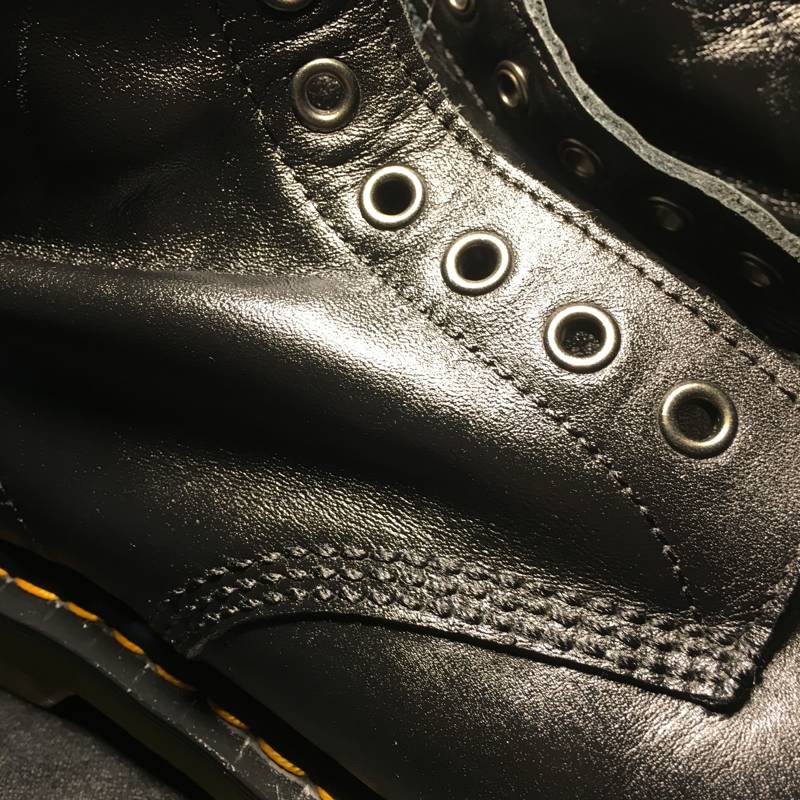
Dust and creases.

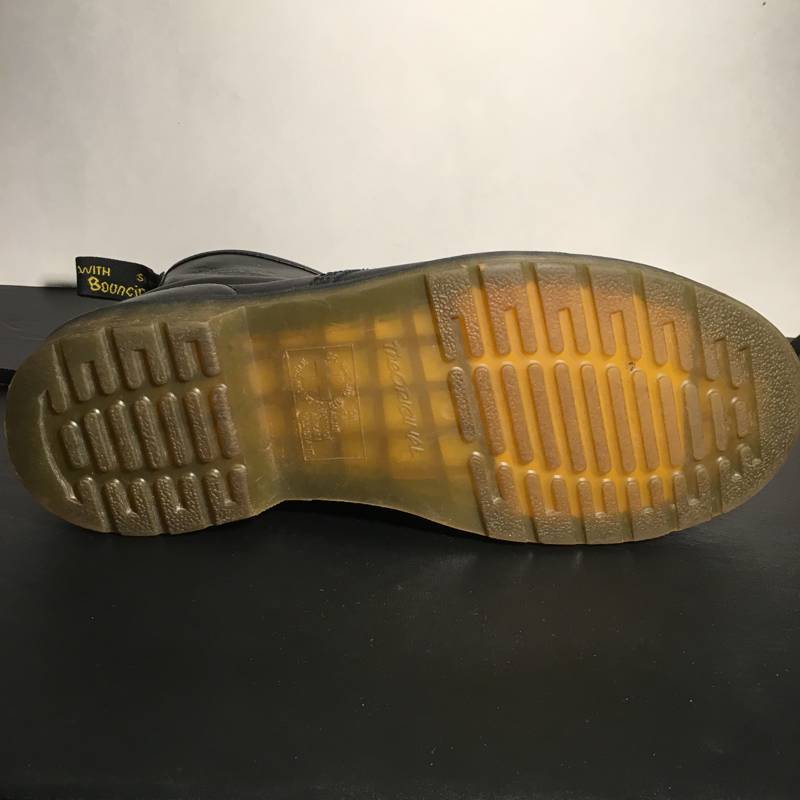
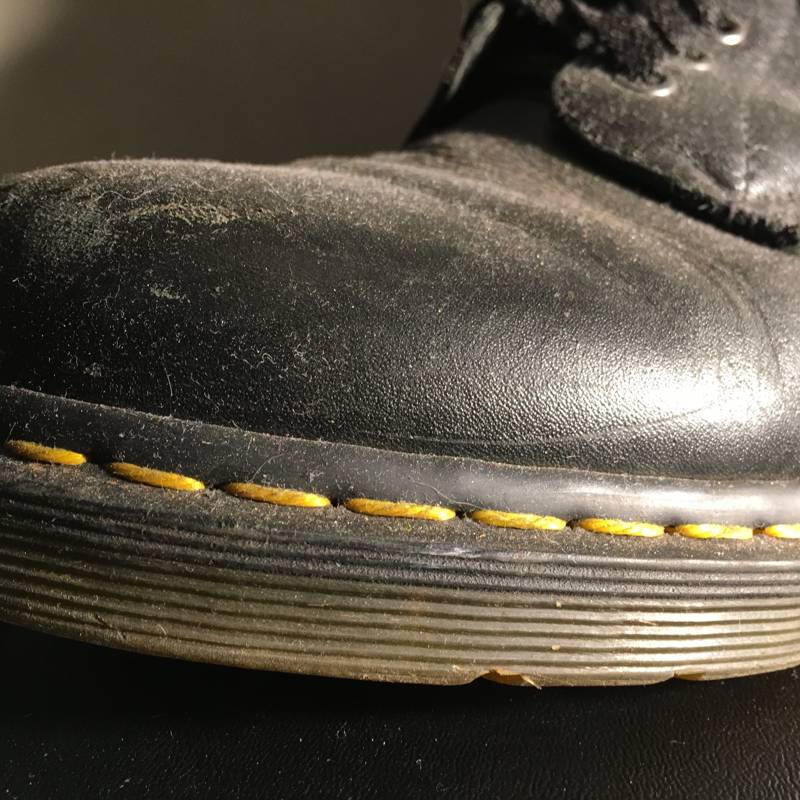
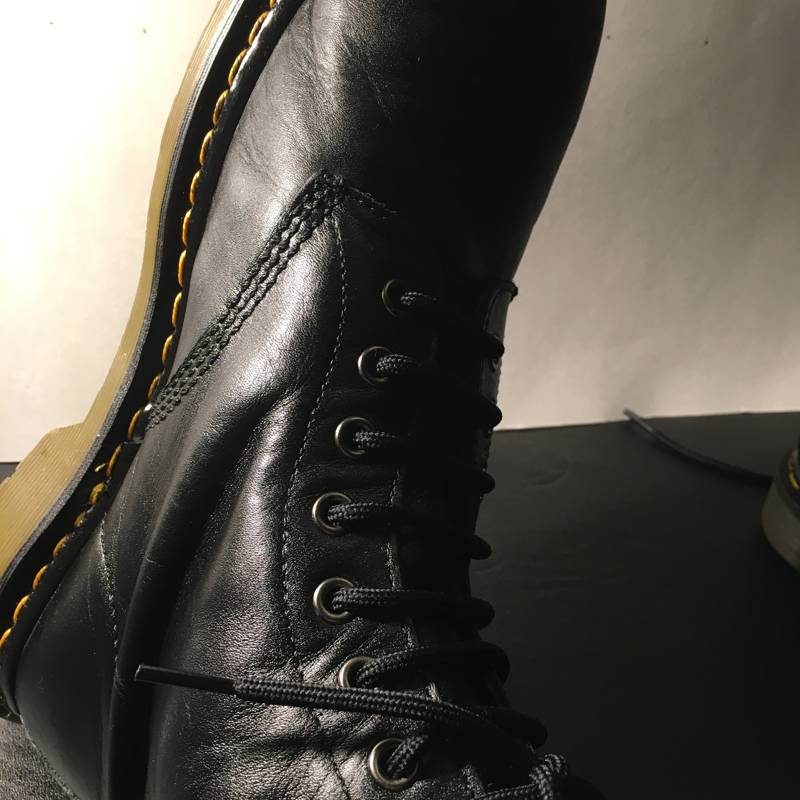
The soles of the boots are in surprisingly good condition.
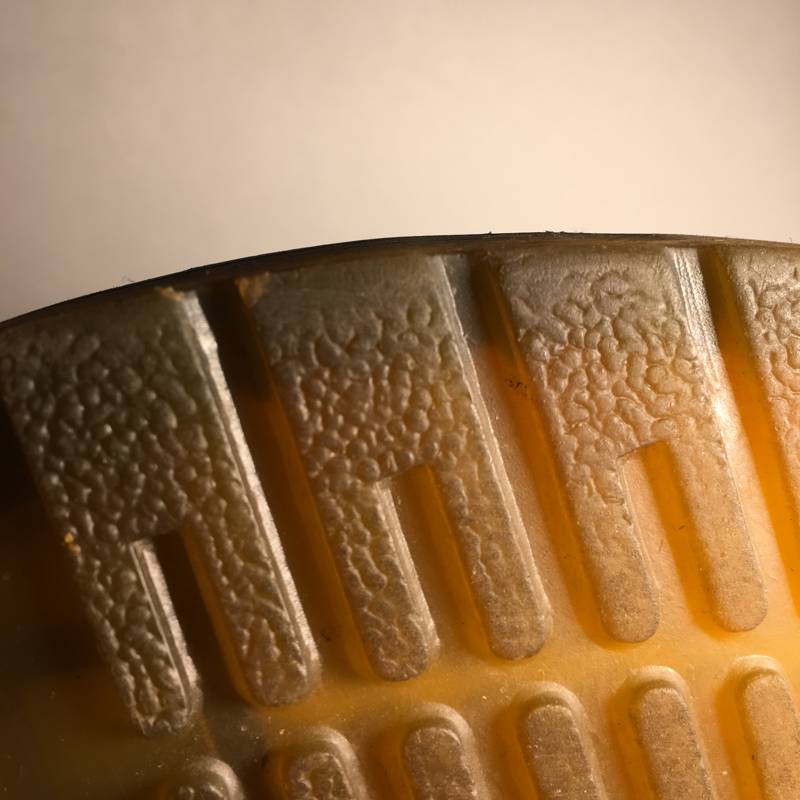
- Some wear around the edges.
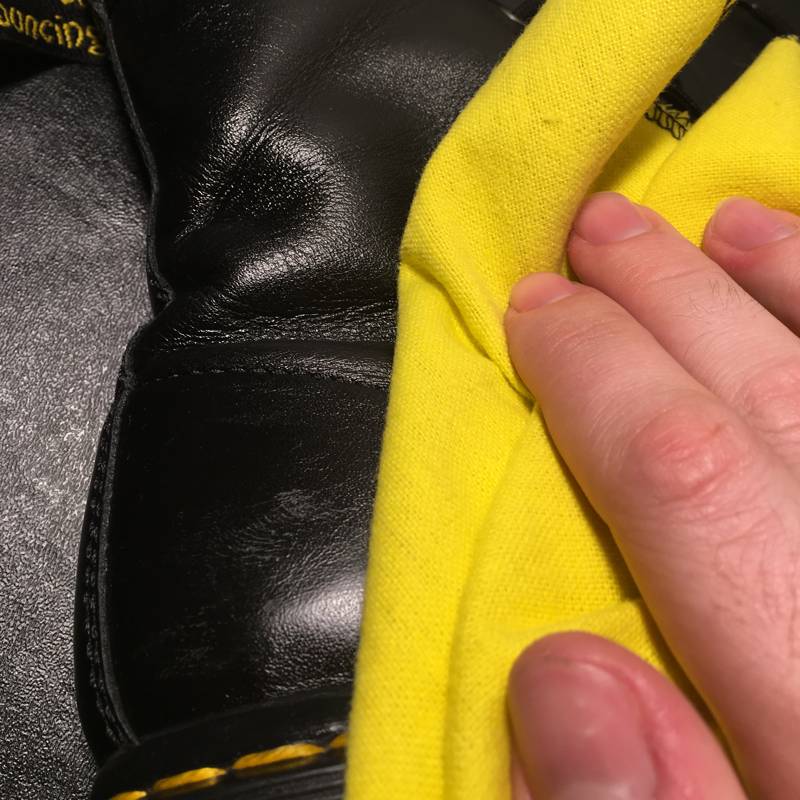
– Remove dirt with a damp cloth
I started the first step by grabbing a microfiber cloth I had laying around and running it under some warm water.
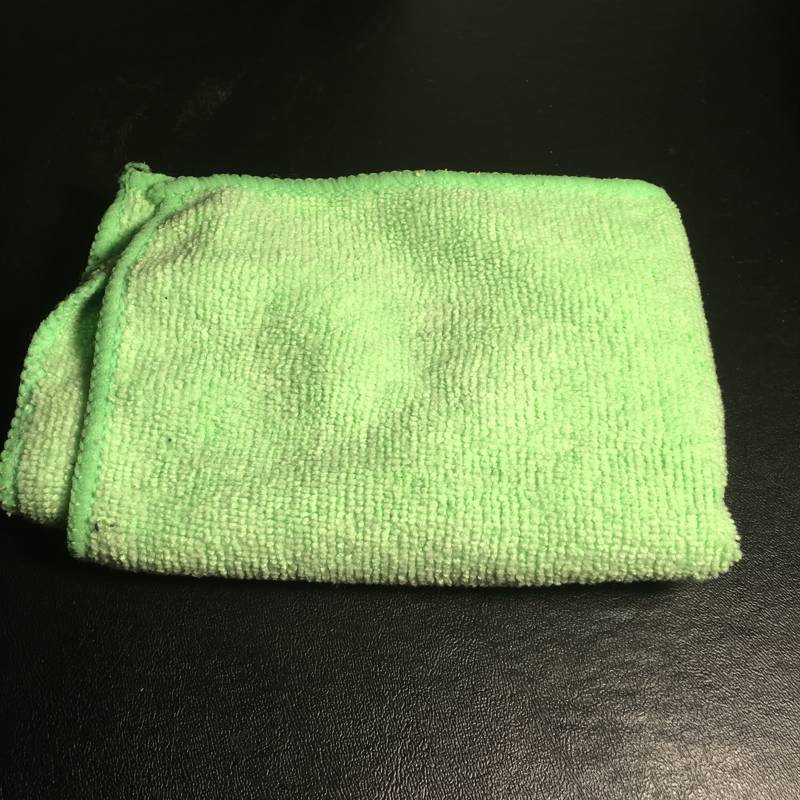
Once I squeezed the excess water from the rag, I began wiping the dust and debris from the boots.
- The healing begins
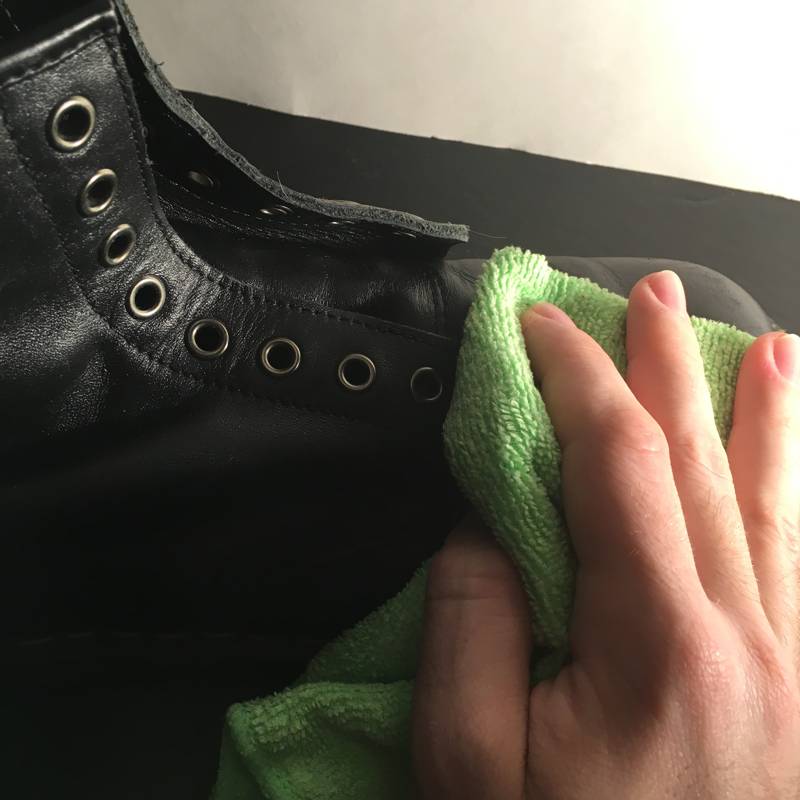

There was a lot of debris caught in and around the tongue area crease.
I used a different microfiber cloth to wipe them dry afterwards.
-
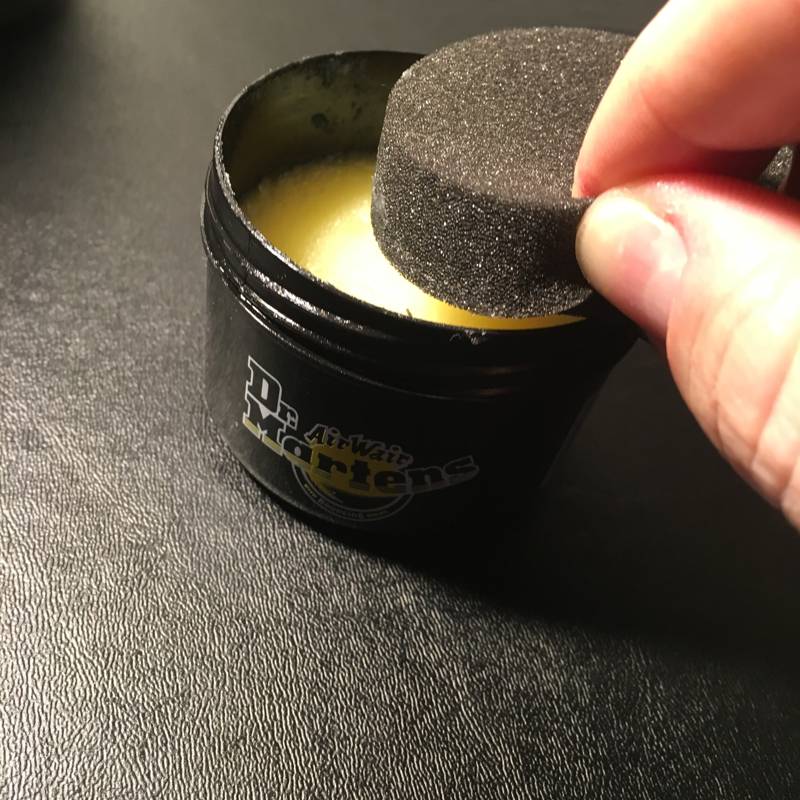
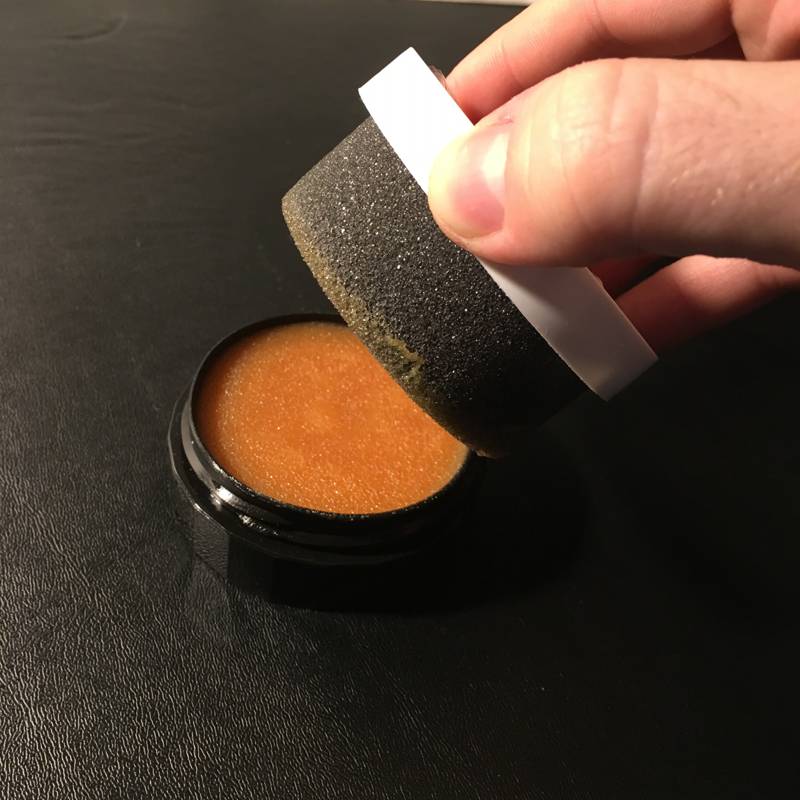
Wonder Balsam
Underneath the screw-off top of the Wonder Balsam rests a removable sponge.
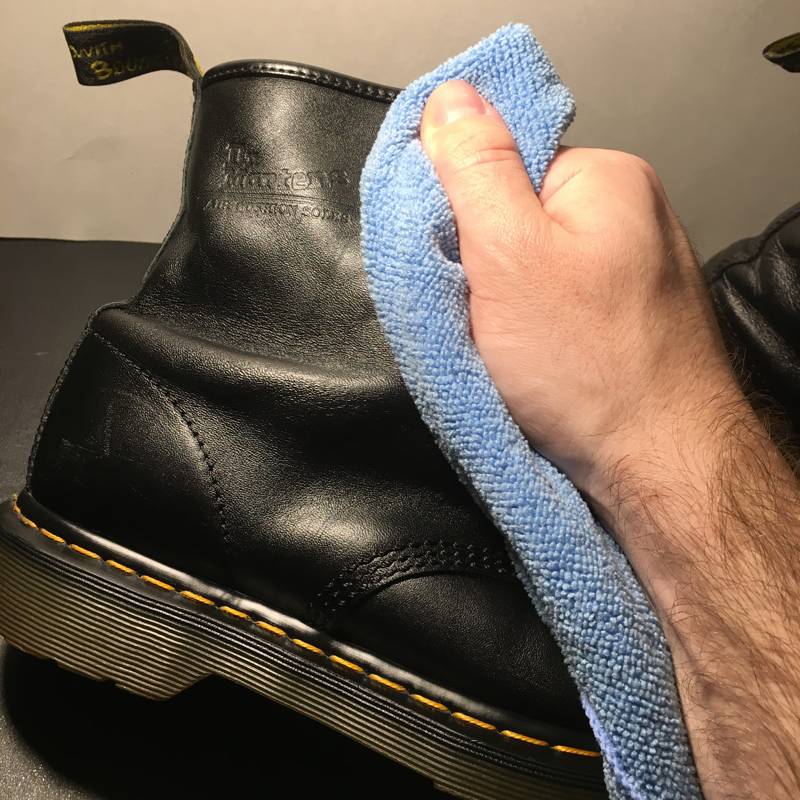
Removing the inner compartment of the container reveals the balsam. After a couple swipes of the sponge I went to work on the boots.
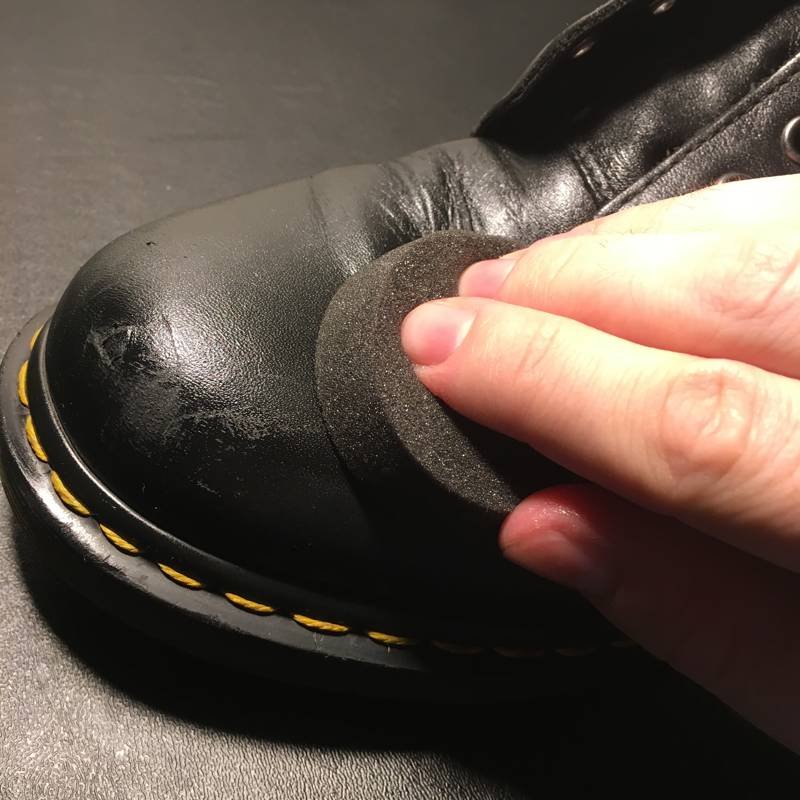
I moved the sponge in small circular motions across the surface of the boots.
I applied extra pressure around the various creases.
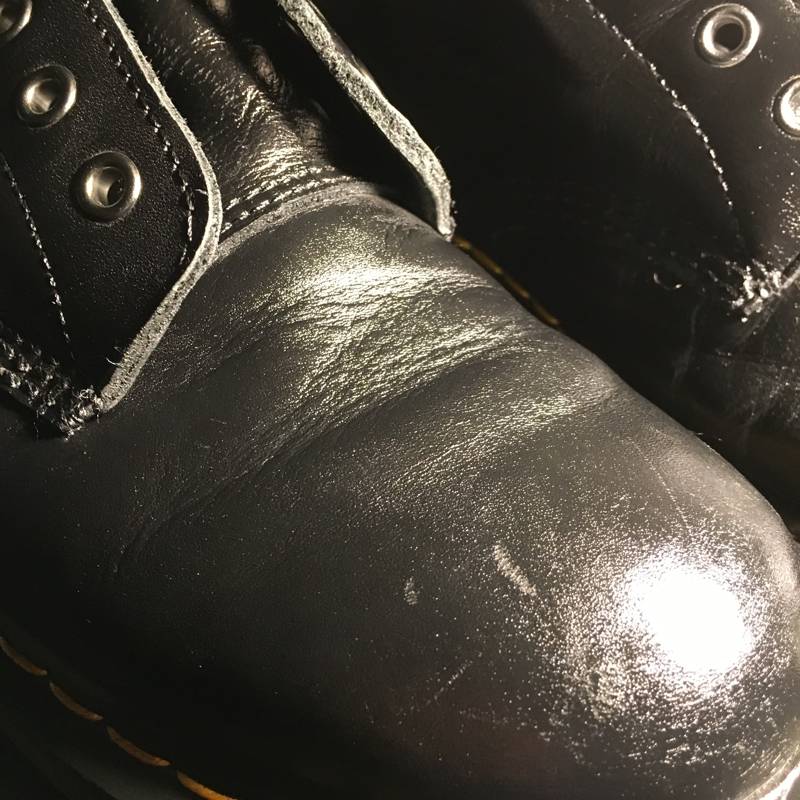
After allowing the boots to sit for 5 minutes and absorb the balsam I used a cloth to wipe off the excess.
The leather felt significantly softer and more pliable after the balsam treatment.
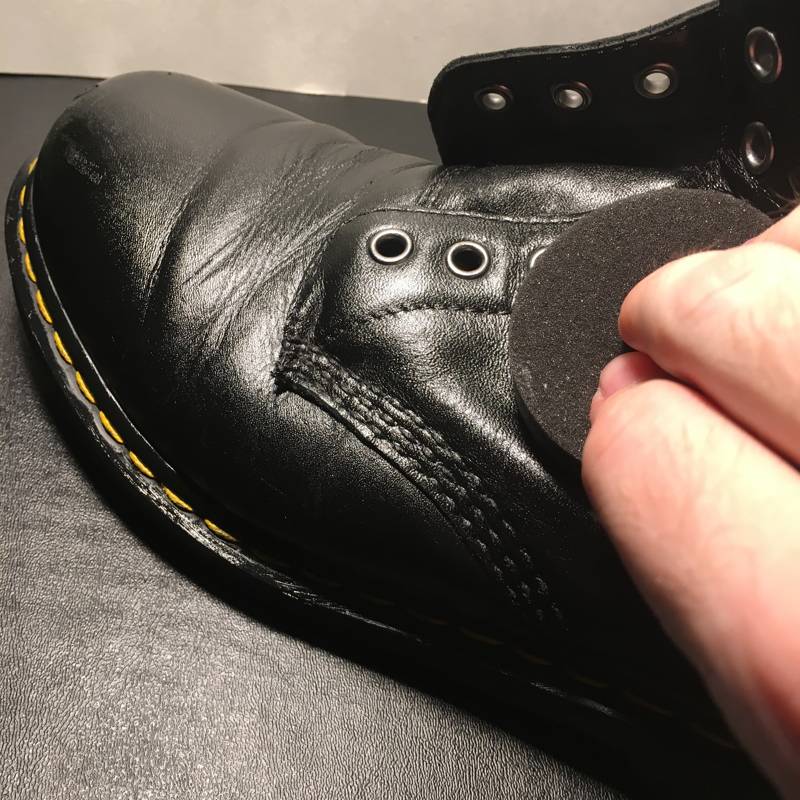
Shoe Polisher Mini Sponge & Dubbin
The dubbin sort of has a pomade consistency.
- The sponge remains attached to the inner cap
After twisting and rubbing the sponge in the dubbin I started applying it to the boots.
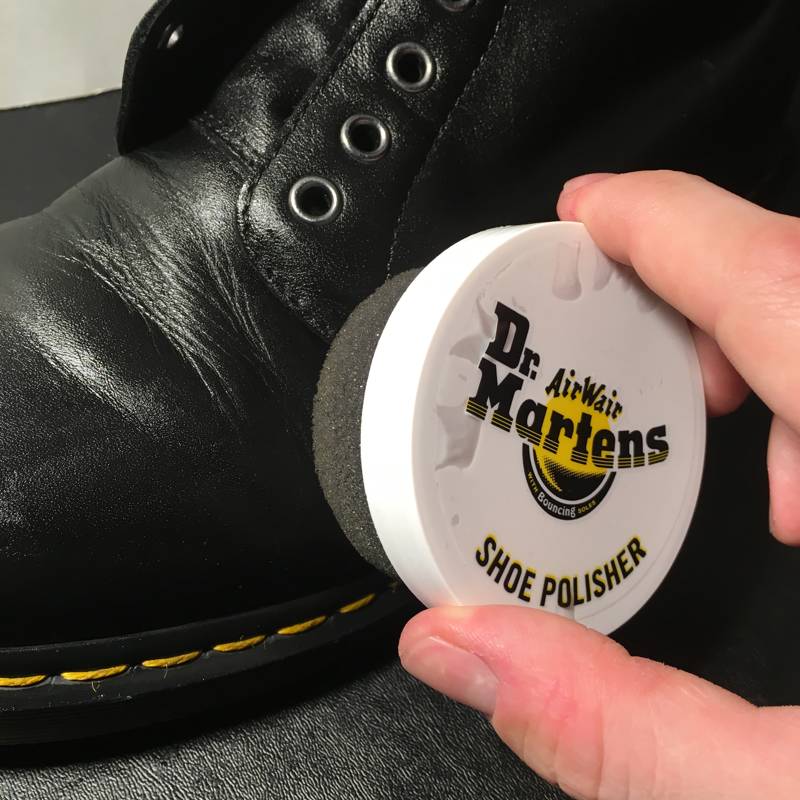
I continued applying the dubbin in circular motions around the entire surface of the leather.
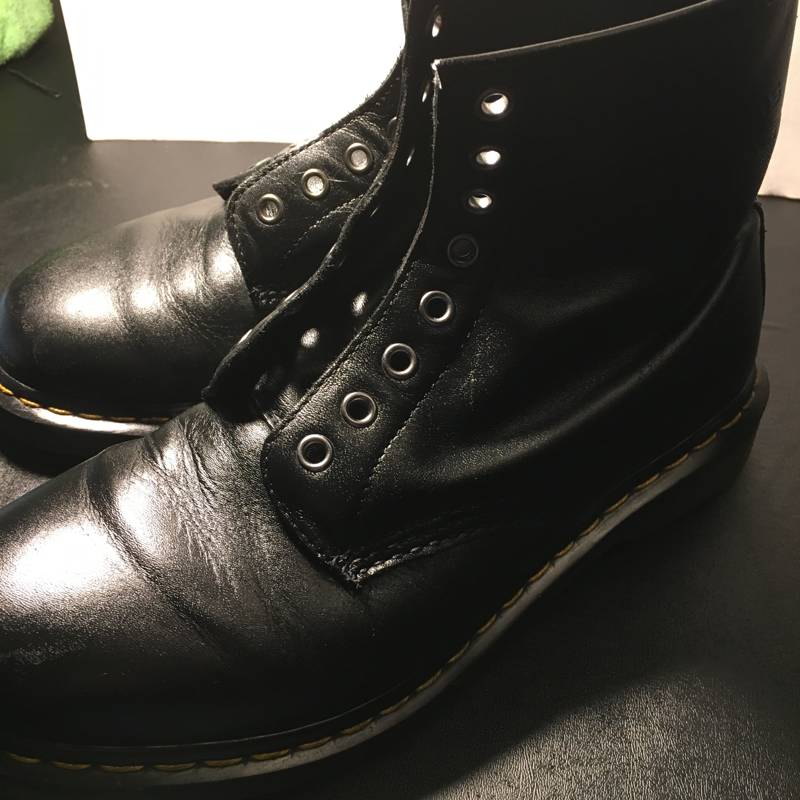
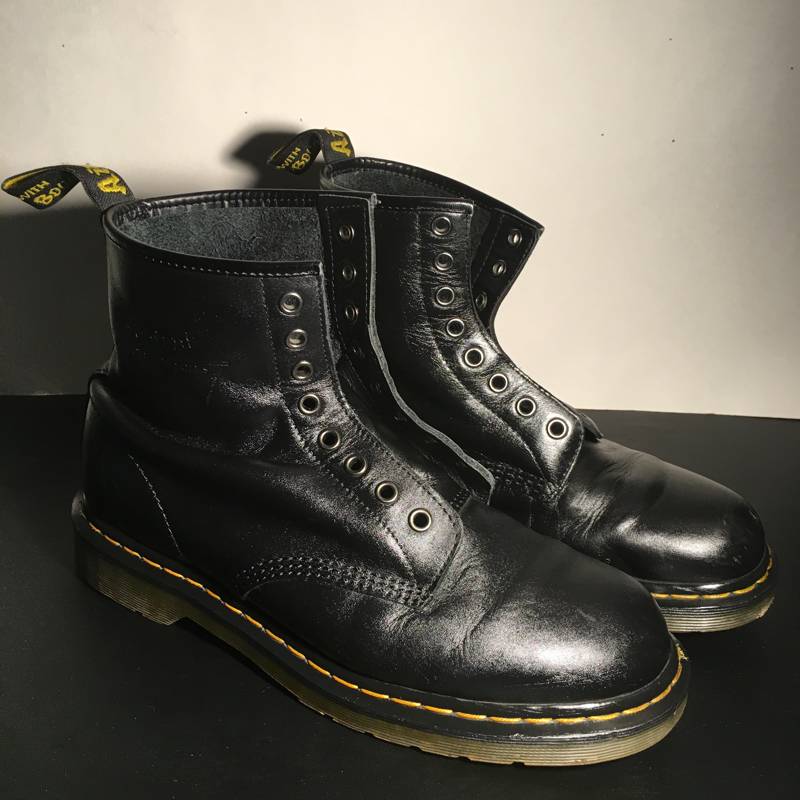
- All shined up
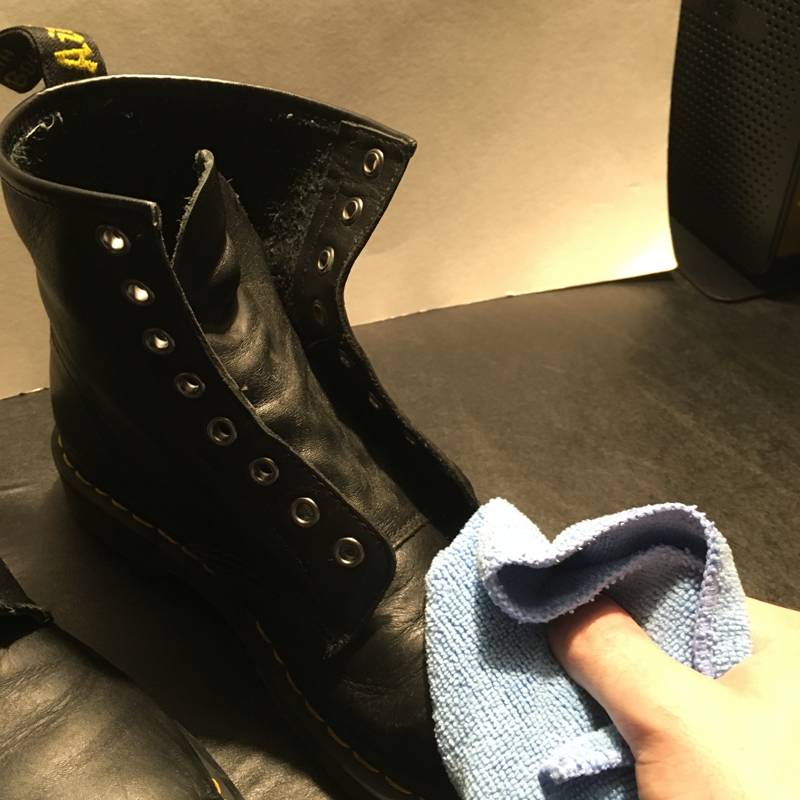
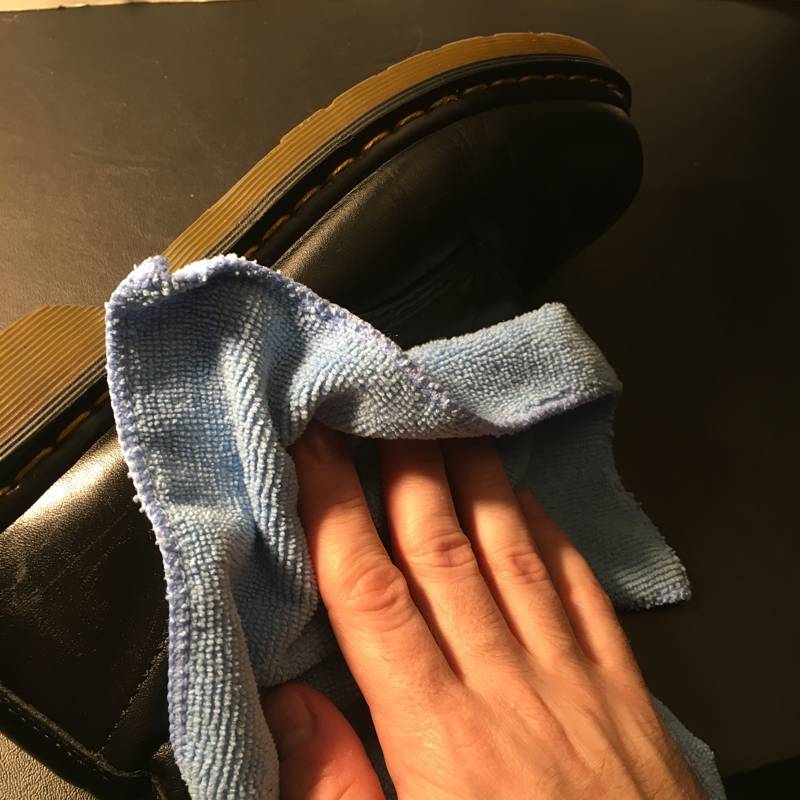
- Duster Cloth
I used the duster cloth that came with the kit to wipe up any excess dubbin off the boots.


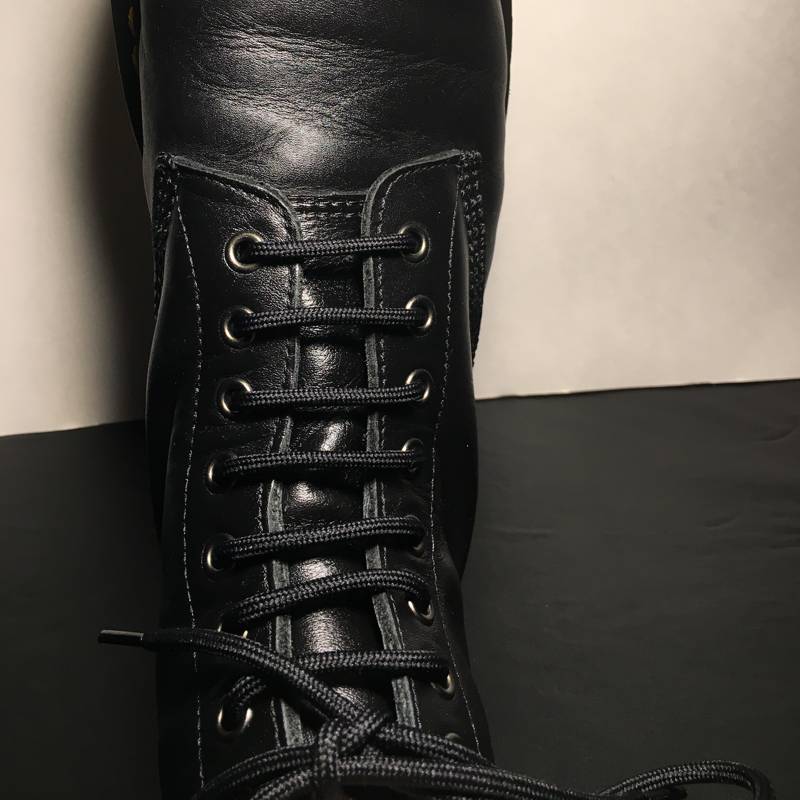
I went with the black laces although the yellow/brown ones seemed pretty cool too.
A quick google search taught me how to ladder lace the boots.
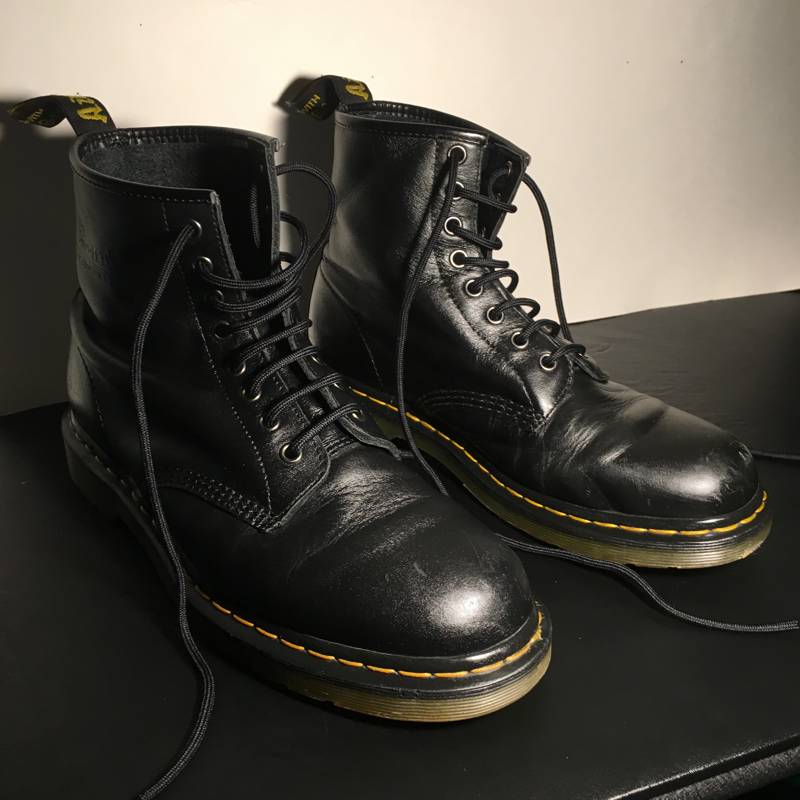
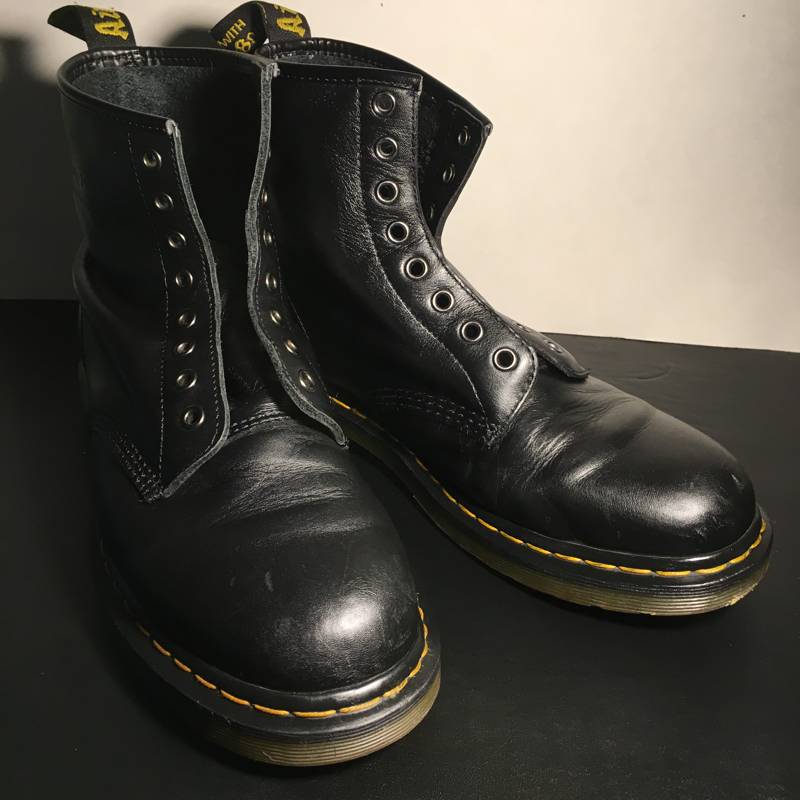
Undoubtedly, these boots would have looked even better with regular treatments as opposed to waiting a couple years. However the effort wasn’t completely in vain.
I must say that this care kit was worth picking up and really seems to have revived these boots from the grave.
This was helpful. Bought the same kit for my 27 yr old ox bloods. Didn’t know which to do first.
Glad I could help. I’ll probably treat my boots again sometime soon since it’s been about 8 months since I posted the article.
Hey thanks allot was very spotty on why to do first found an old pair of docs for $4 and decided to repair them a bit, now they’re good as new and a total investment of $24 ain’t to shabby
Thank you so much! Was looking around for exactly how to clean my docs with these products and this is the most helpful post I’ve found.
Thanks for the help! I was wondering what the hell I just bought for my new Docs. I’ve always used Kiwi shoe paste and conditioner, but this stuff looks fancy 🙂
thanks for the article, this was helpful! 🙂
No problem!