Defanging a Vypyr
Like many Peavey Vypyr fans I grew tired of the cheap, plastic, fang-shaped faceplate that’s attached to the front. It has this childish Batman-like quality to it and I felt that this amp deserved better. Forums suggested that removing it wasn’t difficult so I thought I’d give it a shot.
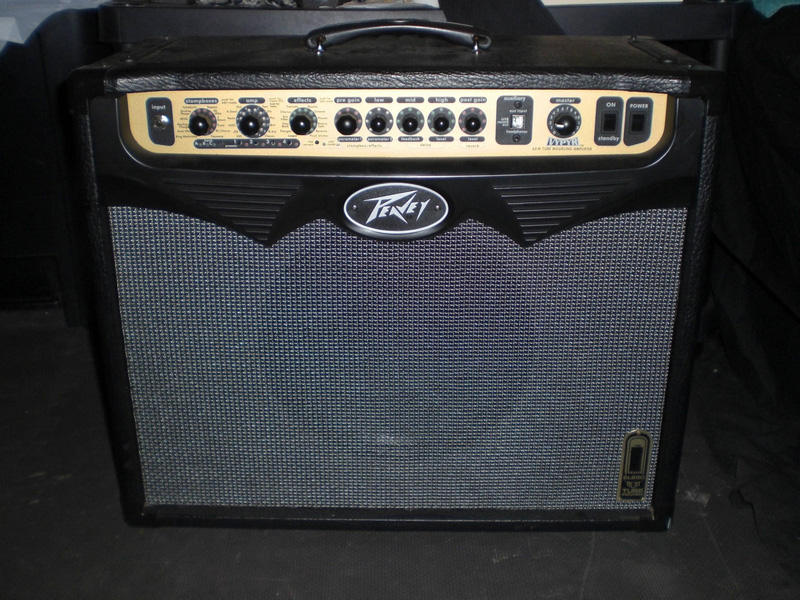
The faceplate appears to be held in place by 4 screws. They can be removed from the back of the amp.
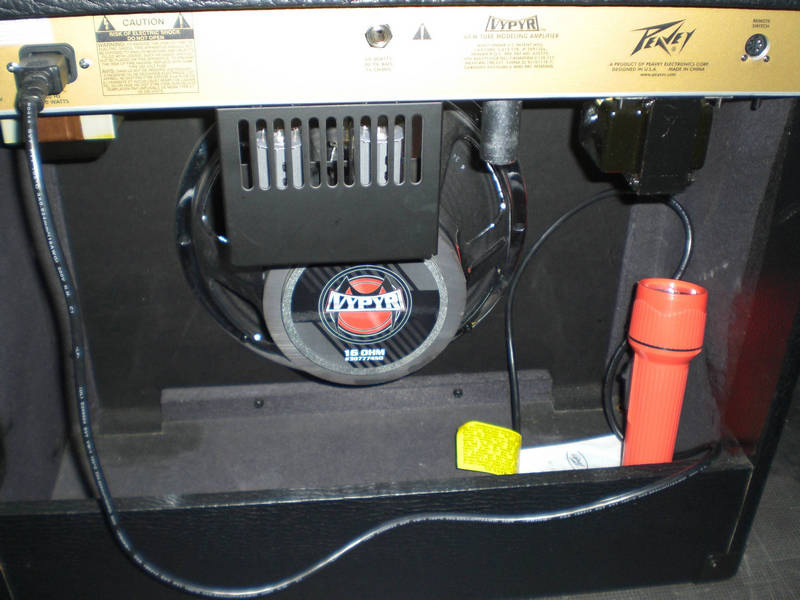
I set up this flashlight while I grabbed a standard Phillips head screwdriver.

The first three screws were pretty easy to remove. However there is one VERY awkward screw which requires a little extra attention. You’ll need some strange angling to get at this one. I managed to loosen it enough that I was able to use my fingers to unscrew it the rest of the way.
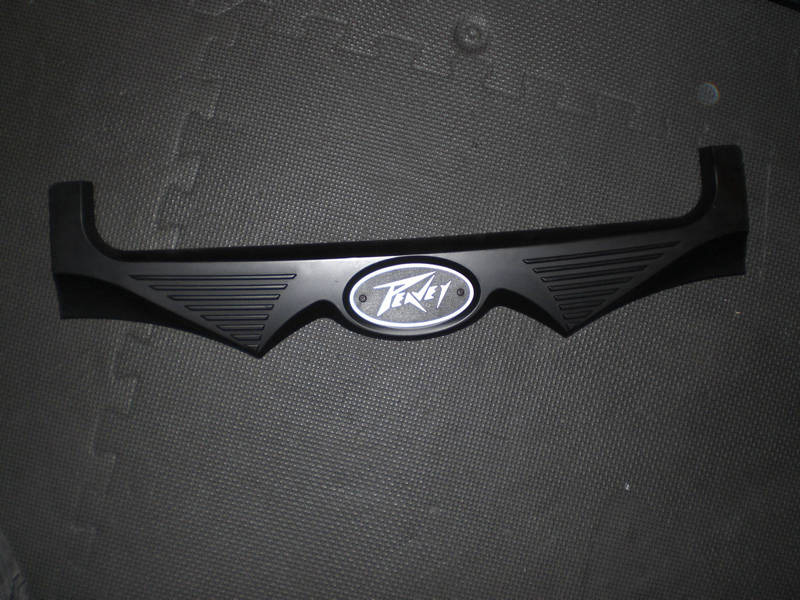
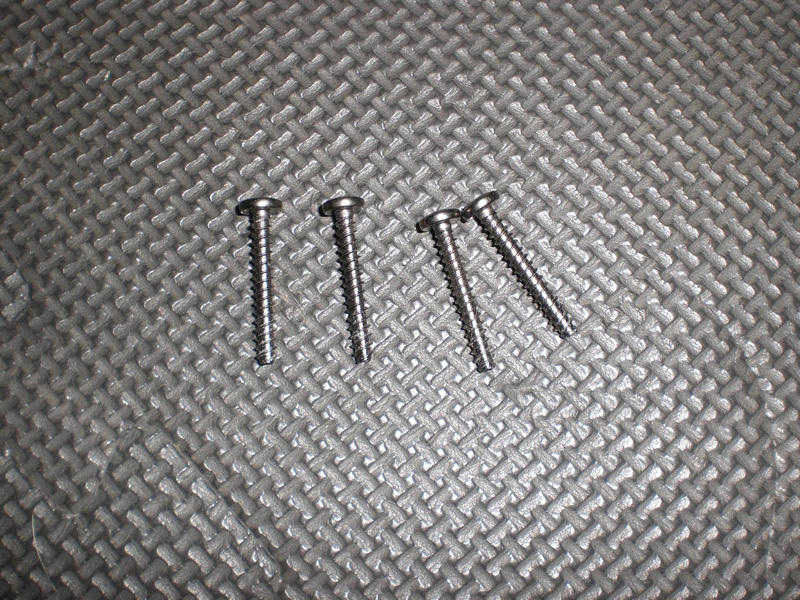

Afterwards, I taped the screws on the inside of the Vypyr’s faceplate in case I ever wanted to reattach it.
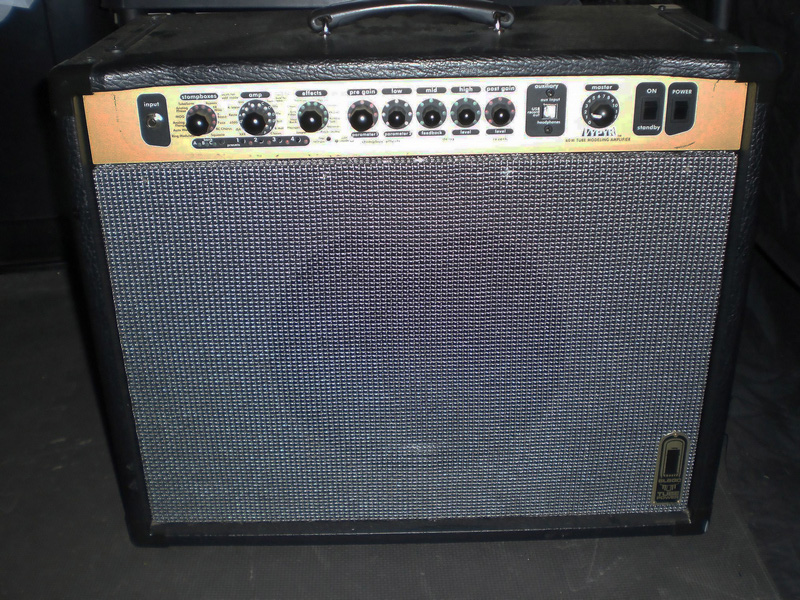
Upon removal there was some grime underneath the faceplate. Consequently there was also a noticeable gap between the grill cloth and gold console.

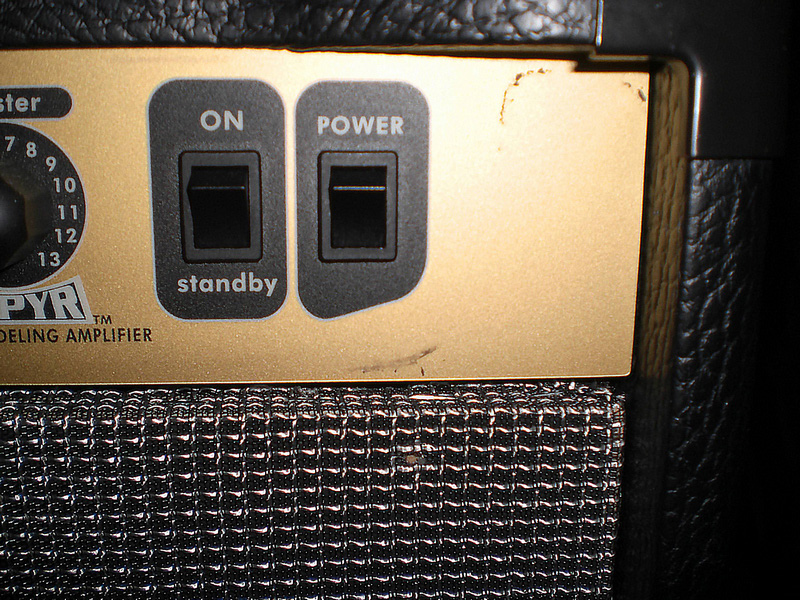
In any case, the residue wiped off pretty easily using a paper towel and some lighter fluid. Goo Gone would have worked as well.

Another forum suggested clipping the ends off a cable to fill the gap where the faceplate was. Thus, I grabbed an old PC power cord laying around and snipped the tips.
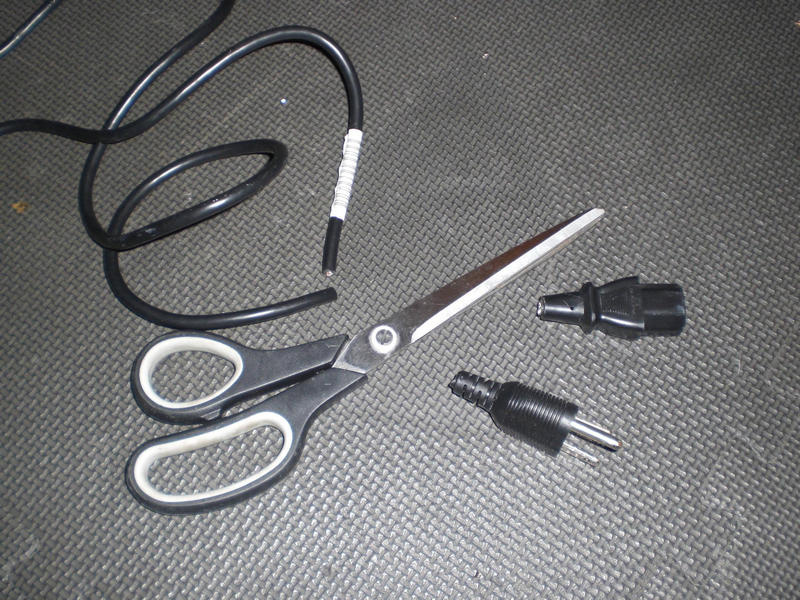
Comparatively, I trimmed the remaining wire to fit lengthwise across the front gap. I made sure any visible text on the cord was facing inward before pressing the wire into the gap. It actually fit perfectly, I didn’t even need any glue.

Notice the cord fit snugly within the gap.
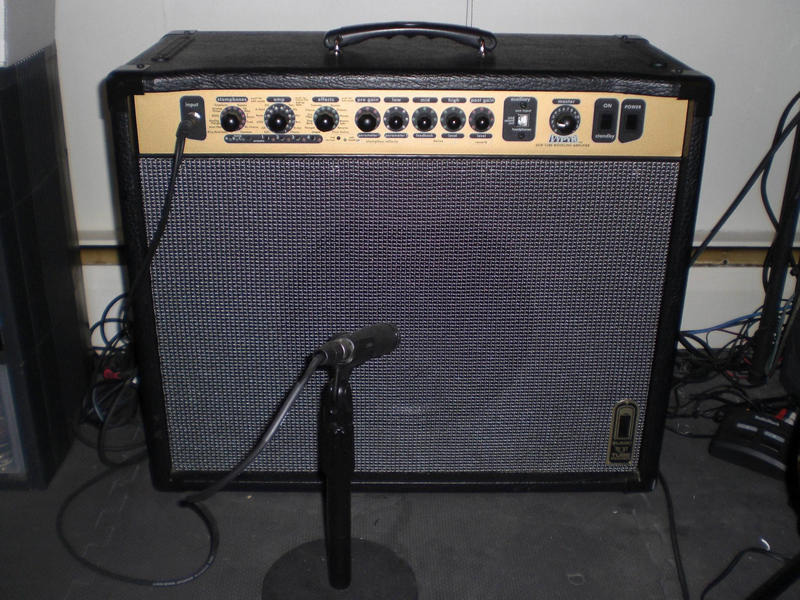
All in all the amp definitely looks more “real” or “vintage” now and personally I think it looks better this way.
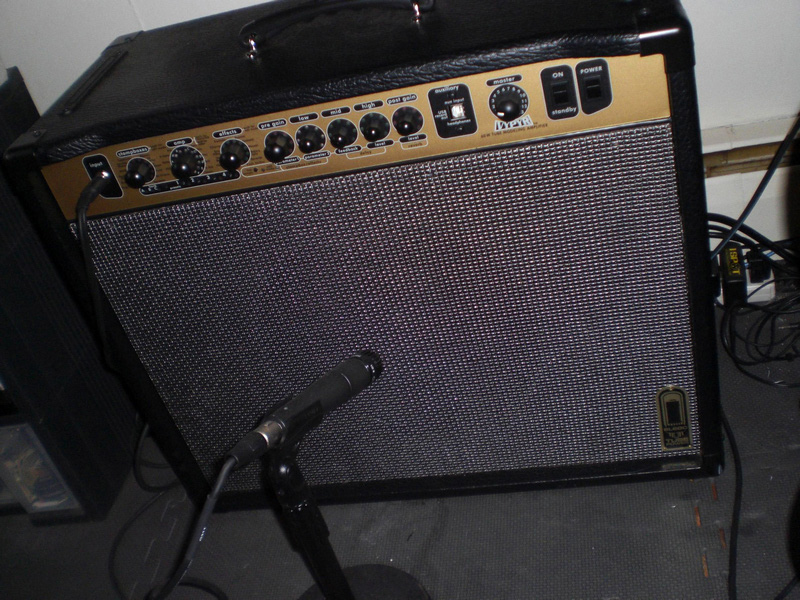
As for the Peavey logo, others have removed it from the faceplate and screwed it directly into the wood in the same location. I decided to leave it off though.
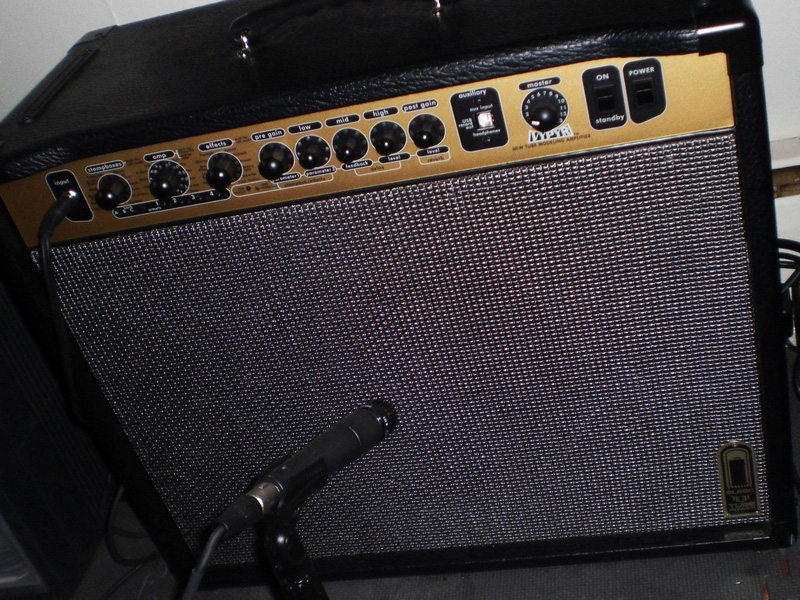
All in all, turned out pretty good. Not to mention this mod cost absolutely nothing on my part.
That’s all I have to say about that.


This is great. I’m researching amps as a beginner and my biggest con to the Peavey is that hideous logo and faceplate. I’m a graphic artist and was literally going to go with a Fender on aesthetics alone.
Thank you for this hack!