
EMG Het Set Pickups
After obtaining a beautiful guitar through a Craigslist trade I was immediately disappointed with the overall sound of the pickups. The Seymour Duncan “Blackouts” it was equipped with produced an extremely overdriven and distorted tone that was not at all what I was looking for, so I thought I’d try something new.
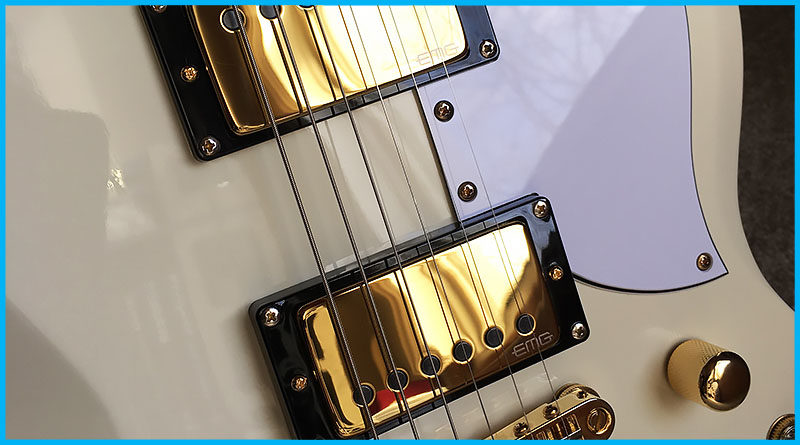
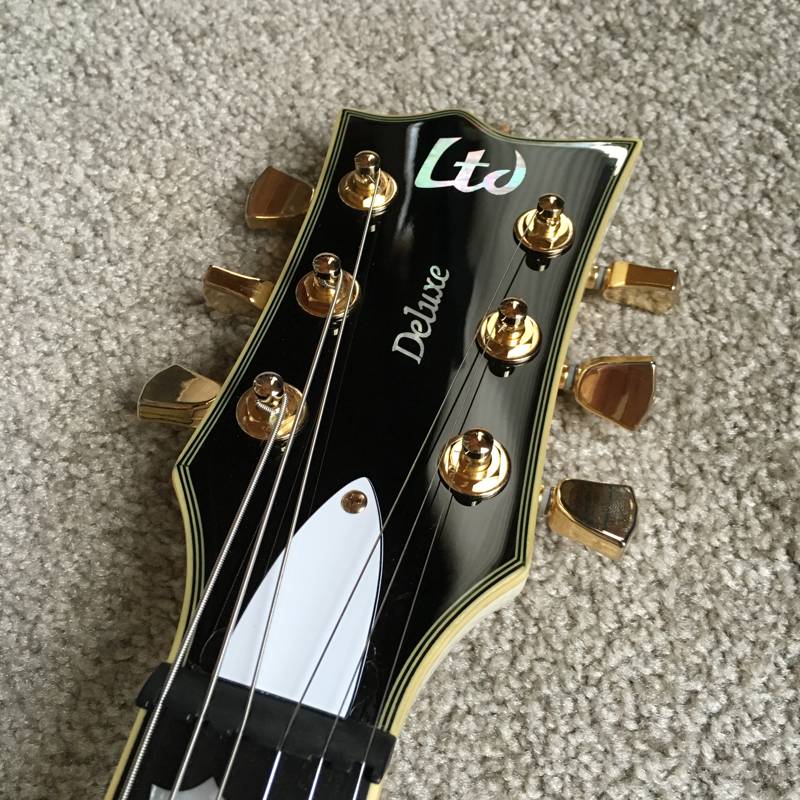
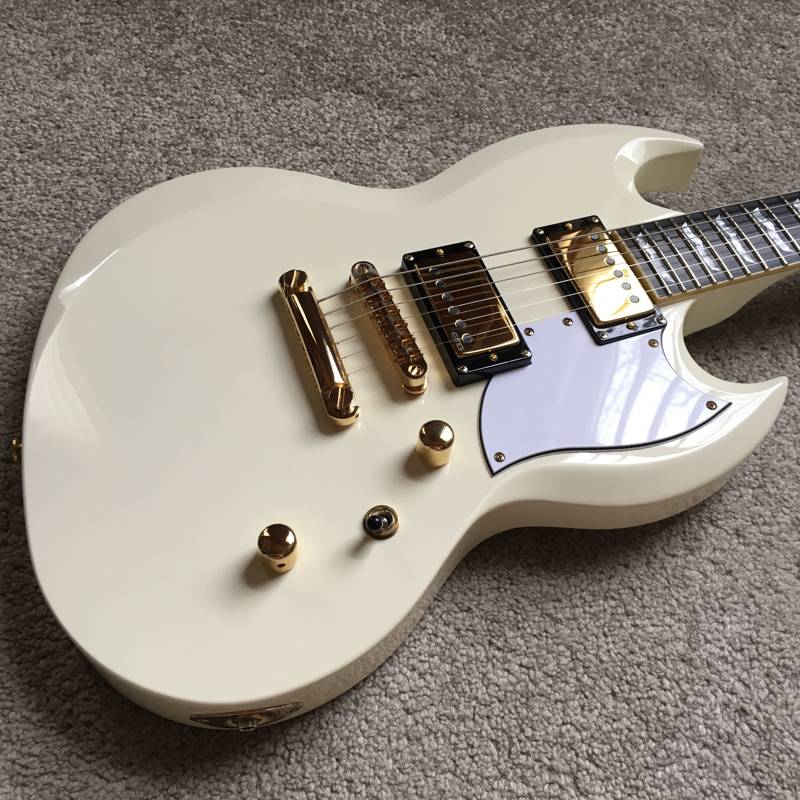
My initial instinct was to order an EMG 81/85 set and be done with it but I decided to give it a little more thought as this ESP Ltd guitar, in its “Olympic White” glory, had a vintage look that I didn’t want to disrupt with a set of solid black, soap bar, looking pickups.
It wasn’t soon after that I found out that Metallica’s frontman and rhythm guitarist James Hetfield had come out with his own signature set of active EMG pups that had a nice vintage look to them that I thought would suit this guitar well.

The JH James Hetfield Humbucker Set arrived within a few days after I placed the order online. I figured I’d at least give them a shot and if they really weren’t the sound I was looking for I’d just return them and grab the 81/85 set like I originally intended.
I don’t think I’ve ever purchased brand new pickups before so it felt kind of weird. The packaging was nice though.
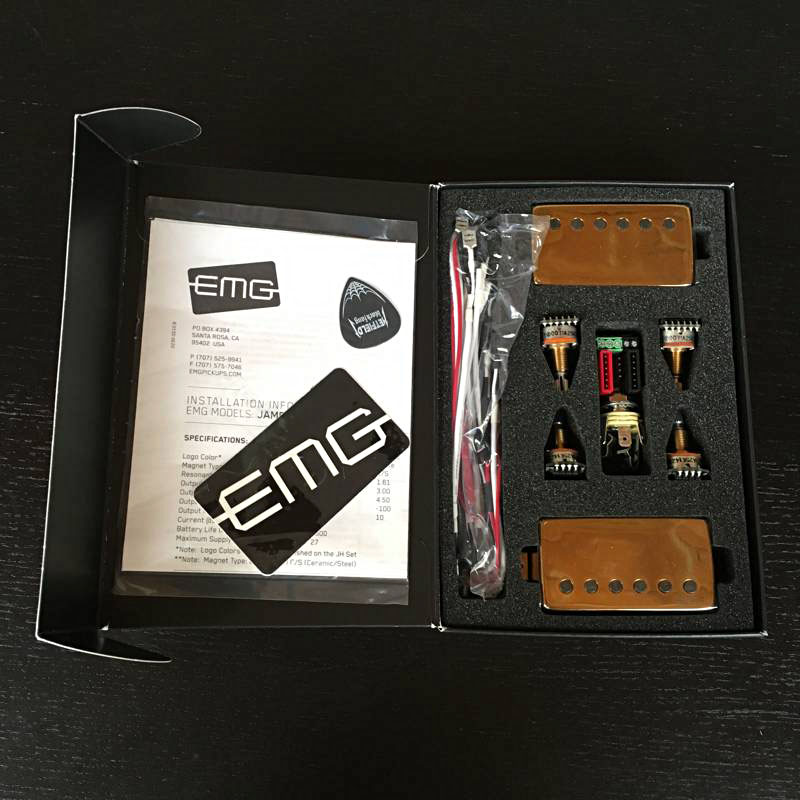
The JH Set consists of the JH-N (Neck) and the JH-B (Bridge). The product description was also boasting about being a “solderless install” which I didn’t even know was a thing.

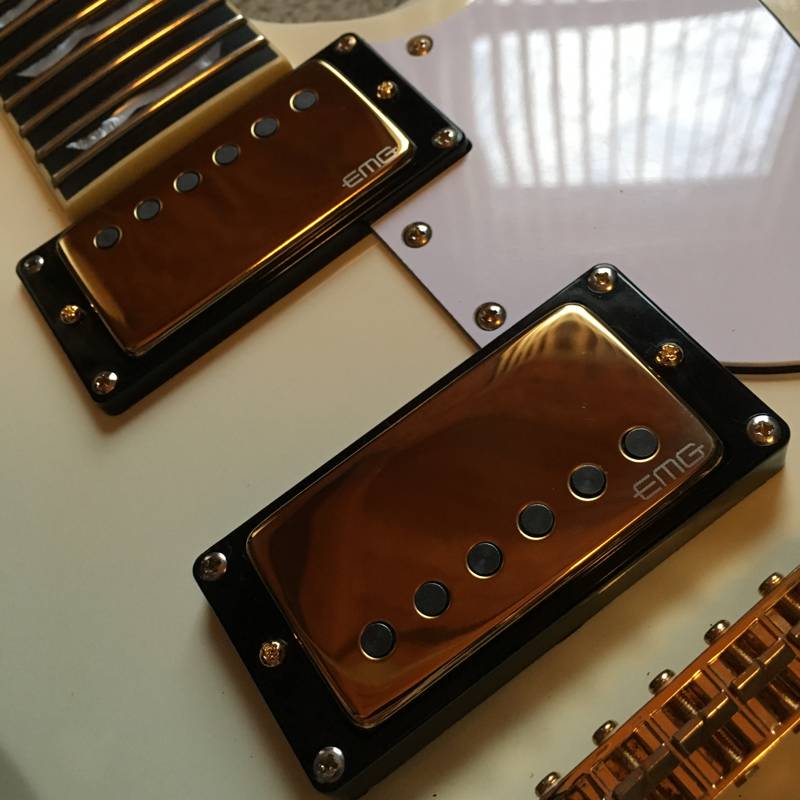
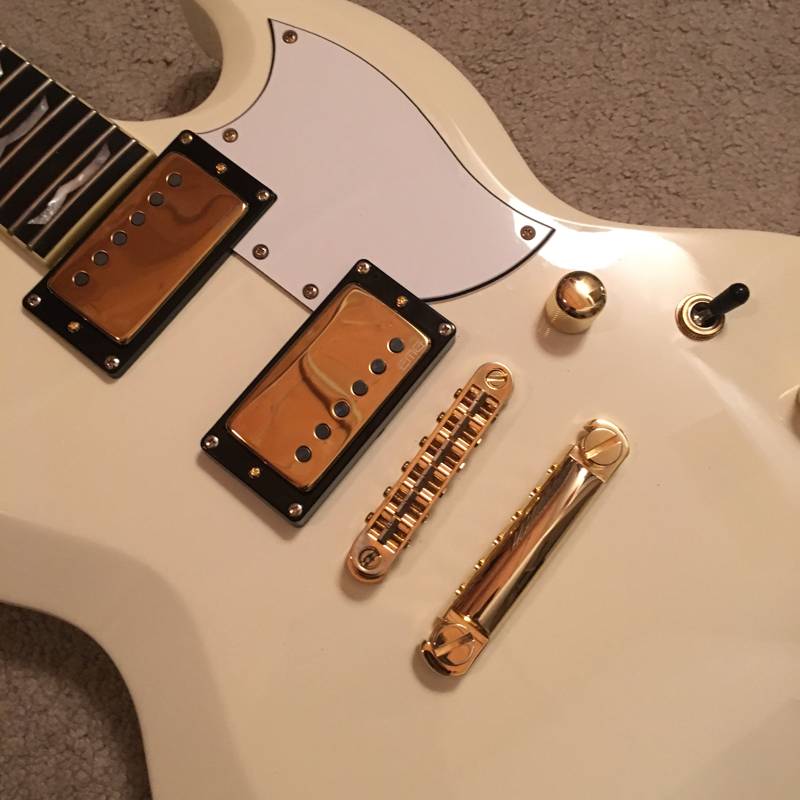
Everything was seated comfortably in their places and the Gold pickups shined nicely. Other color options available were Brushed Gold, Chrome, Brushed Chrome, and Brushed Black Chrome.
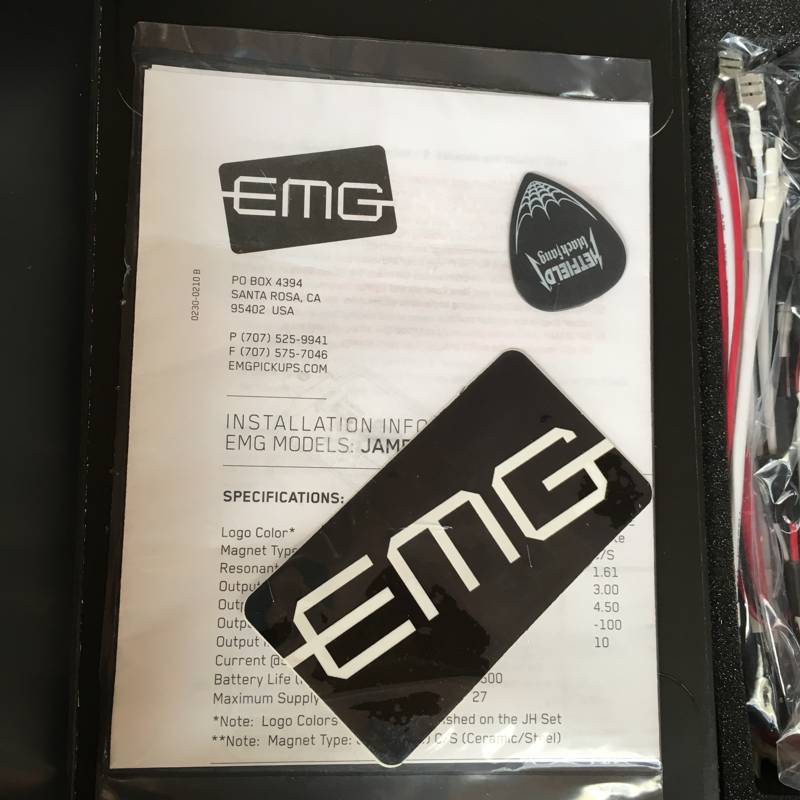
Along with a wiring guide the packaging also included and EMG sticker as well as one of James’ signature guitar picks.

The pick is a Dunlop ULTEX at 1.14mm in thickness entitled “Black Fang.”

After removing the strings it was time to rip the pickups out.
I started by removing the 4 screws around each pickup bracket.
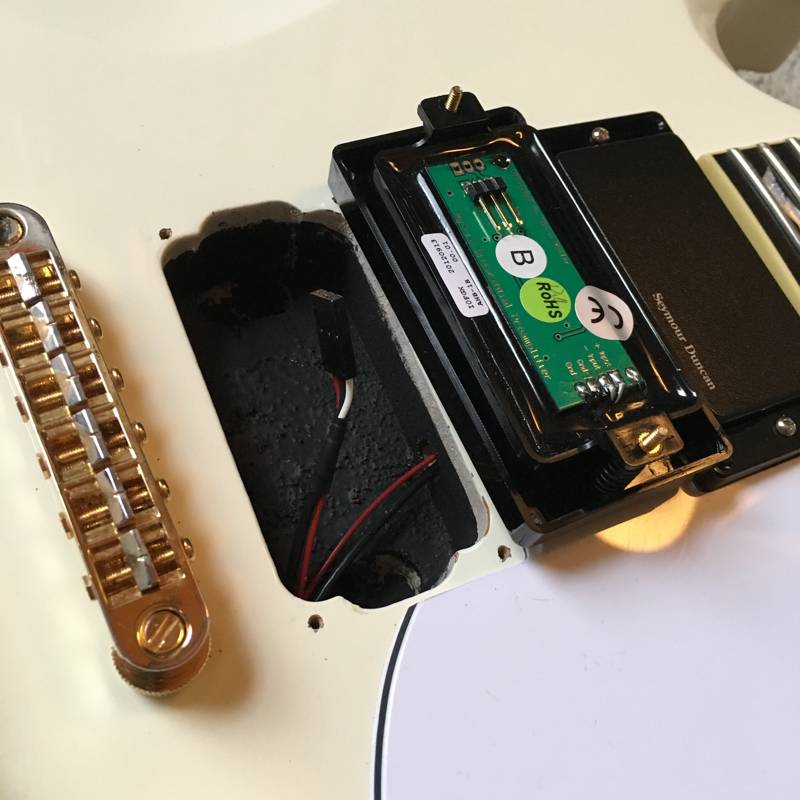
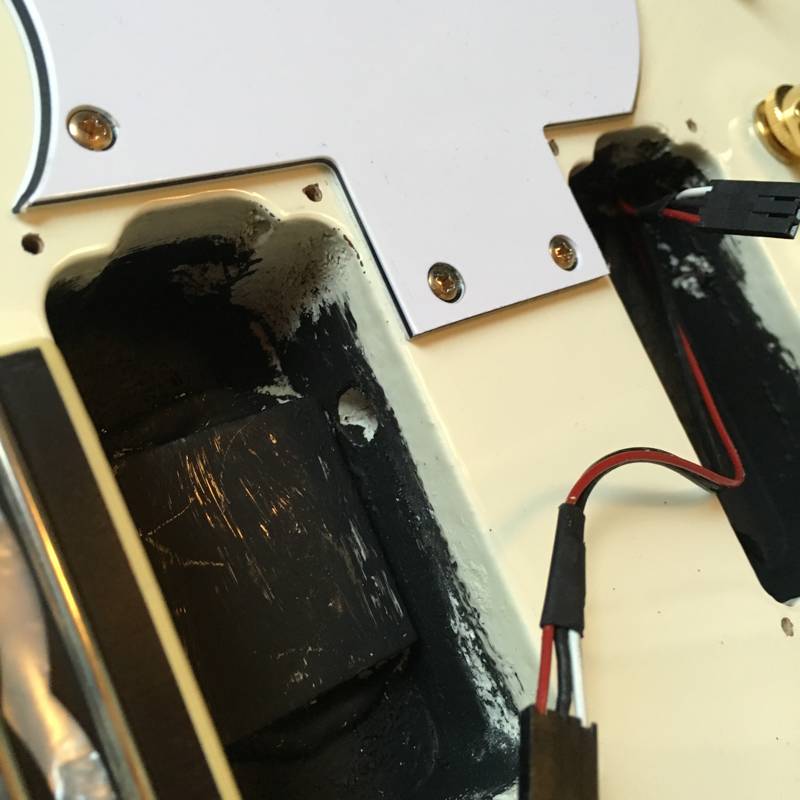
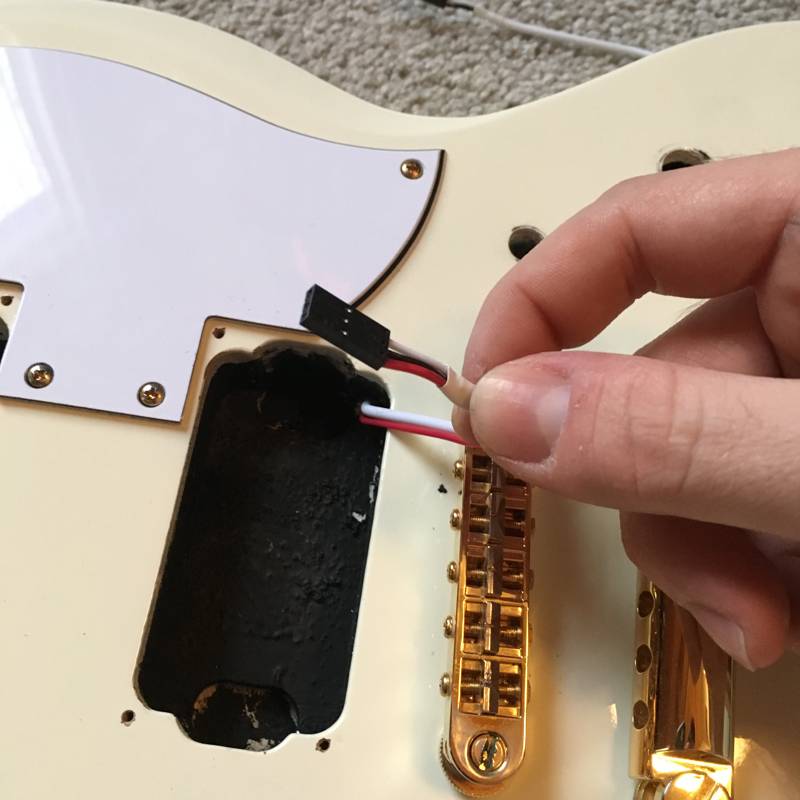
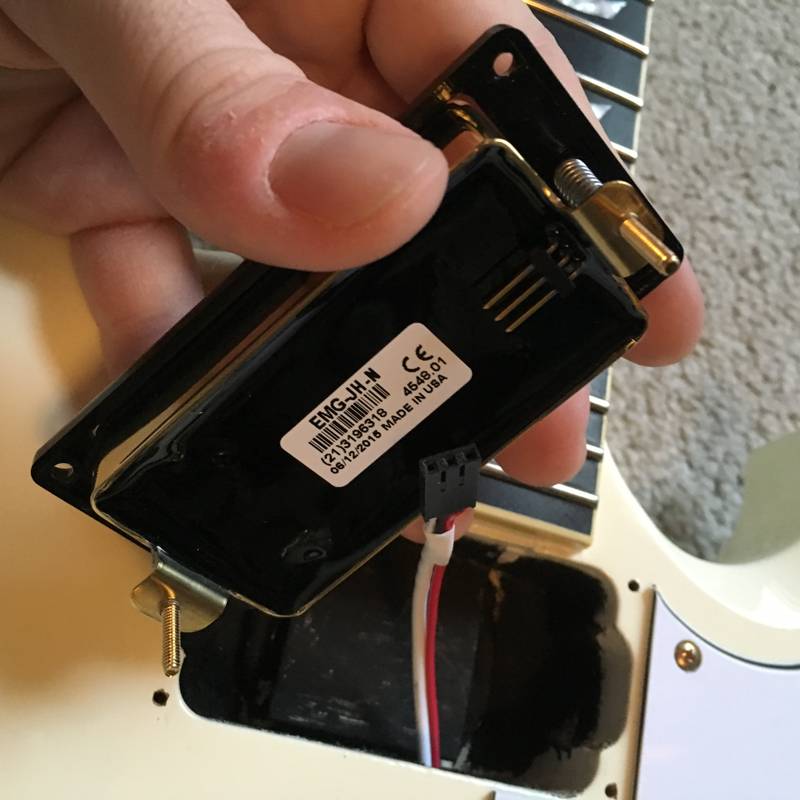
With a little encouragement the pickup lifted from the cavity and the 3-pin quick connection slipped right off with an ample tug.

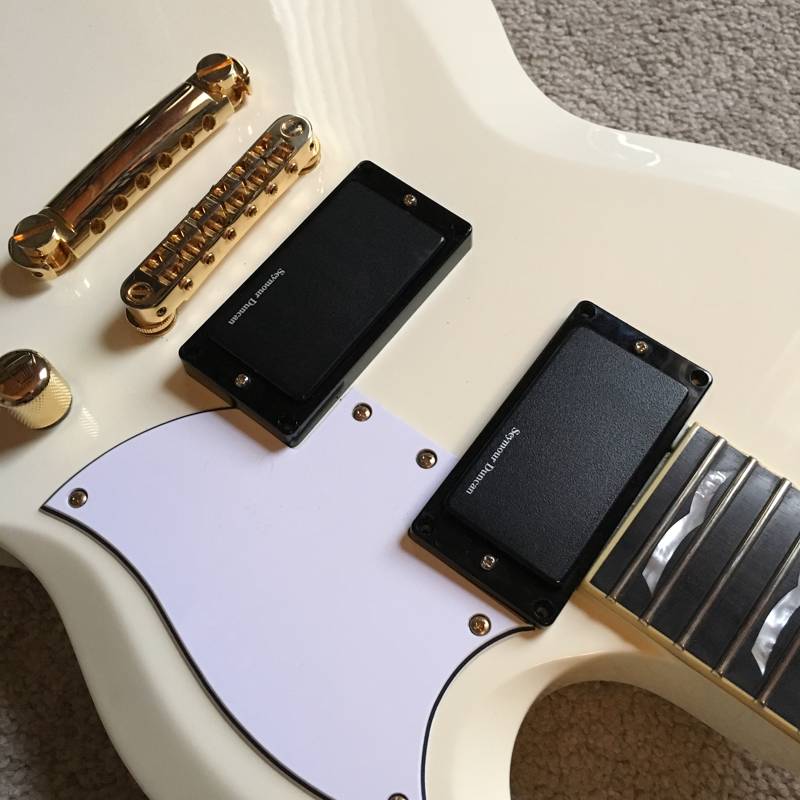
Both pickups removed.
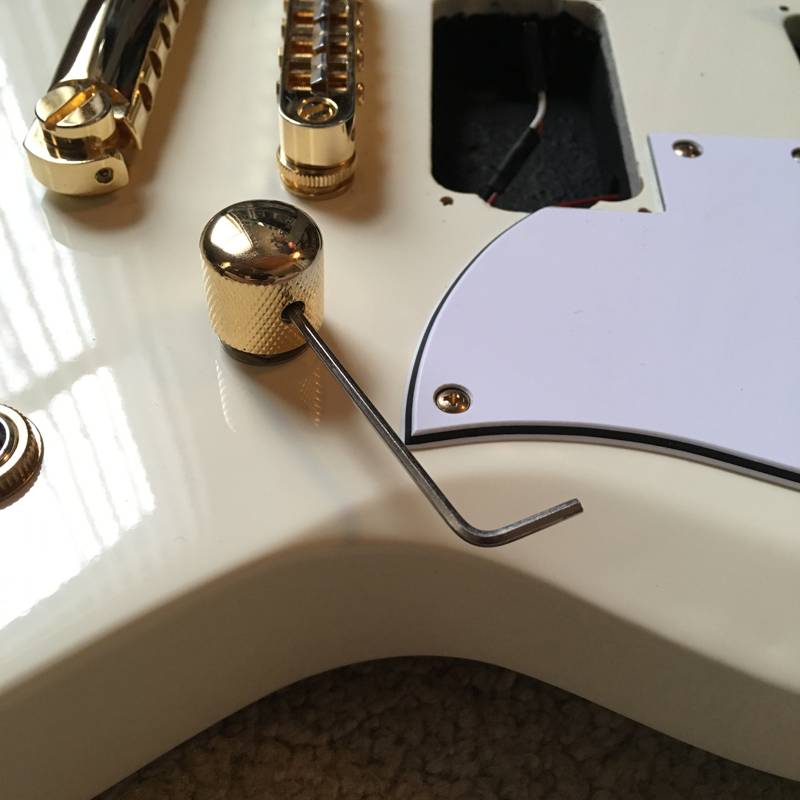
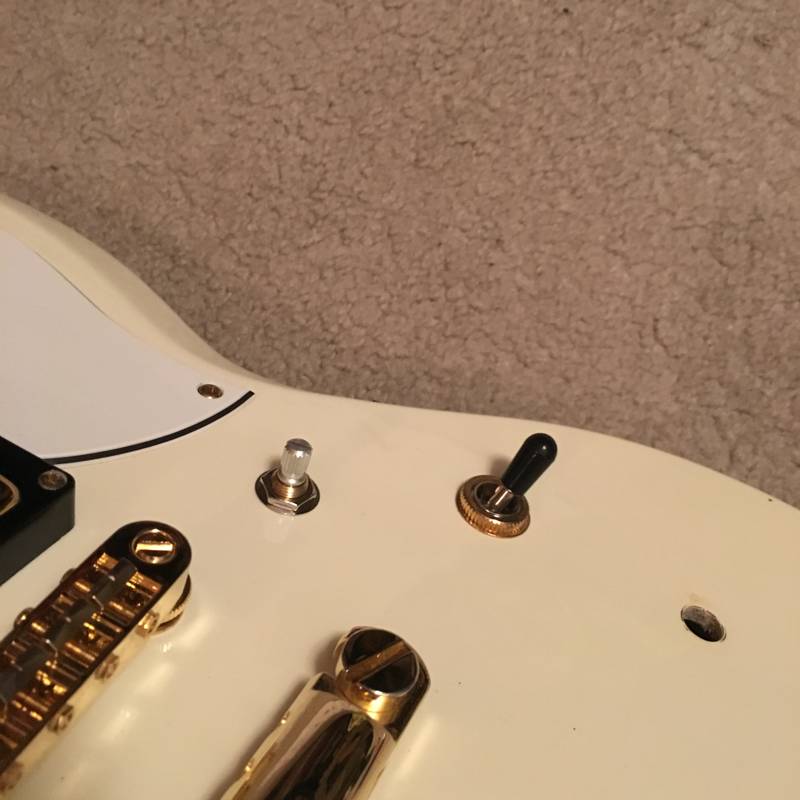
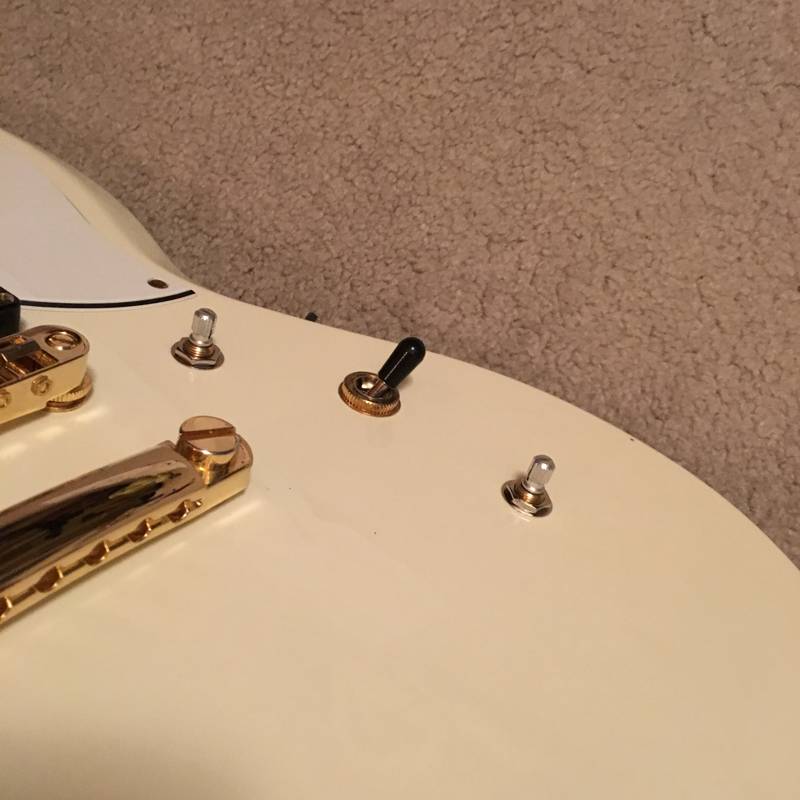
Next I started removing the knobs attached to the tone and volume pots. Just needed an allen wrench.
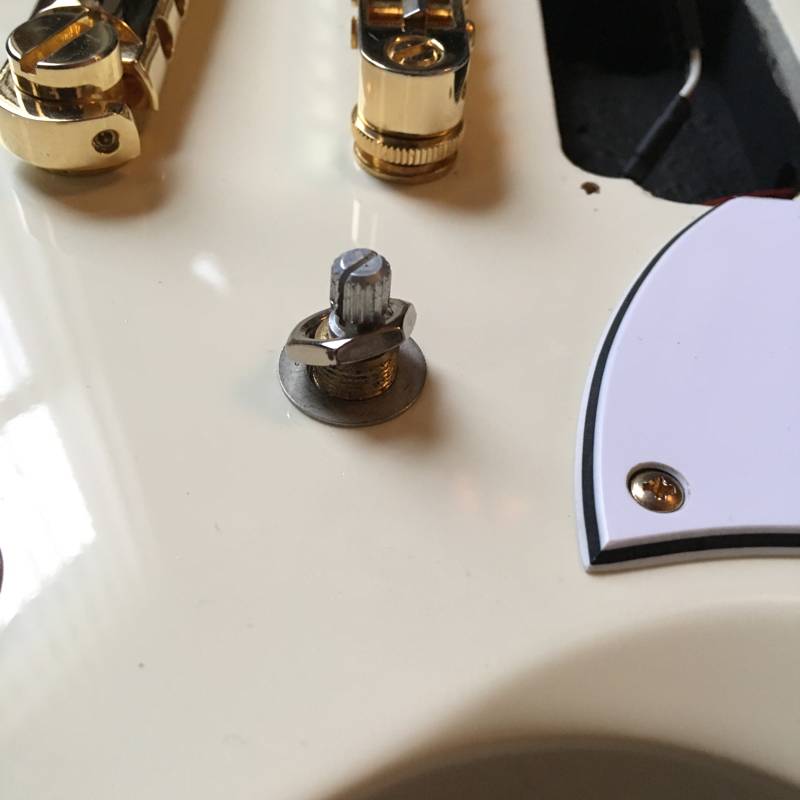
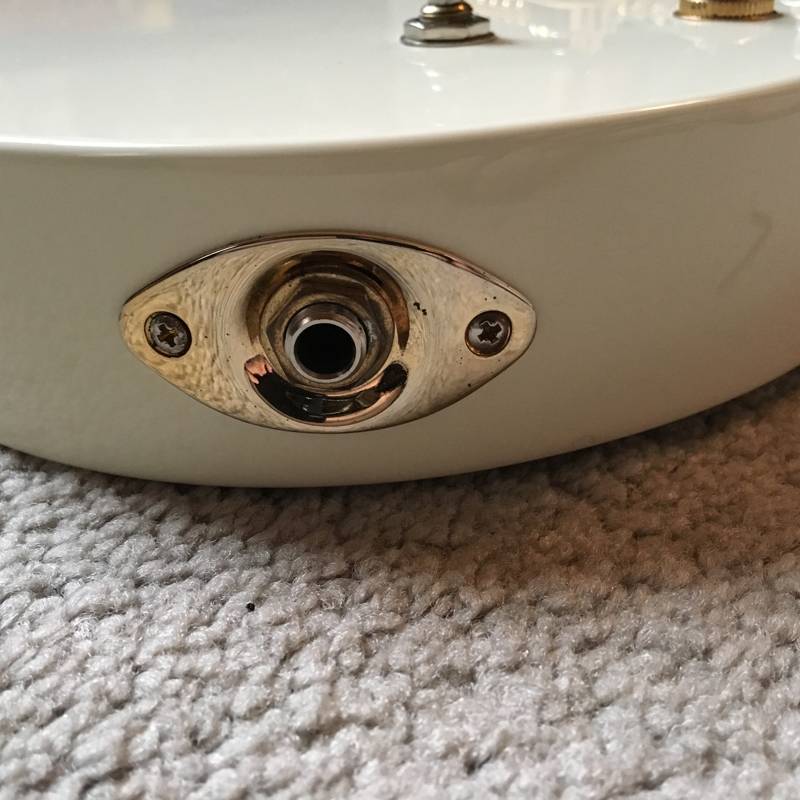
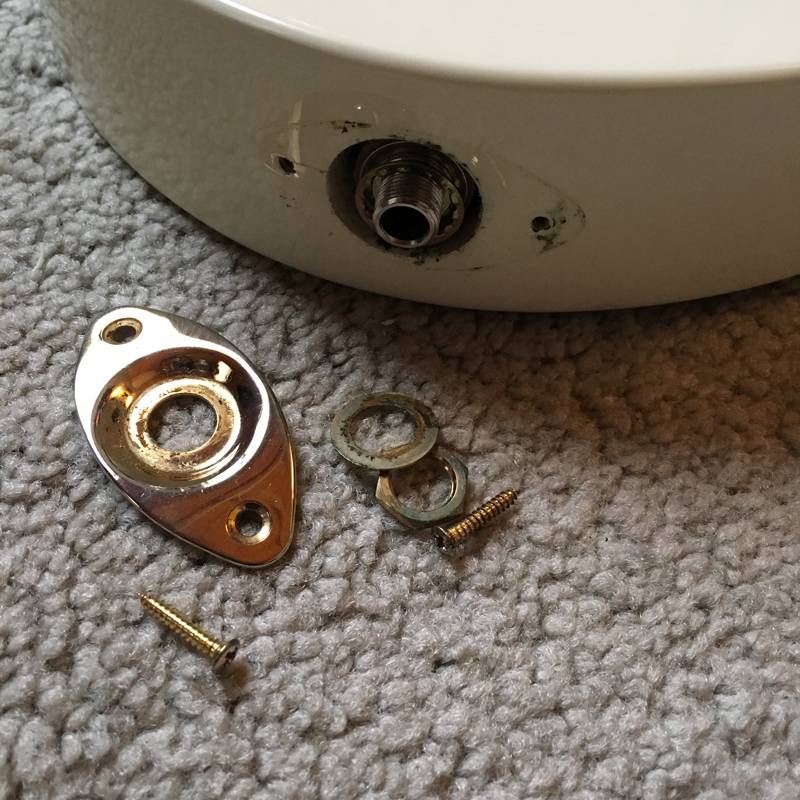
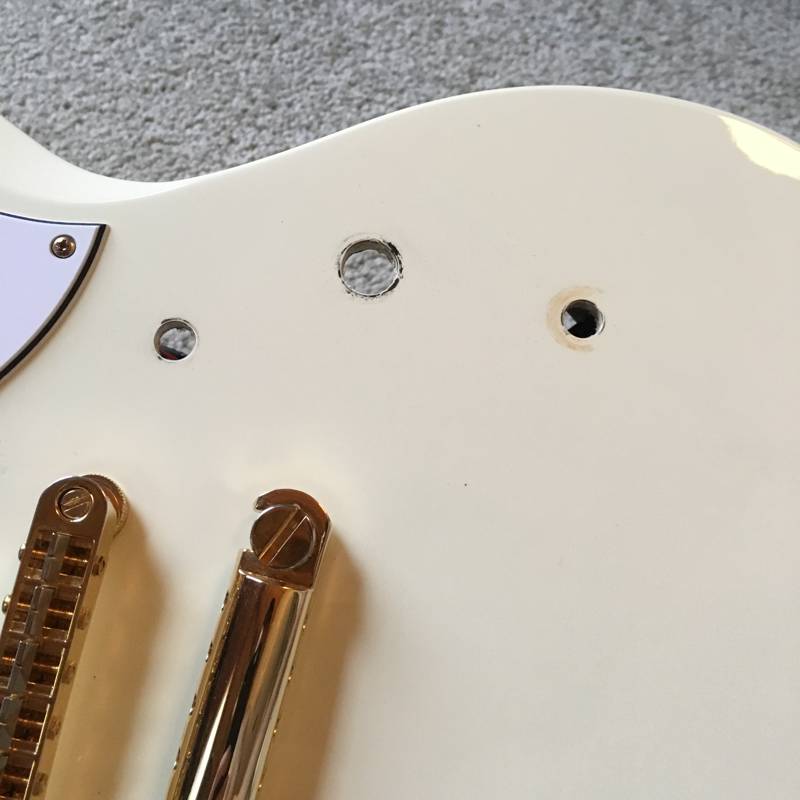
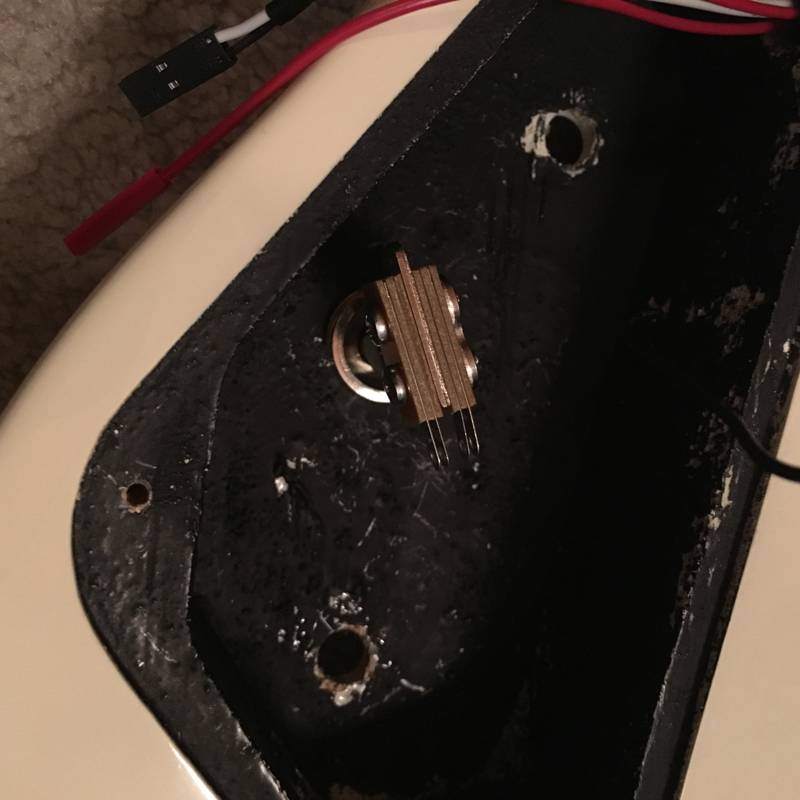
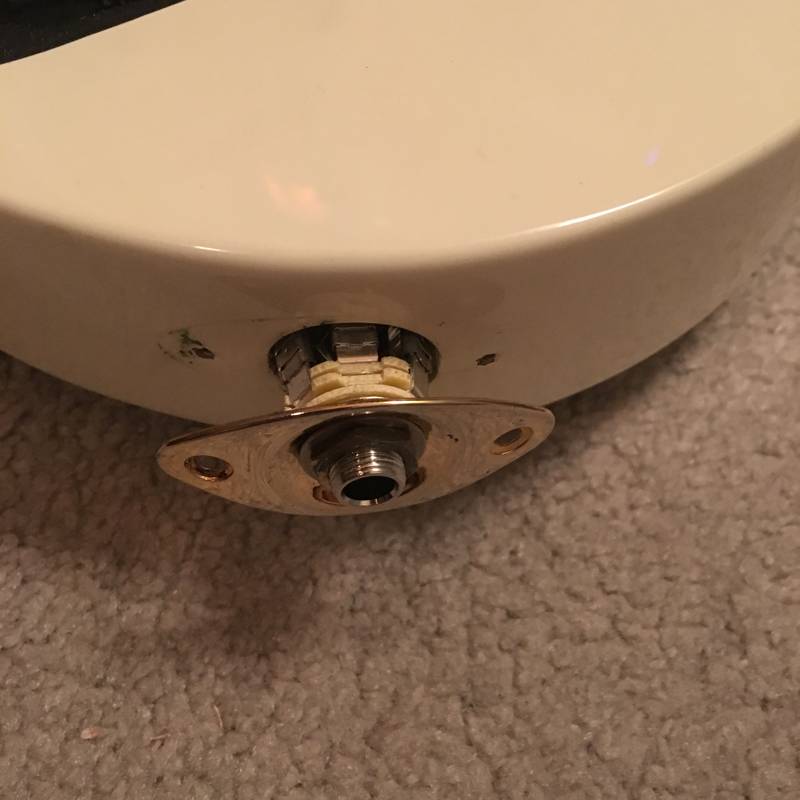
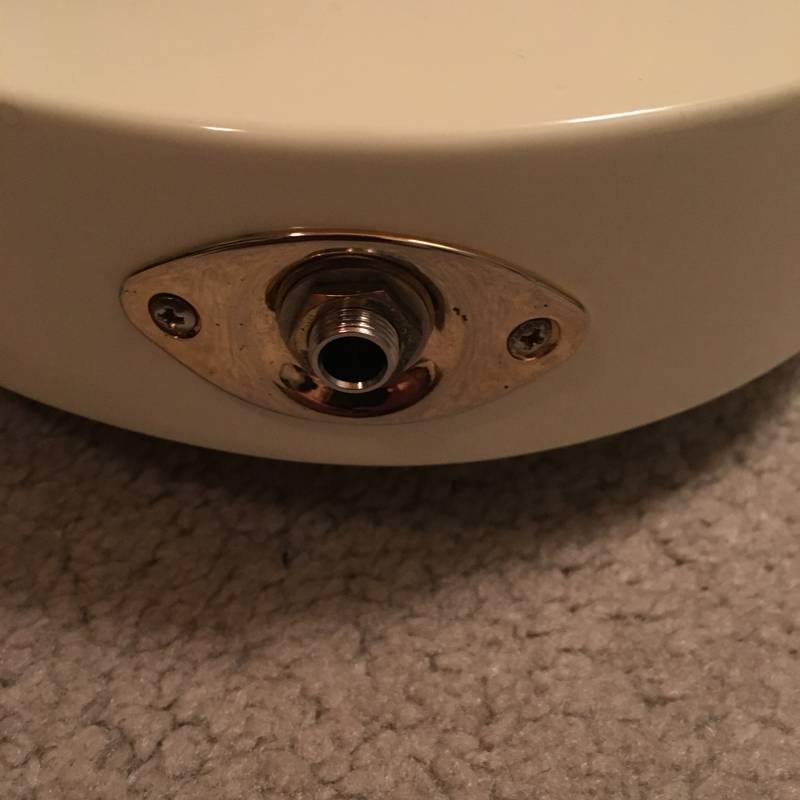
The input jack cover has just a couple of screws to be removed.

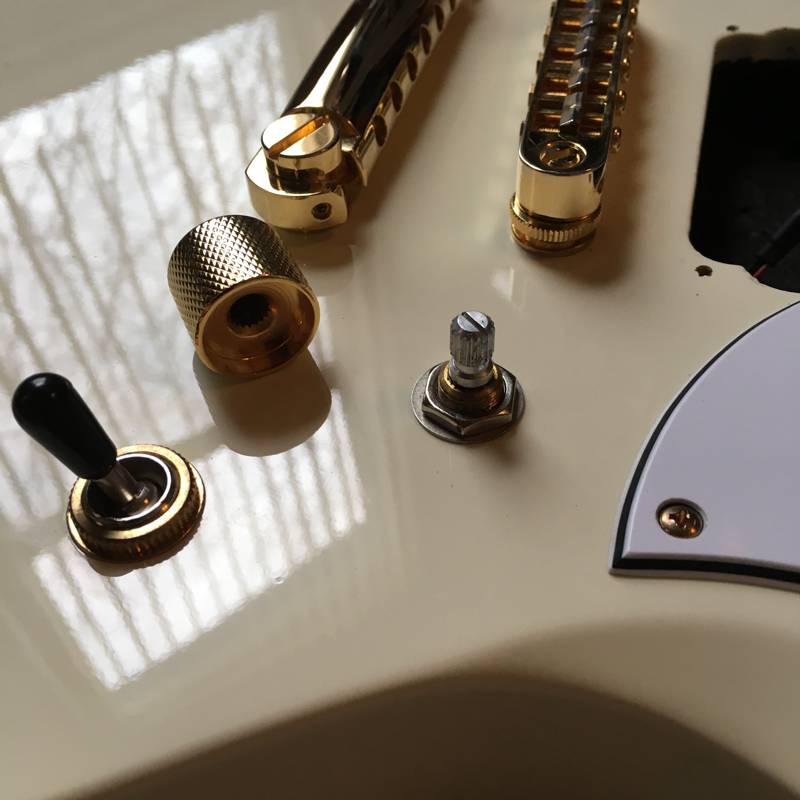
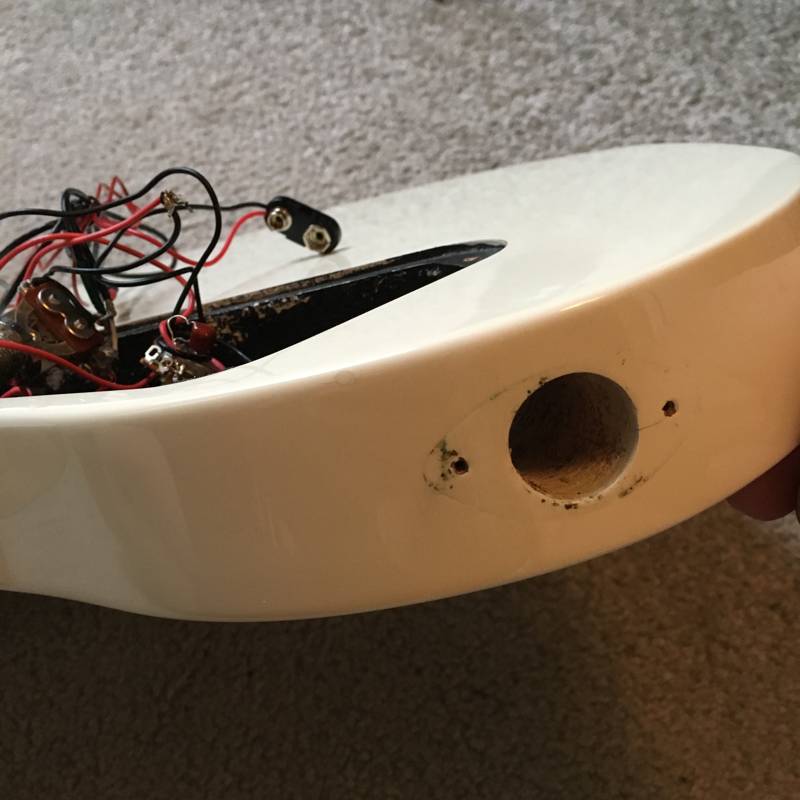
Time to pop off the back plate.
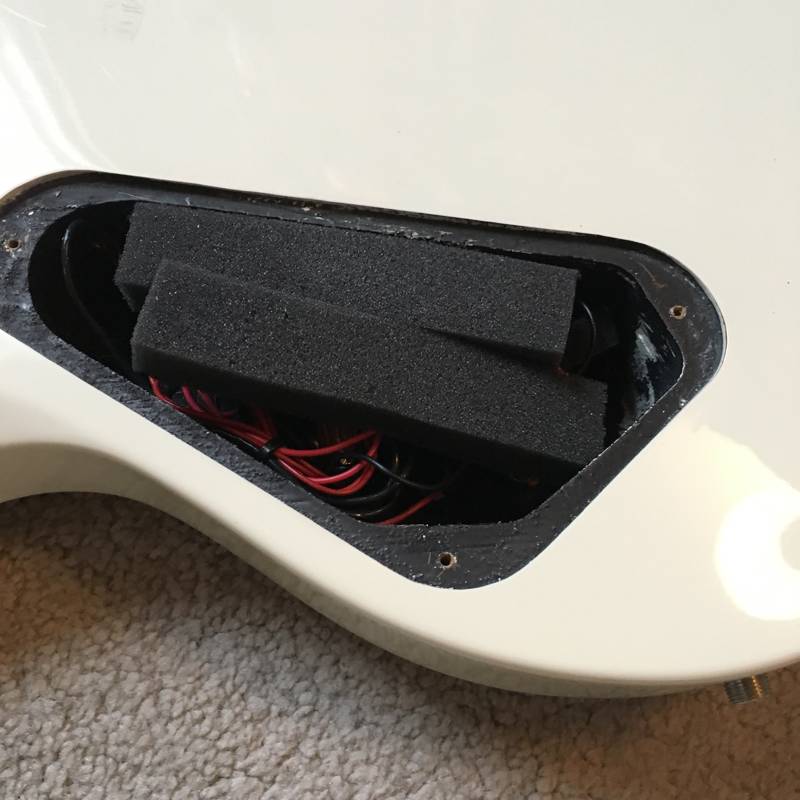
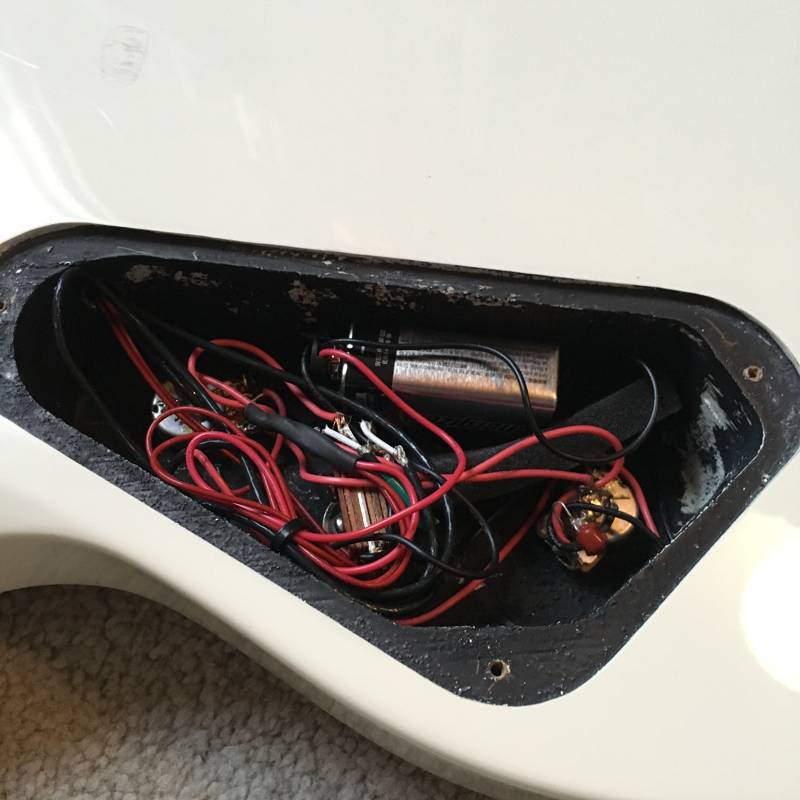
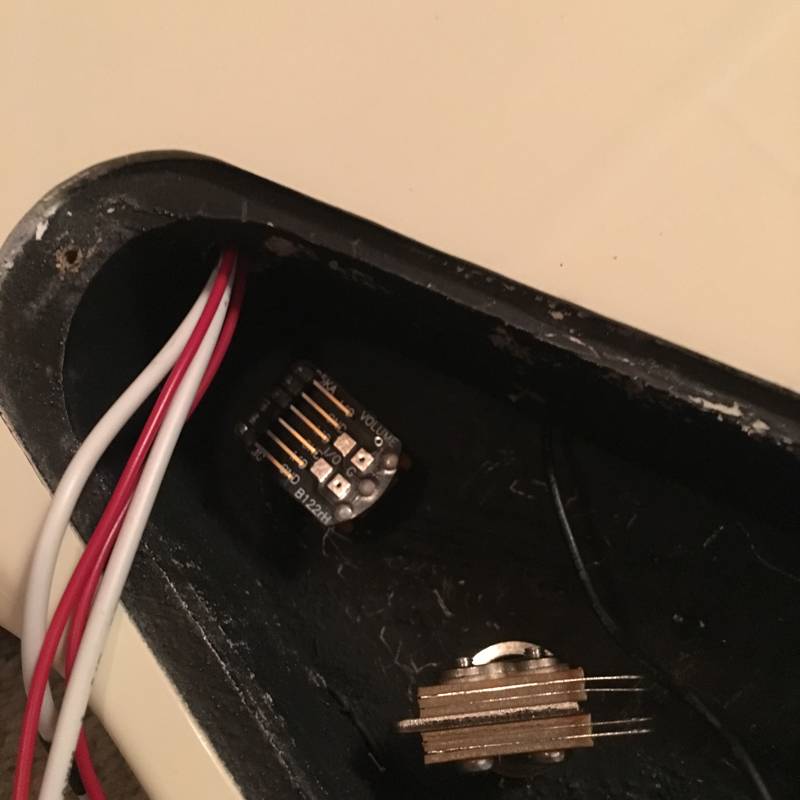
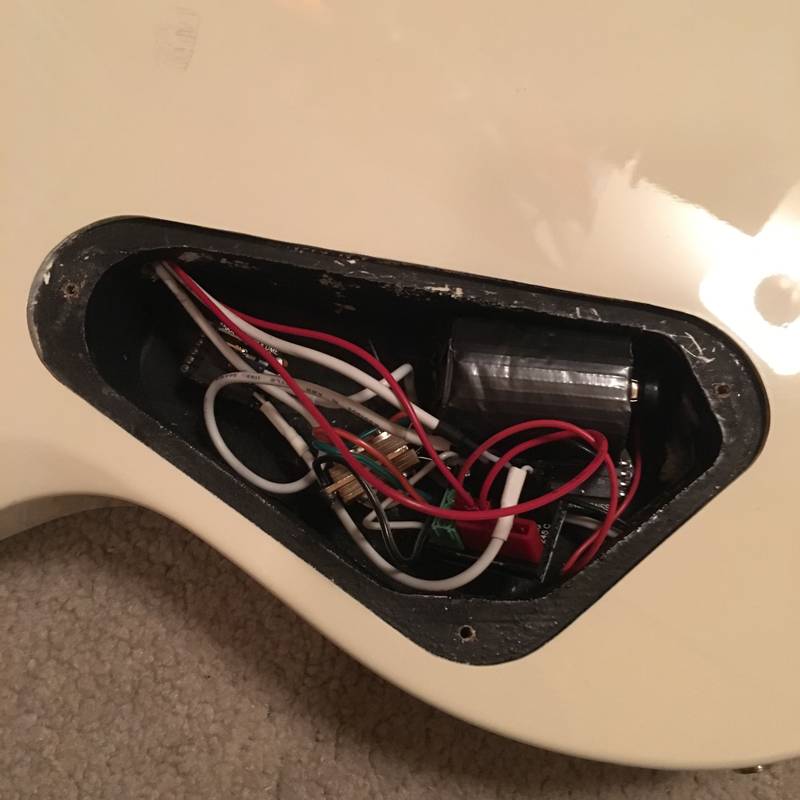
The wiring in the control cavity was a bit horrid with huge globs of excess solder on the pots and long lengths of wire.
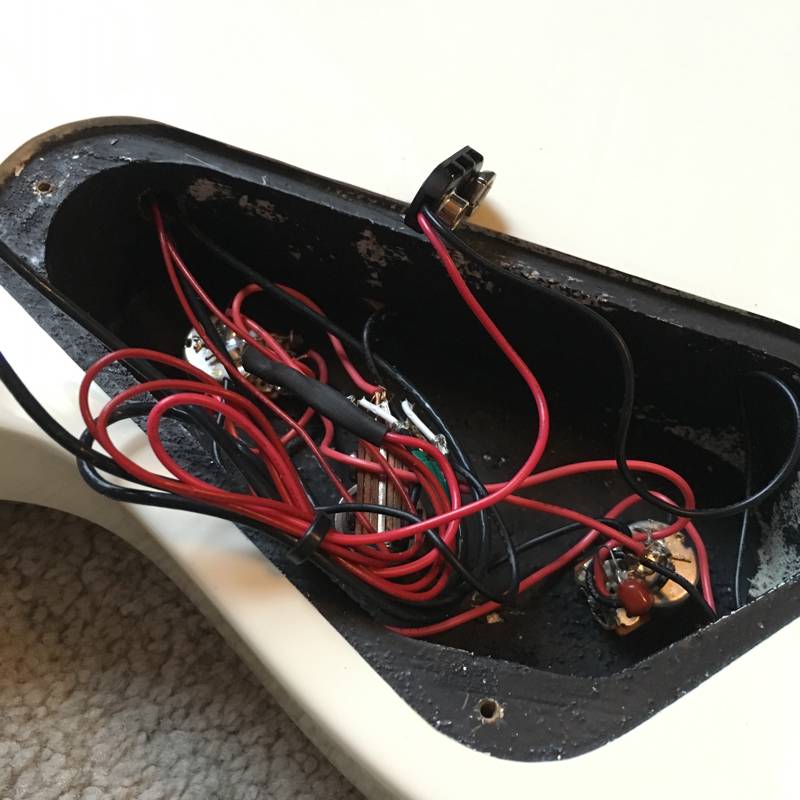
There were many unshielded connections throughout the wiring.
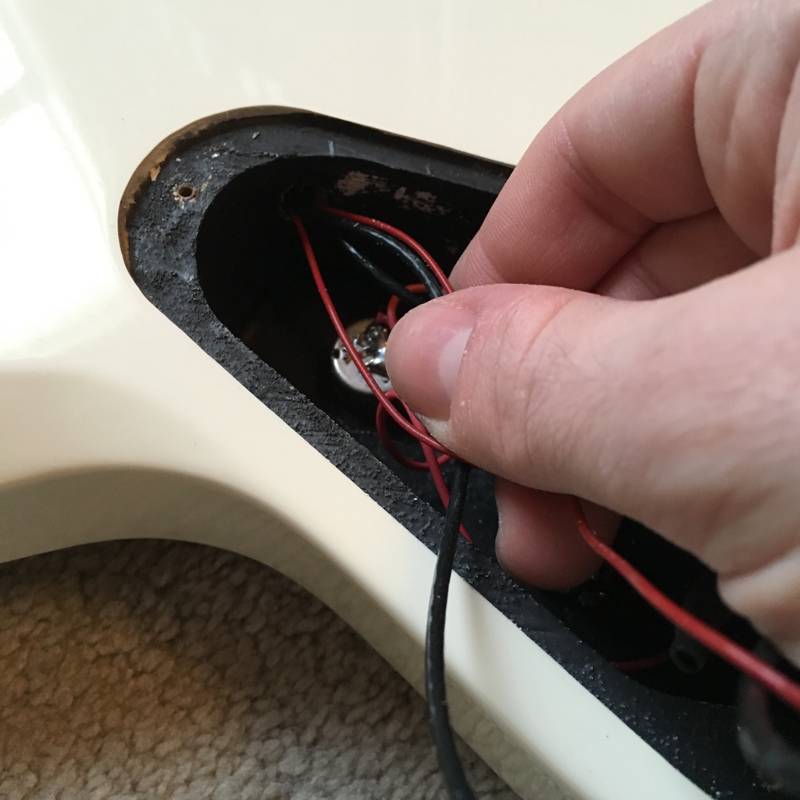
I started pulling the pickup cables in through the back panel out of the guitar.
With the nuts and knobs already removed in the front of the guitar, the pots and wiring were pretty easy to pull out.
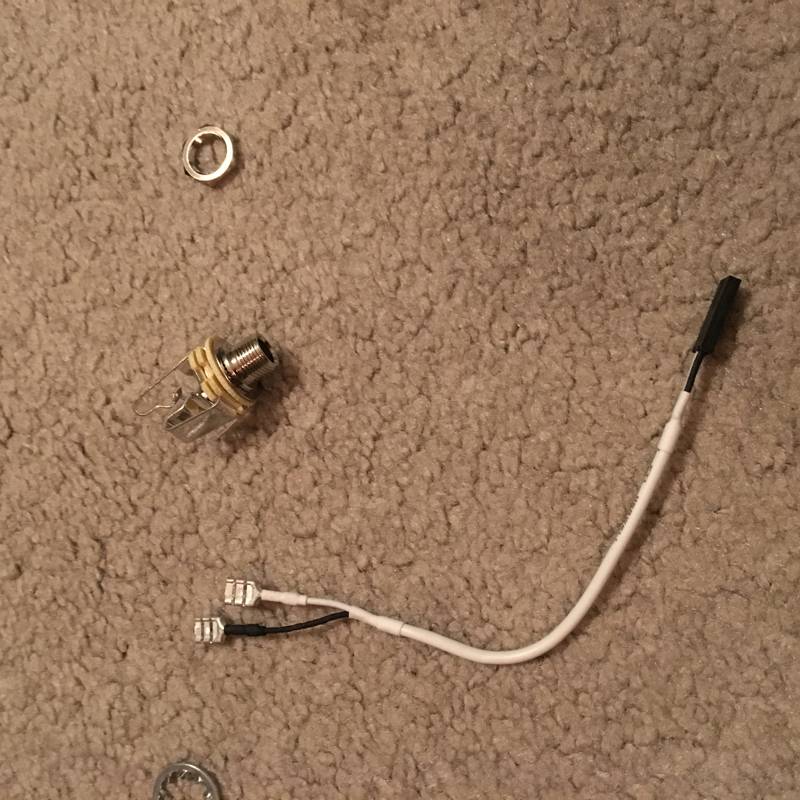
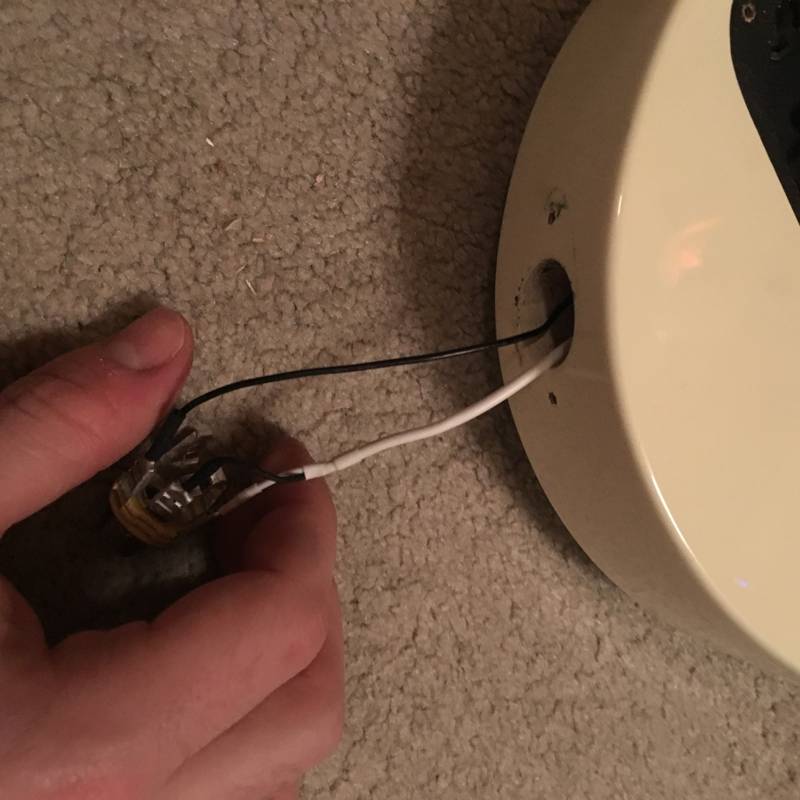
The input jack had to be wiggled around quite a bit to be pulled through the recess.
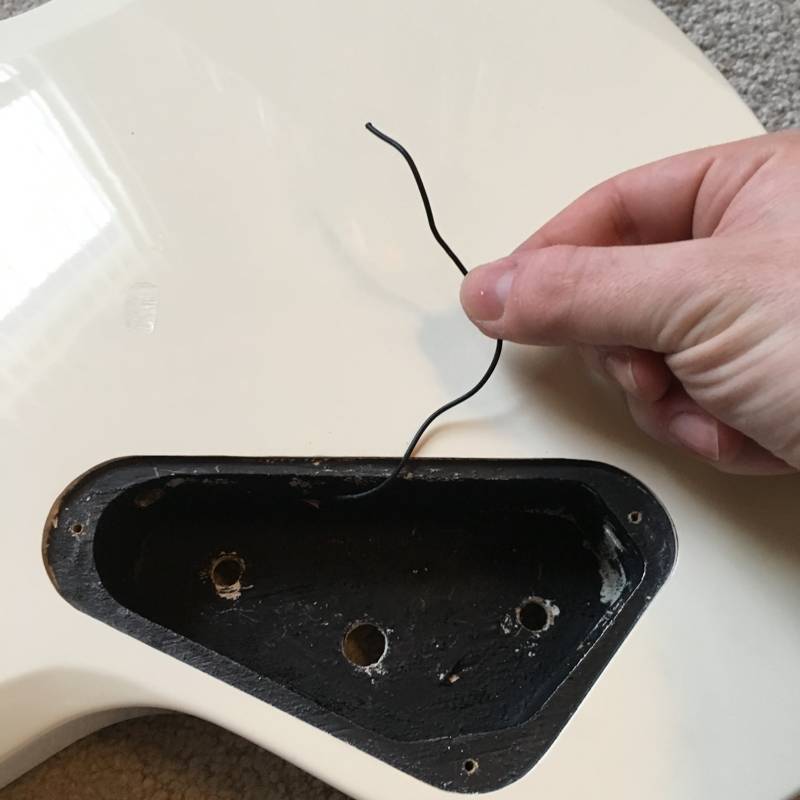
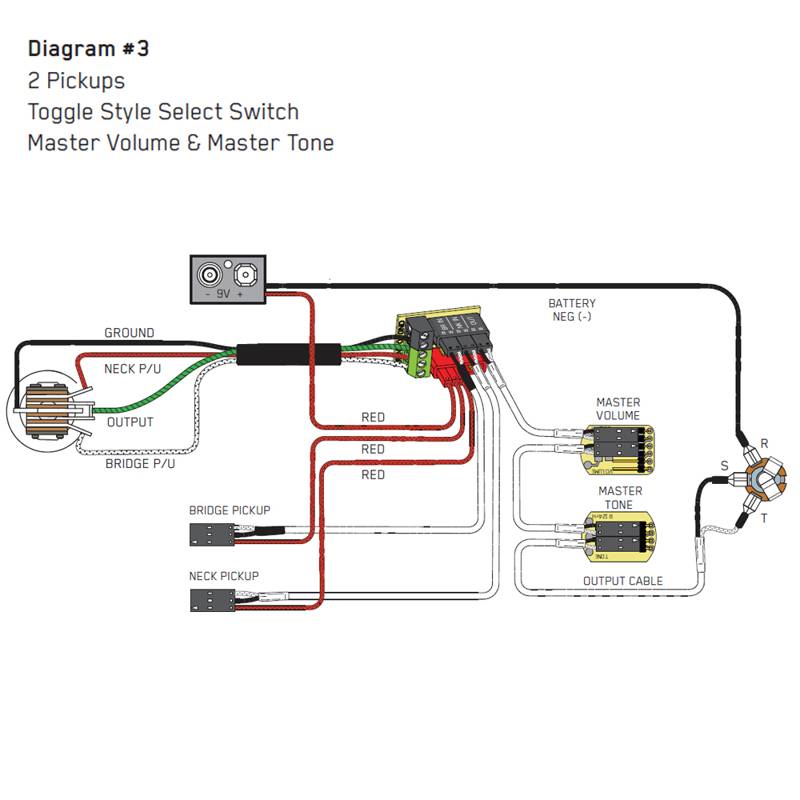
The grounding wire has no purpose when switching to EMG active pickups since they are self grounding, so I just had to keep this wire out of the way until I could tuck it under something later.

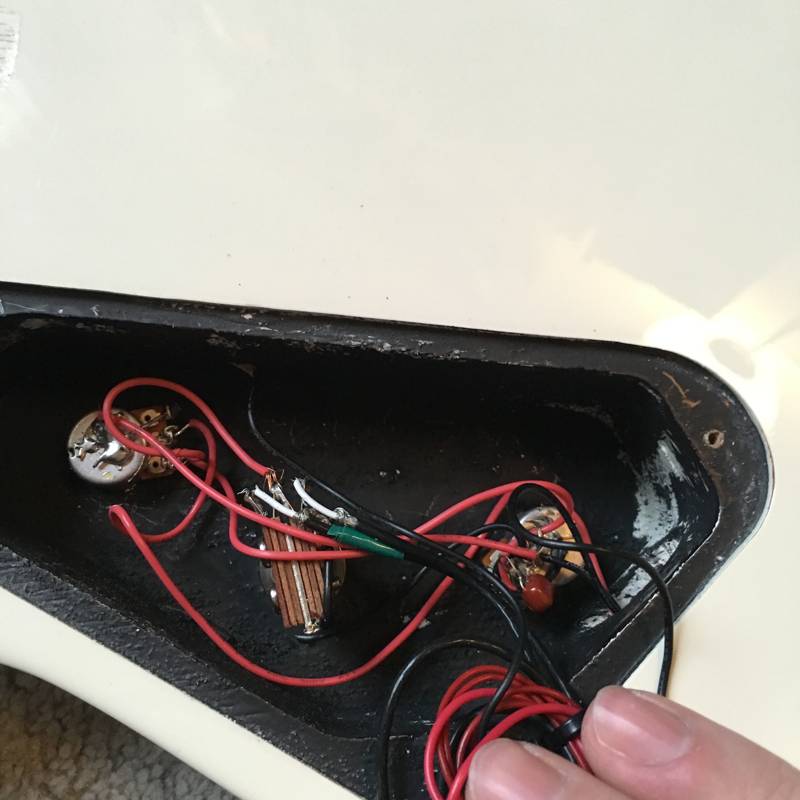
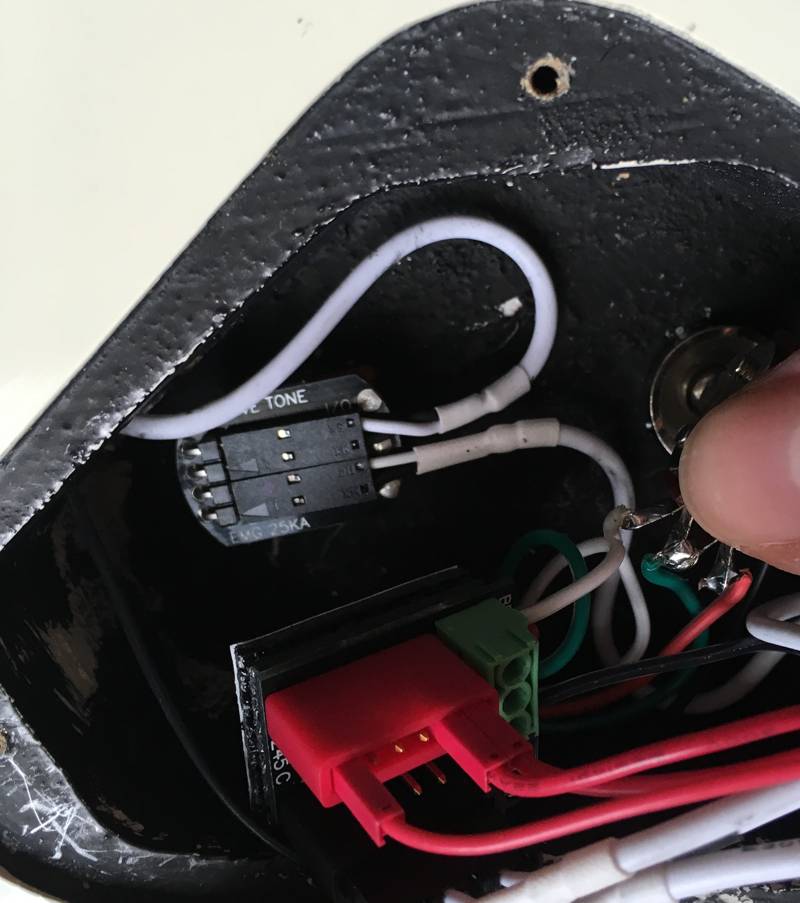
I laid the contents on the table and referred to the wiring guide to discern which cable was which. Being primarily a solderless setup, most of the connectors were simply quick pin connections. This makes things a bit easier than having to solder each wire to their destinations.

I started by running the pickup cables through the guitar into the pickup cavities. The neck pickup cable, being the longer of the two, was run through first since it had a longer distance to go than the bridge pickup.
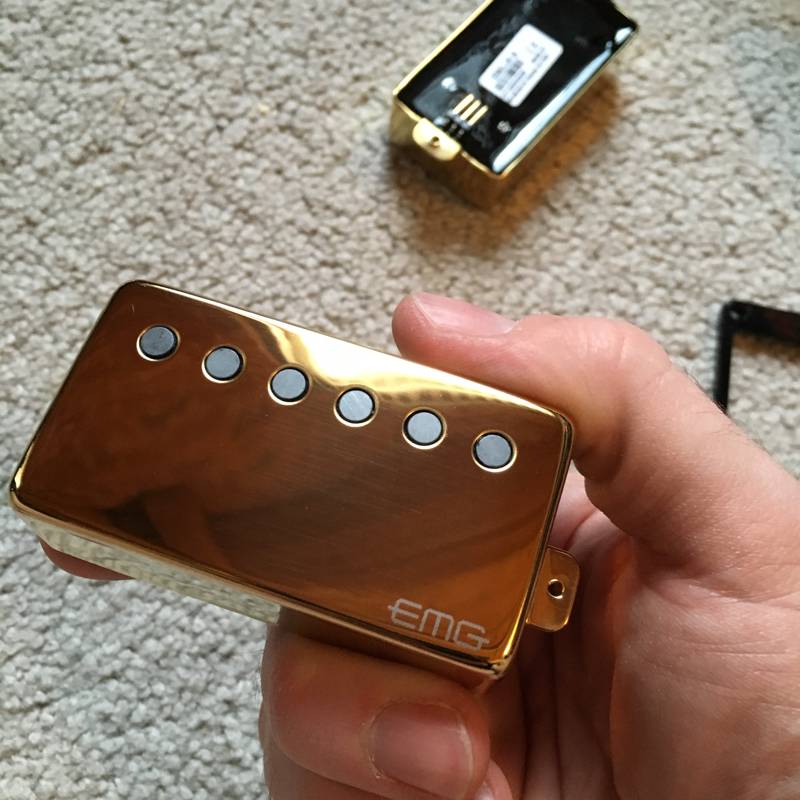
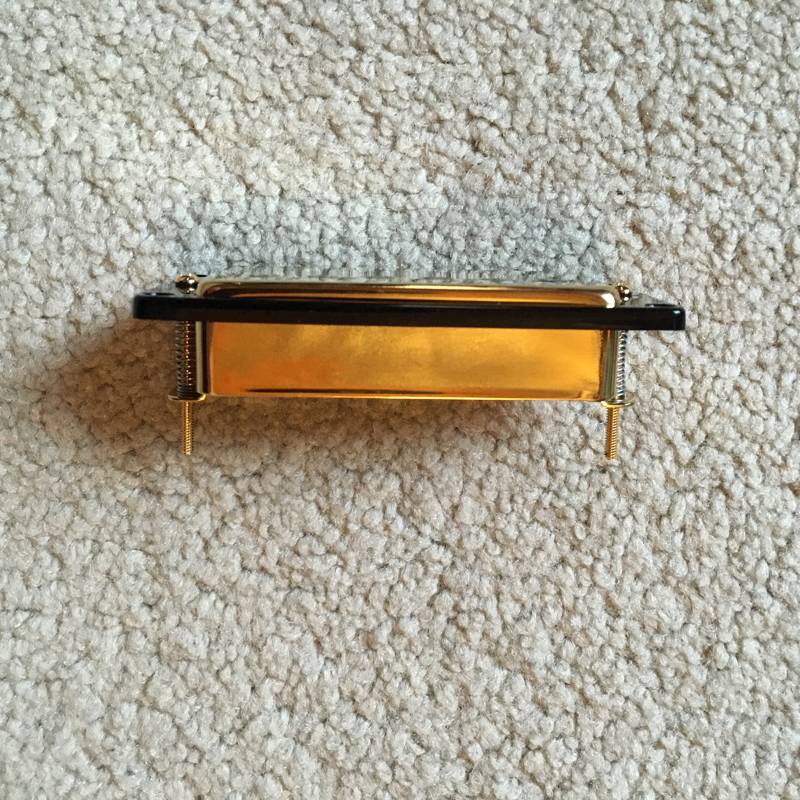
I unboxed the EMG’s and started screwing them to the pickup frames.
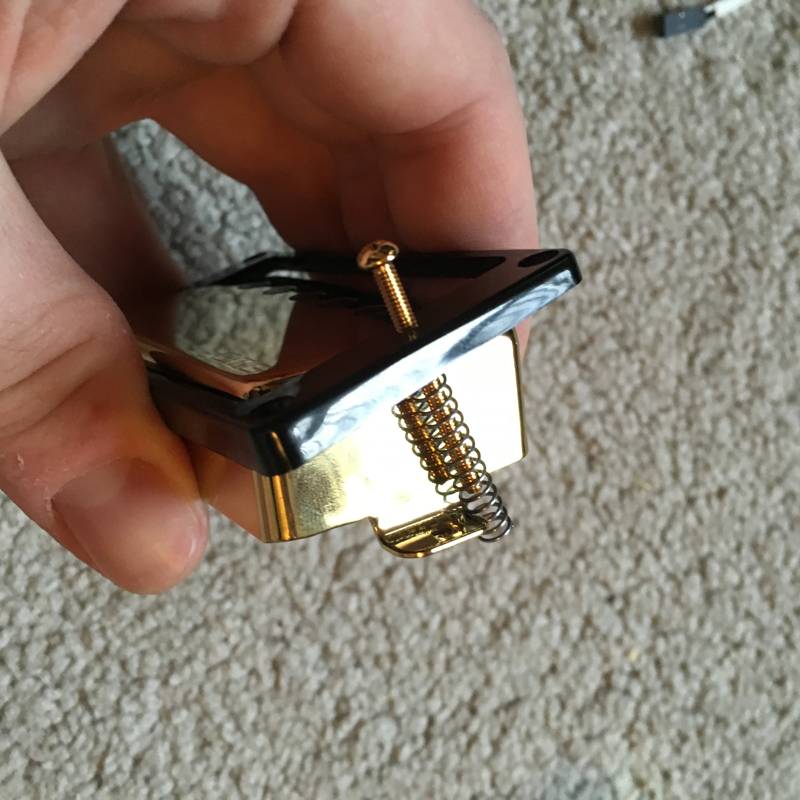
The kit included some new screws and springs which worked perfectly.
The EMG quick connect makes installing new pickups pretty easy. These allow you to swap the pickups out with different models while utilizing the same wiring, which is pretty nice.
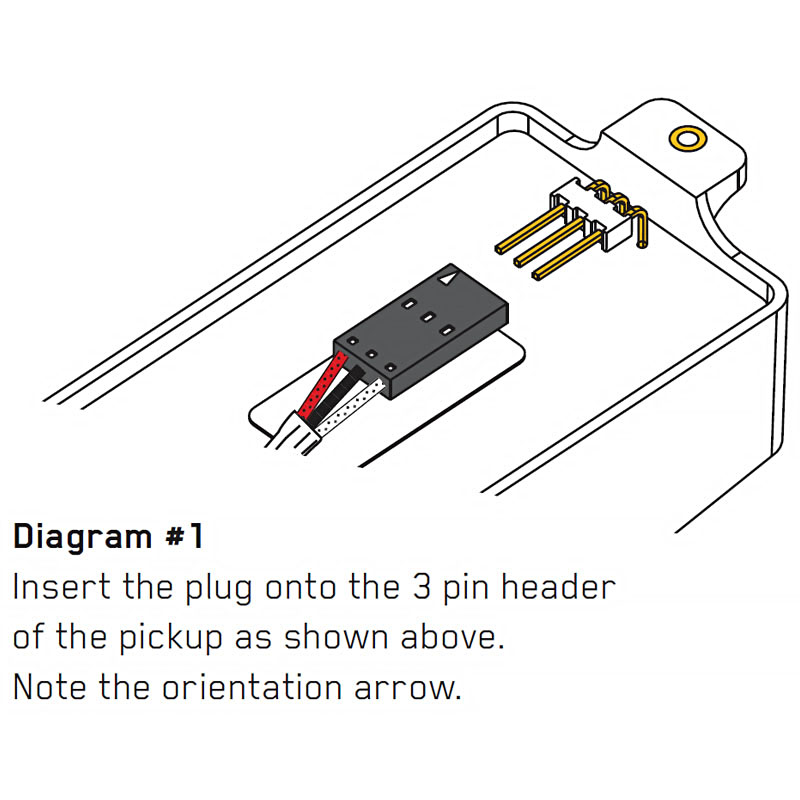
IMPORTANT: When attaching the plug onto the 3 pin header the positioning MUST be as displayed in “Diagram 1.” The little grounding arrow must be visible as it is in the example picture or the pickup will not function properly. Make sure when you’re connecting that the triangular ground arrow is facing you.
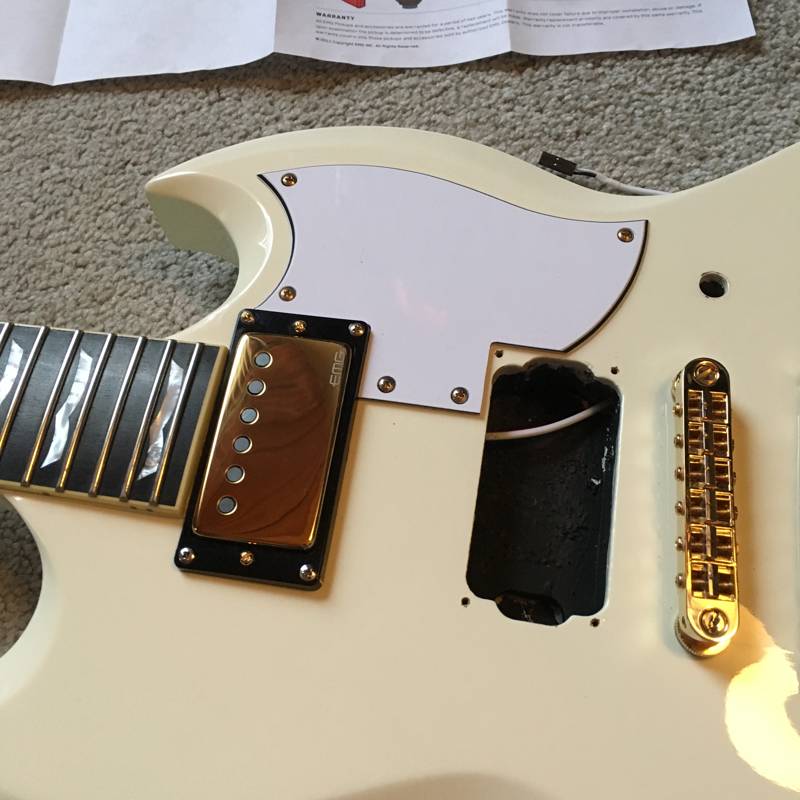
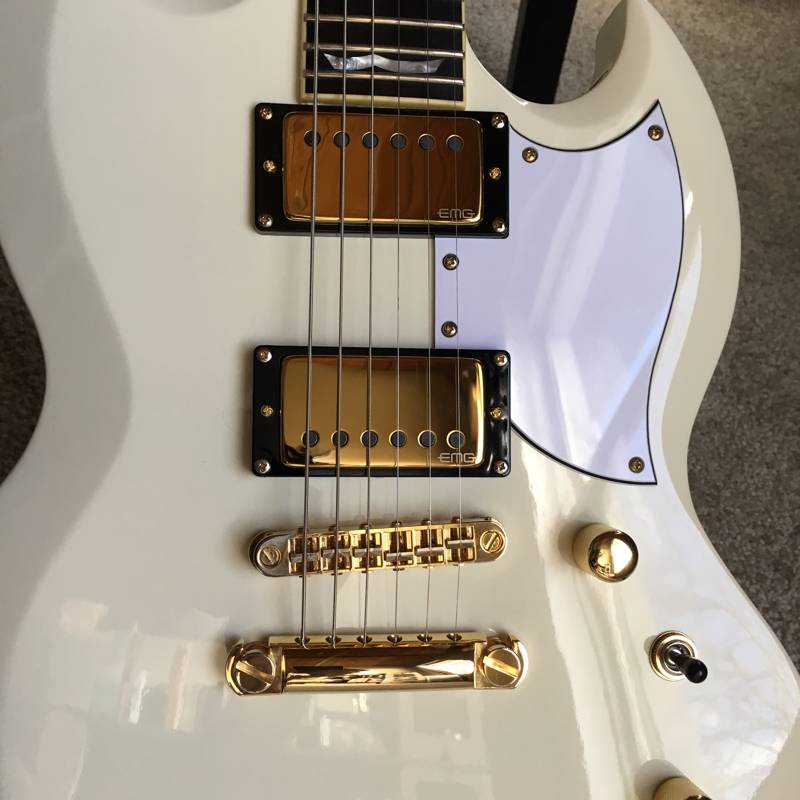
With some back and forth wiggling the neck pickup was lowered into position and I screwed it down.
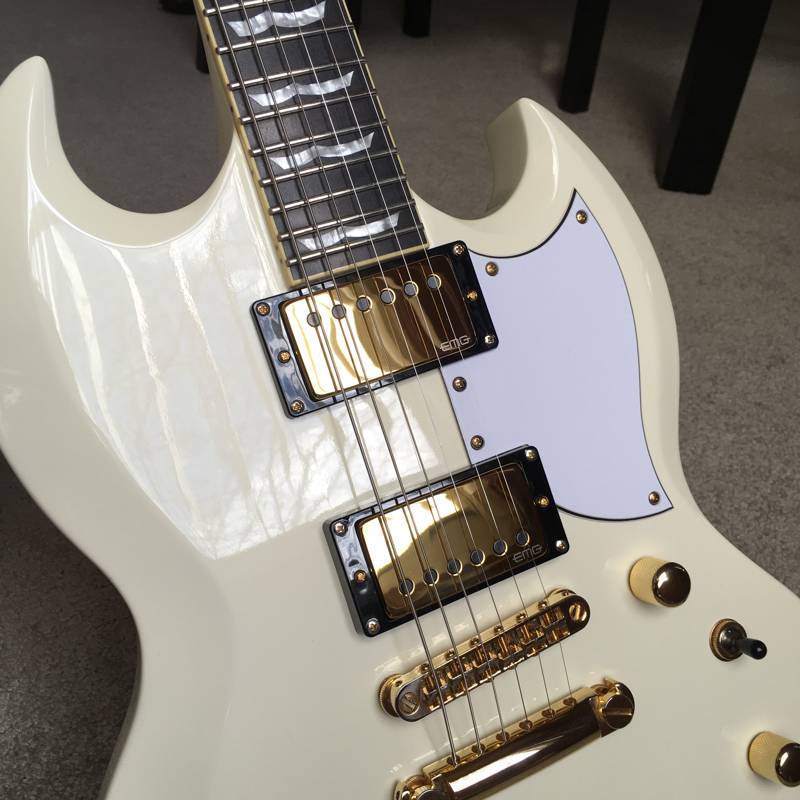
Both pups in place.

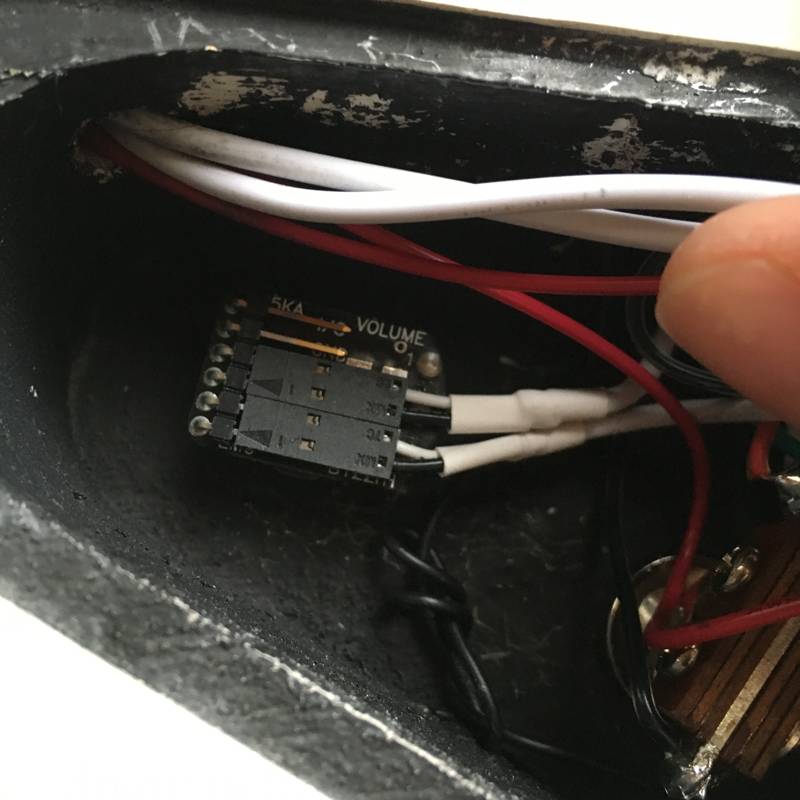
I wanted to gauge the positioning of the tone and volume pots so I temporarily placed and secured them in the guitar until their final positioning could be determined.
The input jack has multiple connections going to it, so I referred yet again to the wiring guide to ensure the positioning.
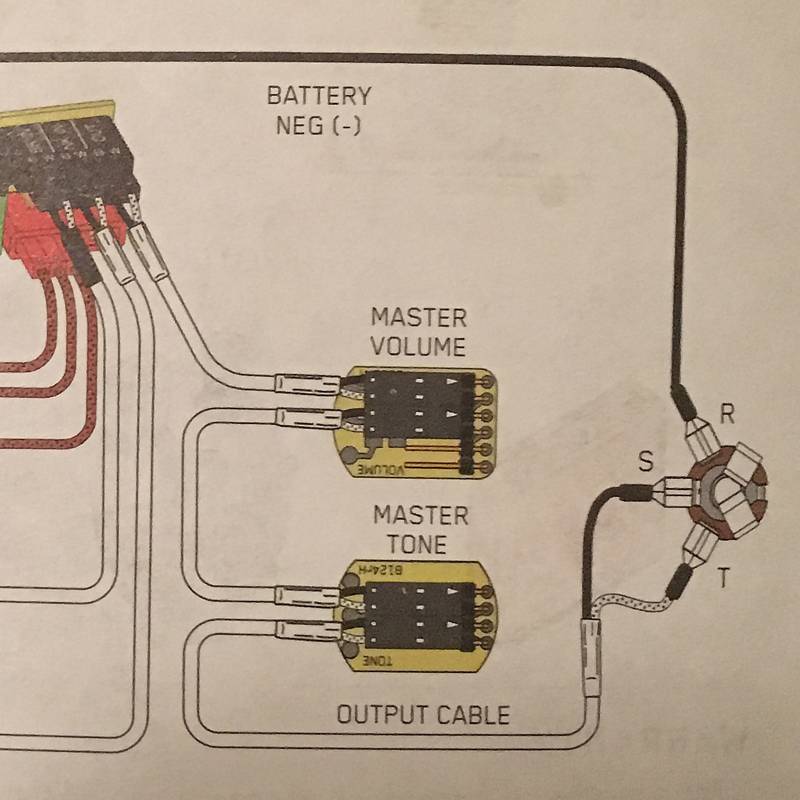
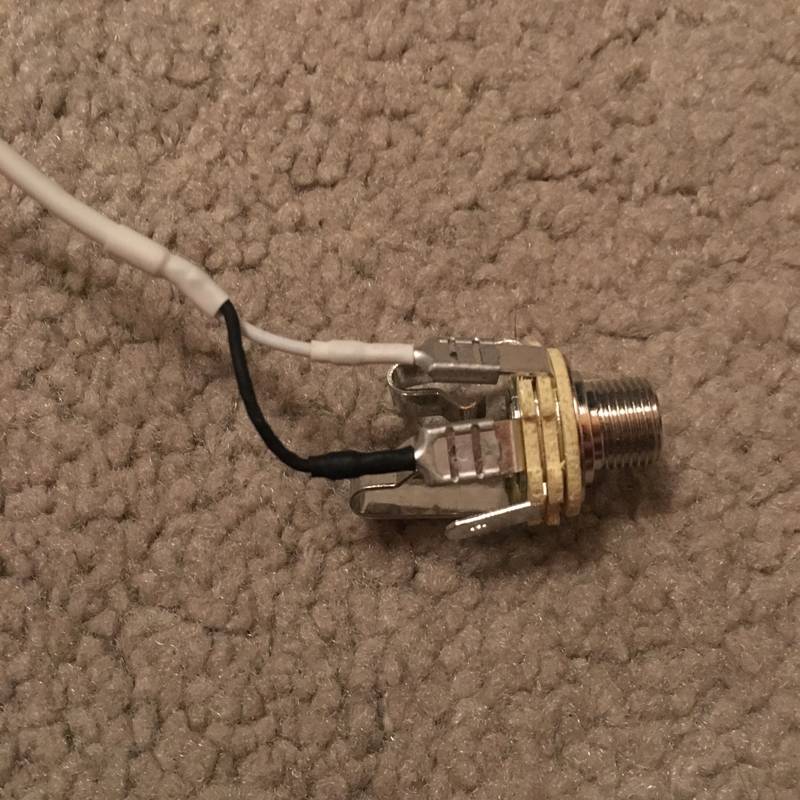
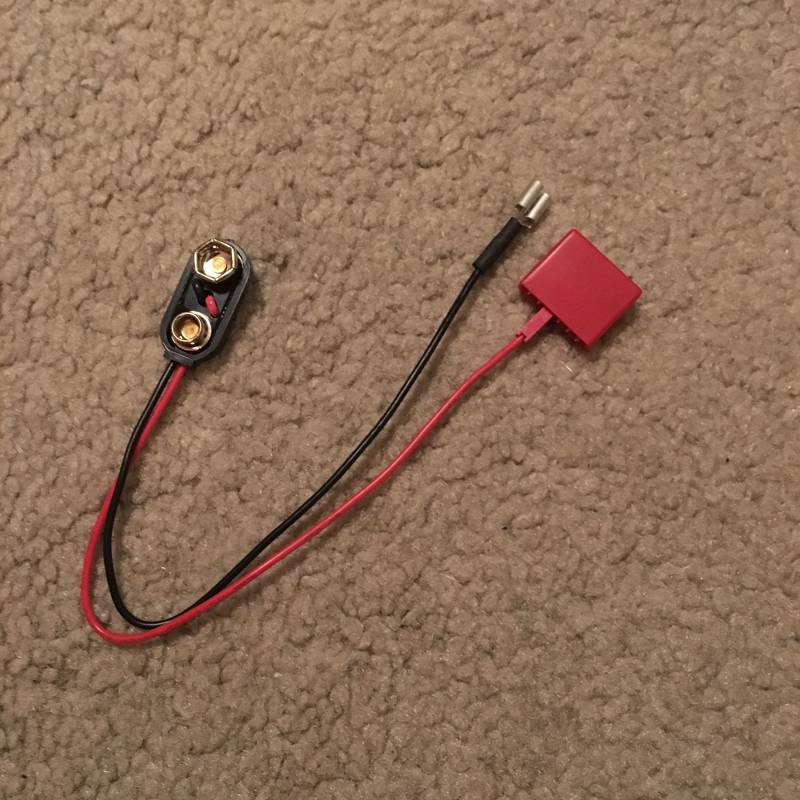
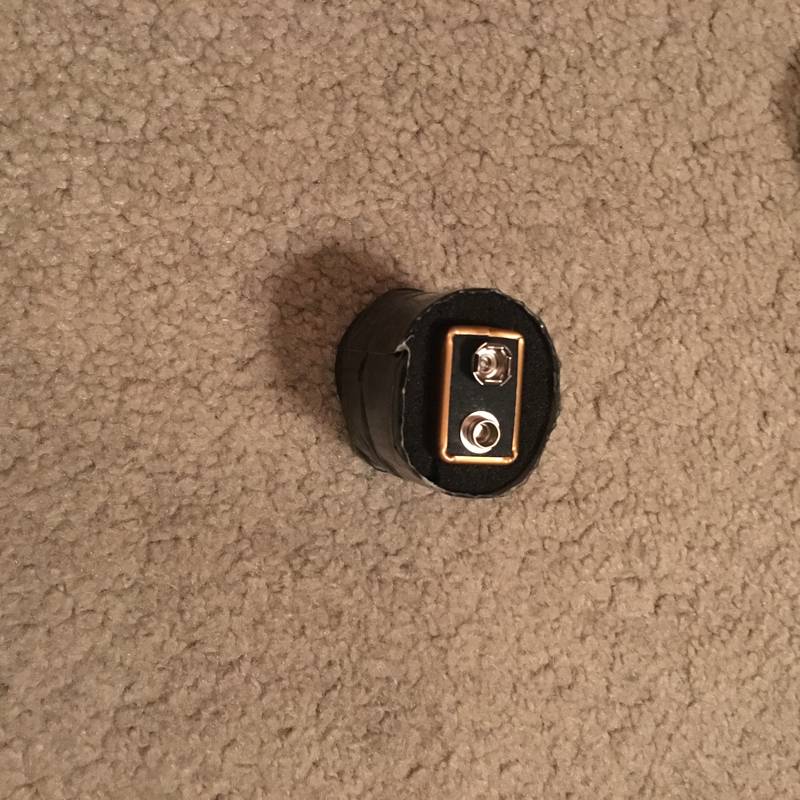
The battery cable also connects to the input jack.
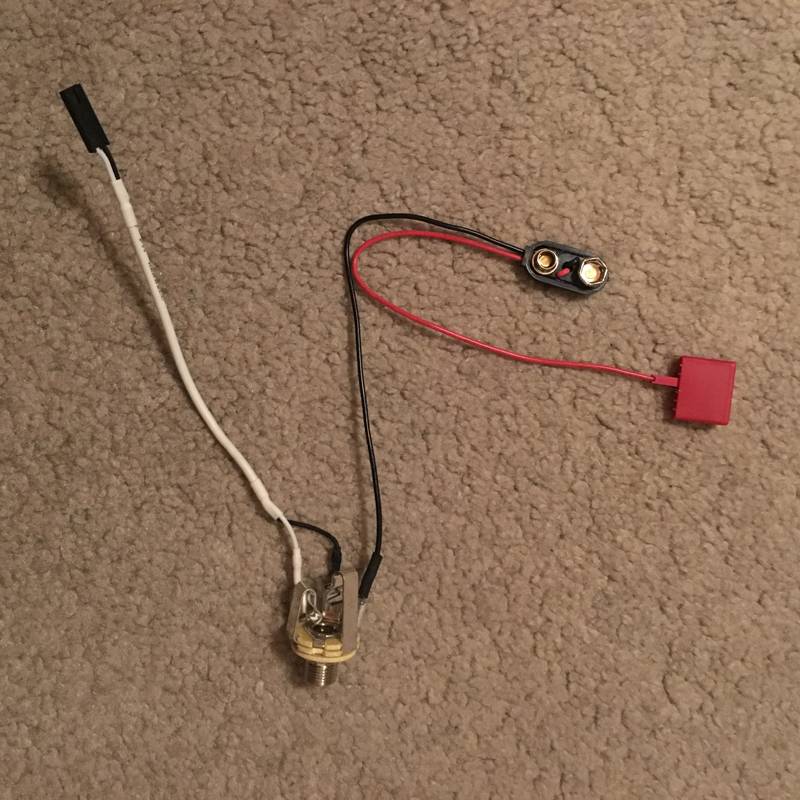
The red squared battery buss shown is removable and wasn’t required in my guitar’s configuration.
Once connected I simply pushed the cables up the recess and fed the cables through while pulling them with my other hand from the other side.
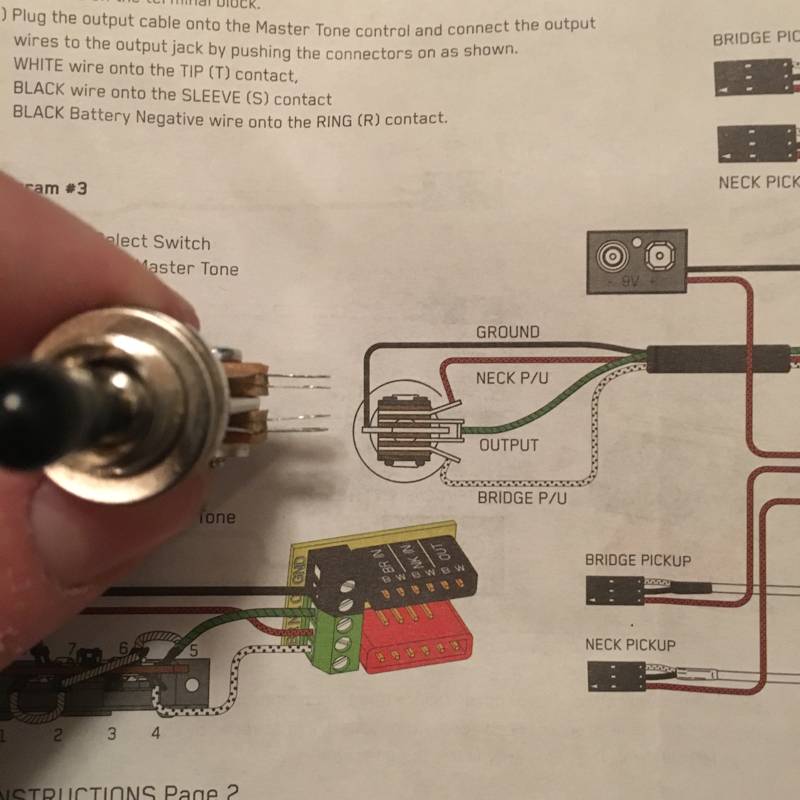
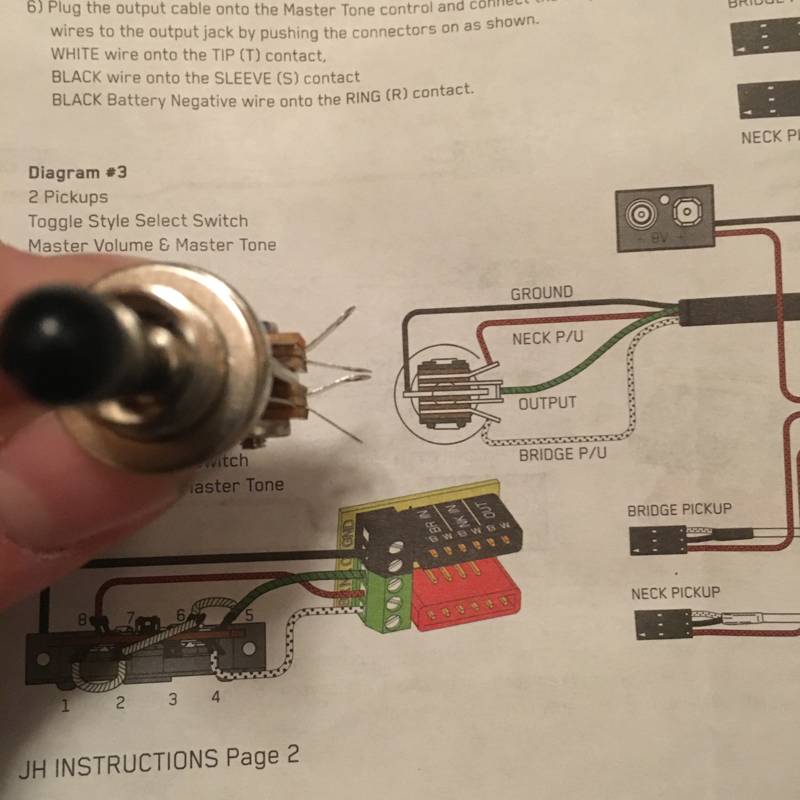
I flared the selector’s pins outward and pushed the two center pins together to make them easier to solder.
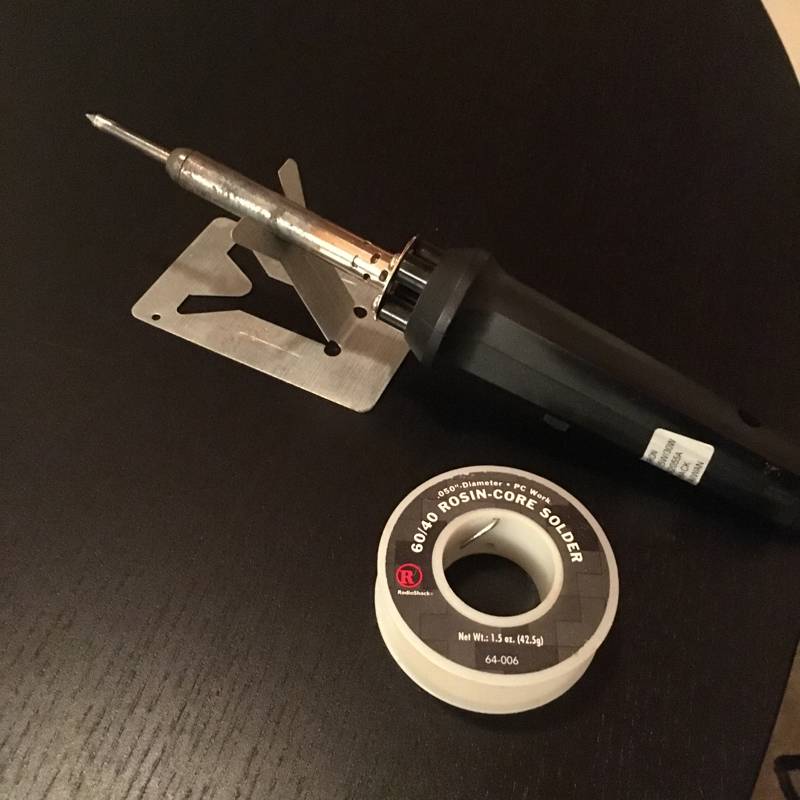
I have a basic Radio Shack brand soldering iron set at 30W and some 60/40 Rosin-Core Solder.
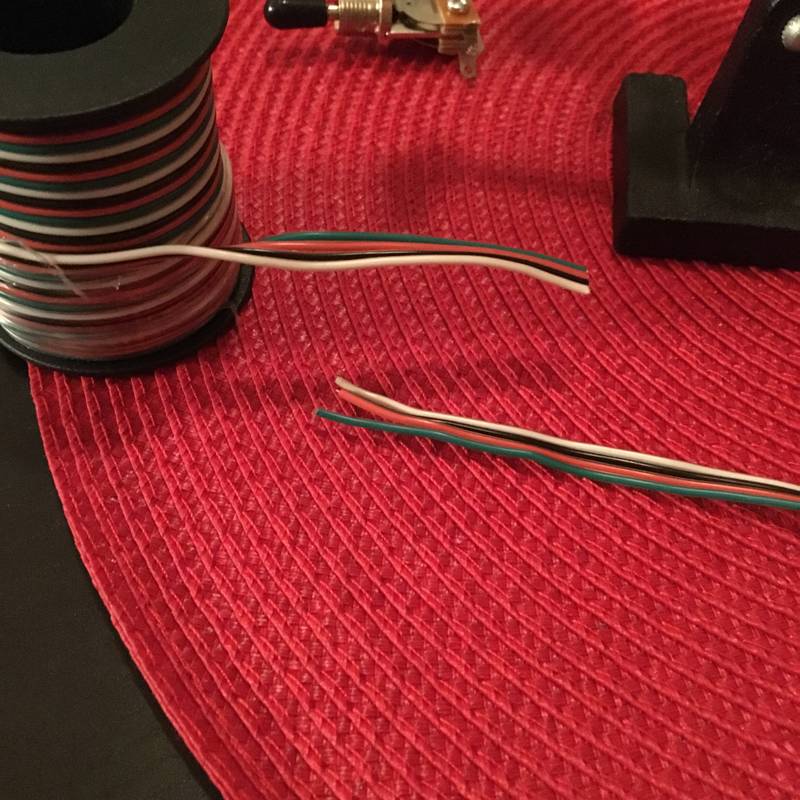
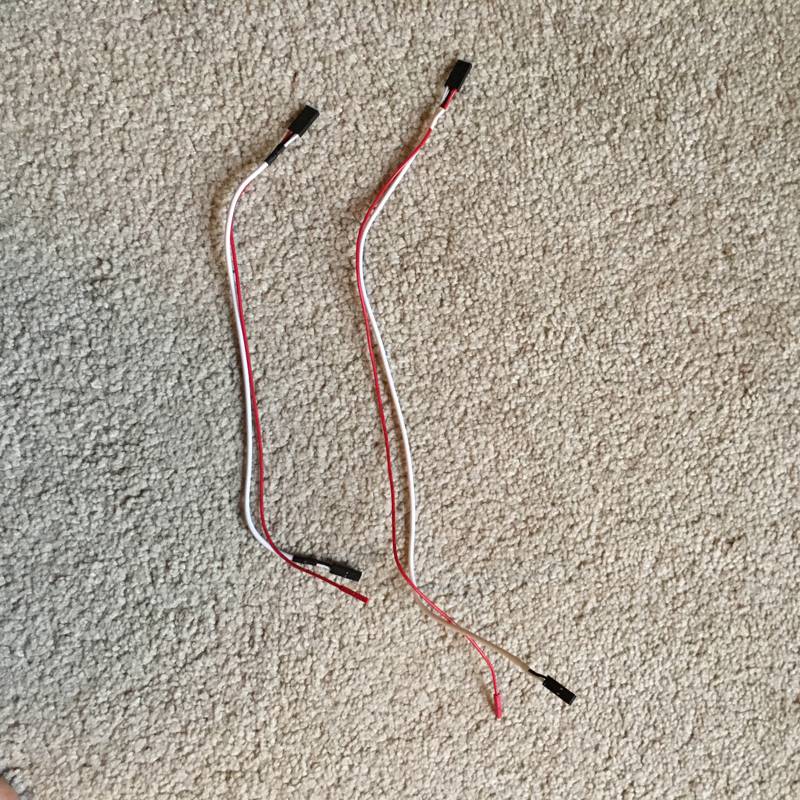
For the wiring I used 4C/24AWG and cut four pieces with some additional slack for moving parts around in the guitar.
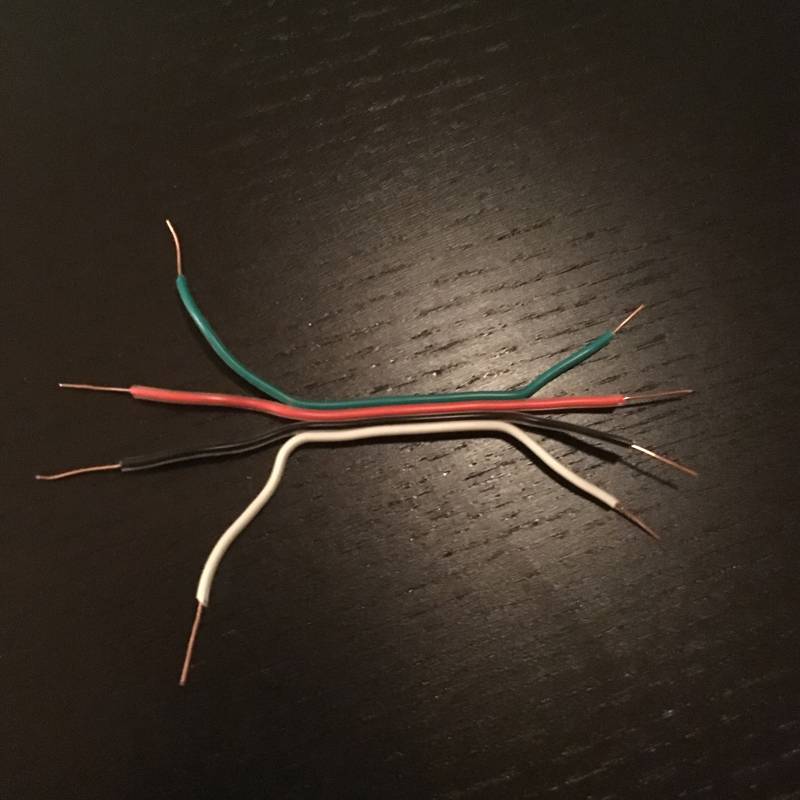
Stripped the sleeves on the end of each wire, then coated one tip of each wire with solder.
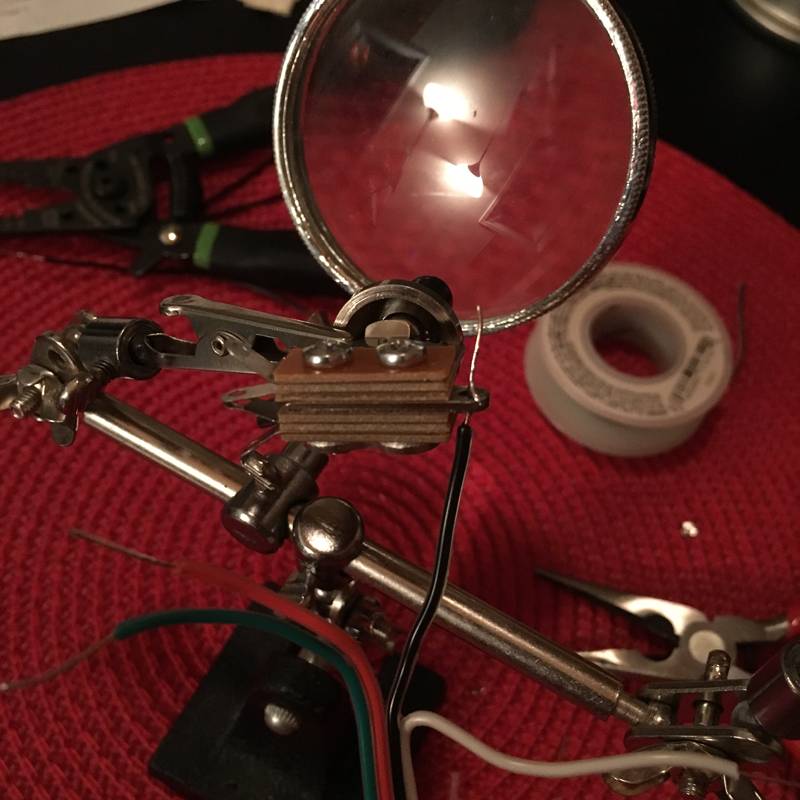
Used my 3rd hand to assist in soldering the wires starting with the ground wire.

I would snip the excess wire beyond the solder joint as I went along.
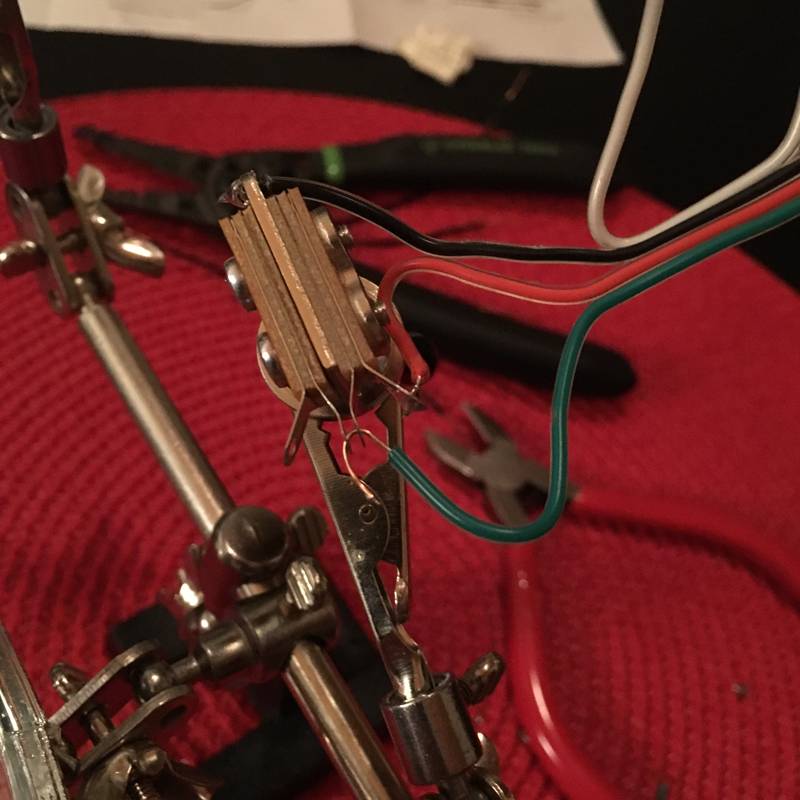
I ran the wire through both center pins and bent it in a “U” shape. Then I pressed the wire together and soldered right over the two center pins. After that I was finished with the only soldering required throughout this setup.
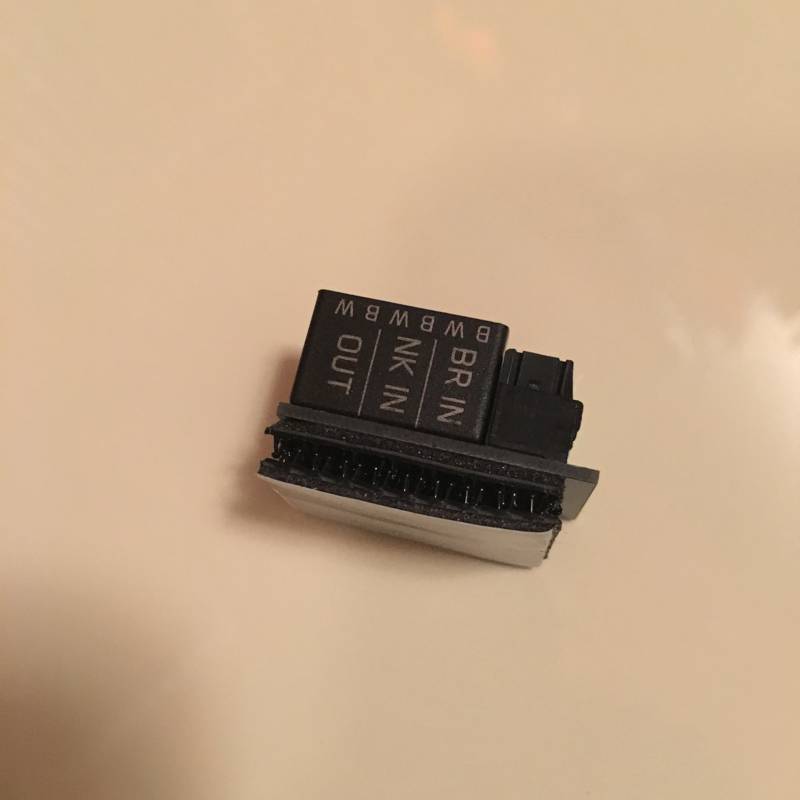
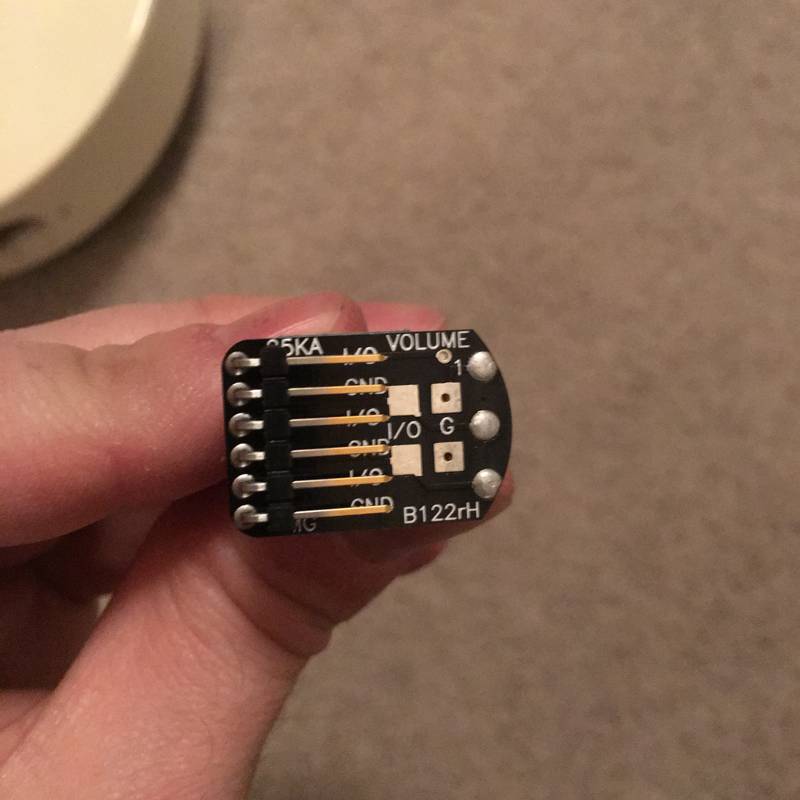
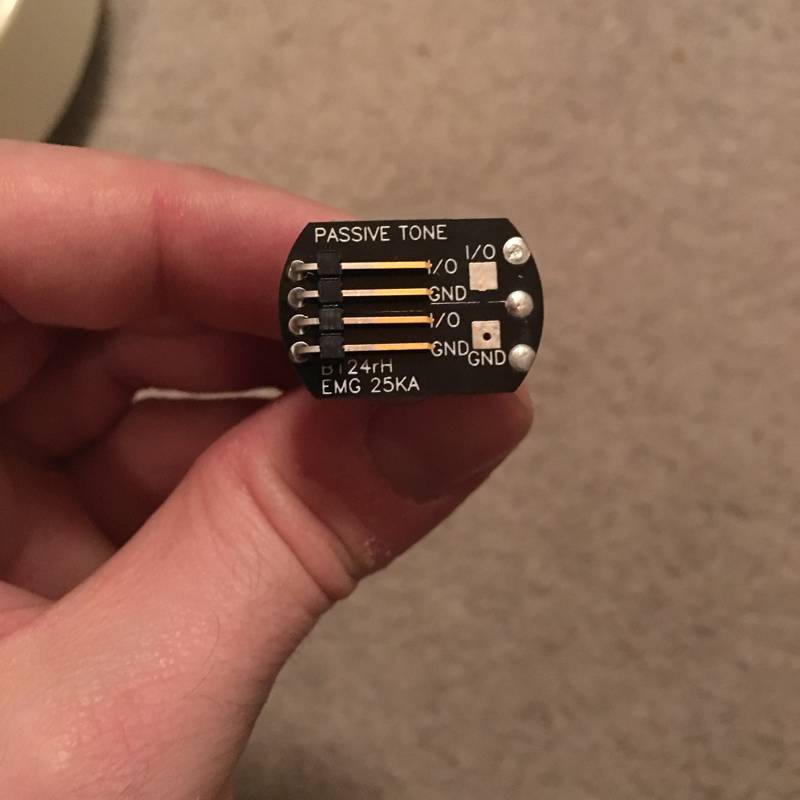
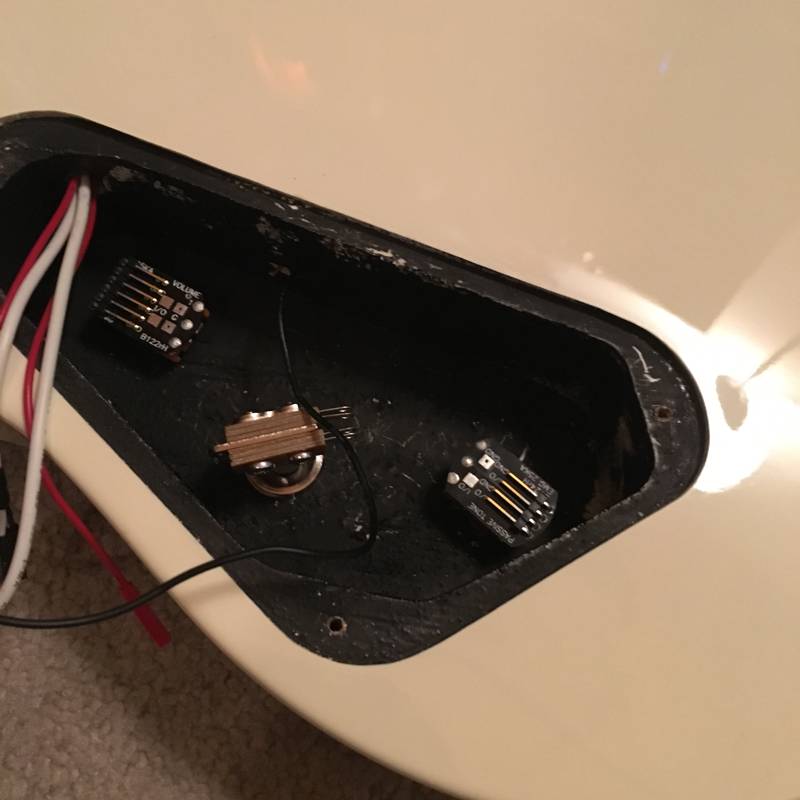
The small I/O board came with double sided Velcro adhered to the bottom, allowing you to pick a spot for mounting inside the guitar.
The screws in the terminal block made this part very straight forward.
Each cable end needed to be matched to the appropriate slot then secured by tightening the screws down onto each wire tip.
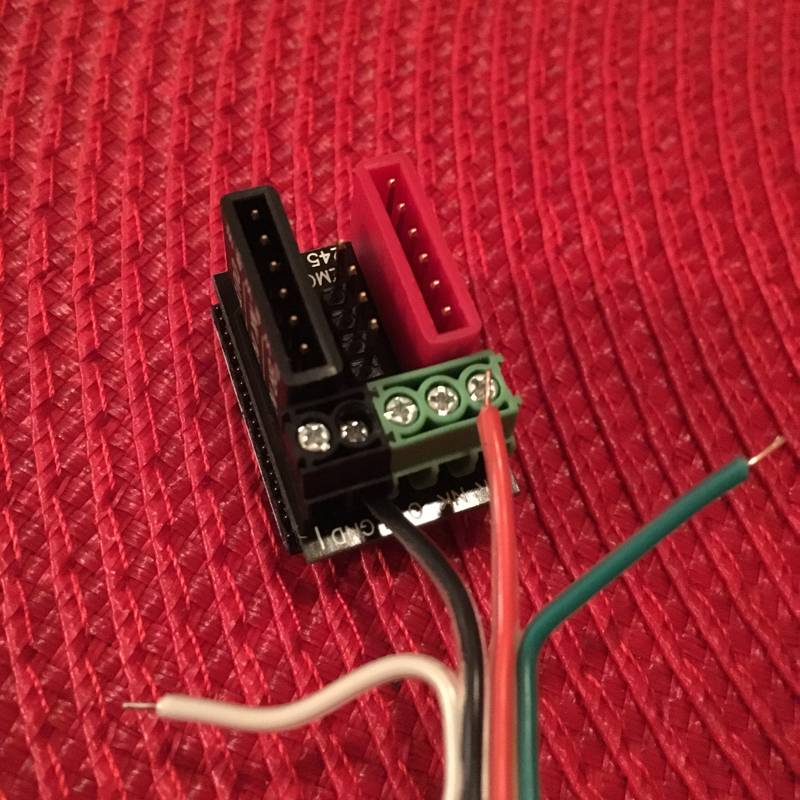
The terminals are labeled as such:
BR IN – Bridge Pickup Input
NK IN – Neck Pickup Input
OUT – Output
GND – Ground
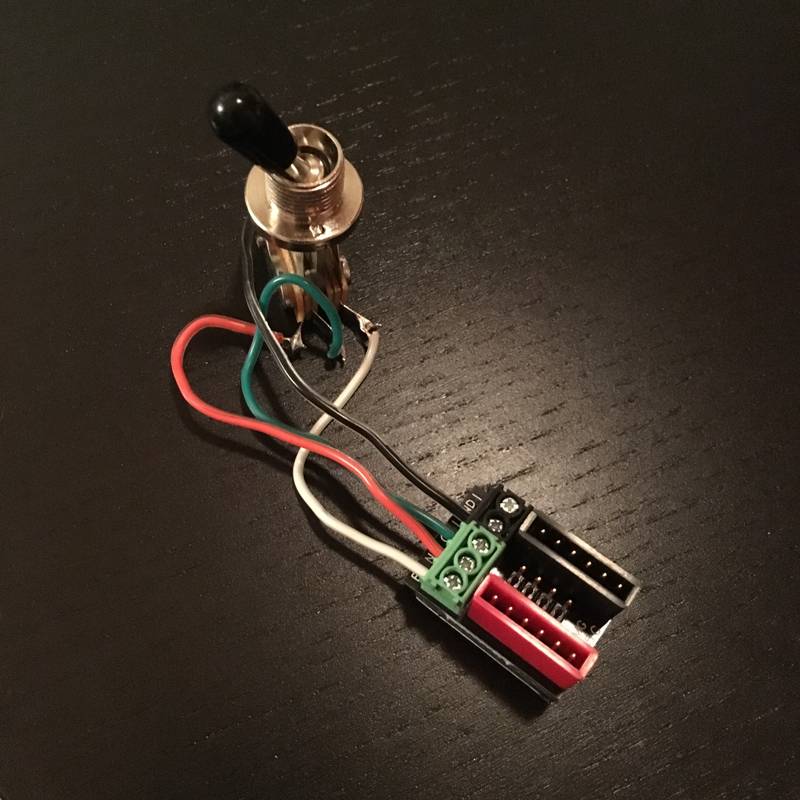
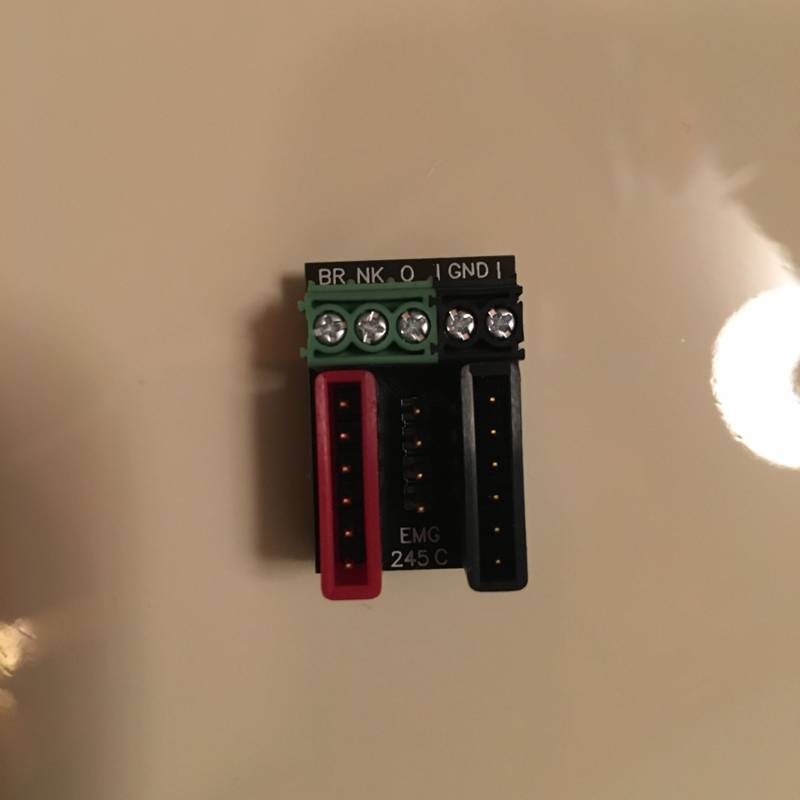
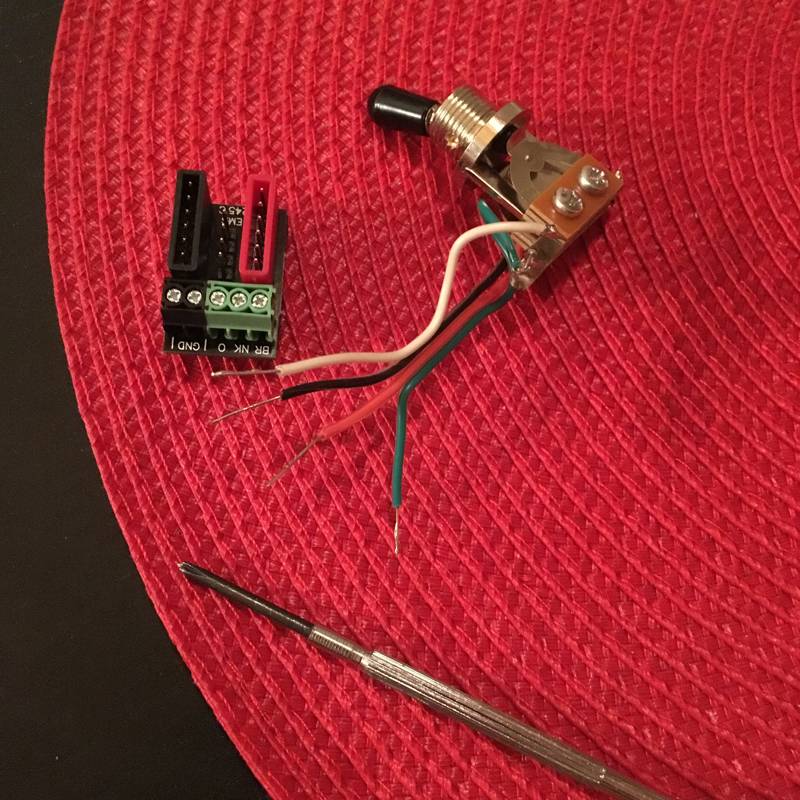
The next step was matching all the connecting wires to the correct pins.
All the red cables connect to the battery buss. The order in which they are connected doesn’t matter.
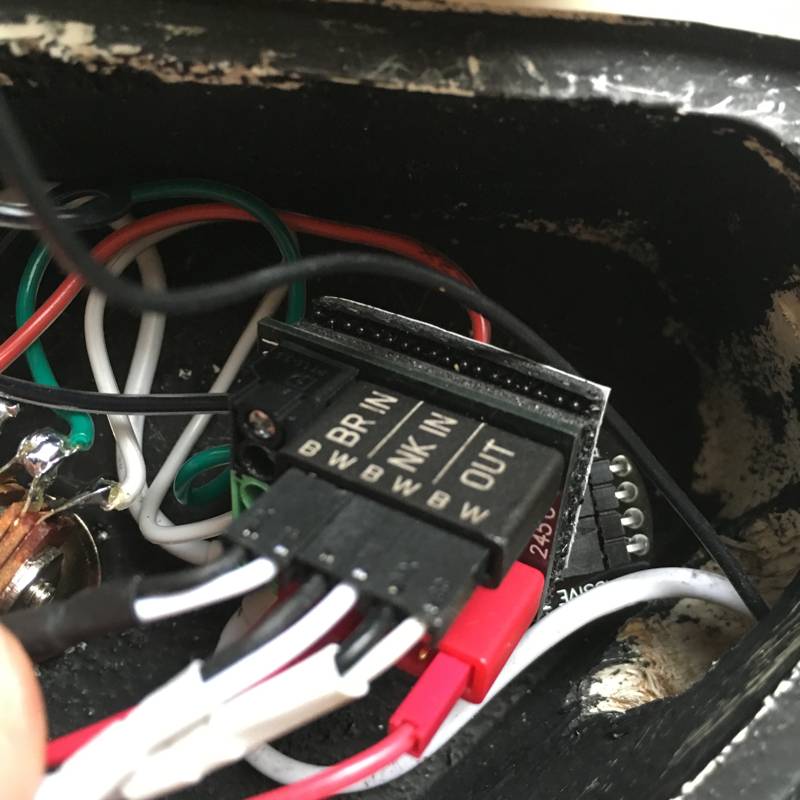
The “B” and “W” indicate which side the Black and White wires are supposed to connect.
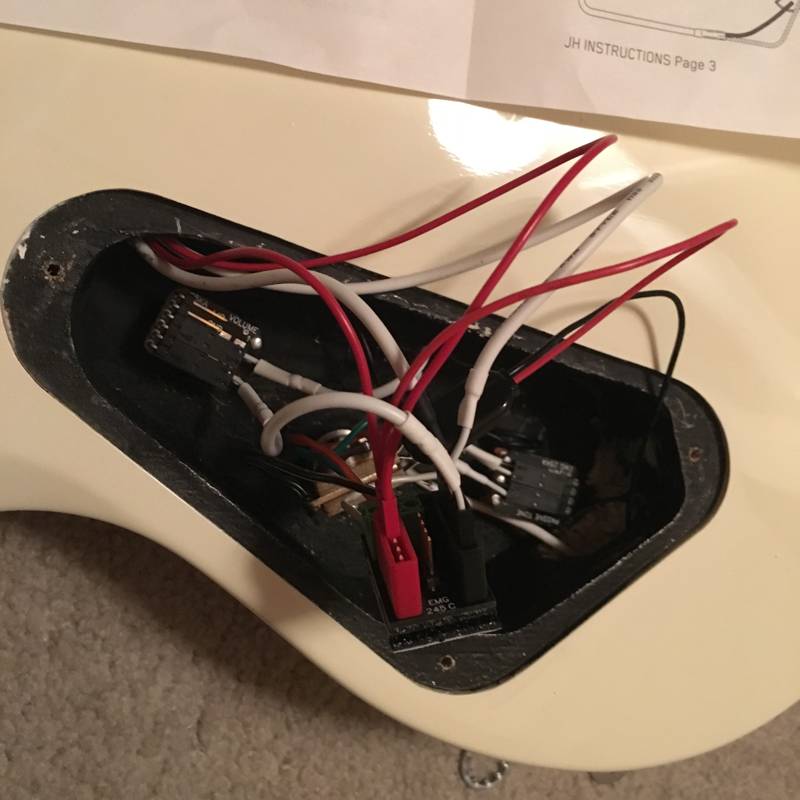
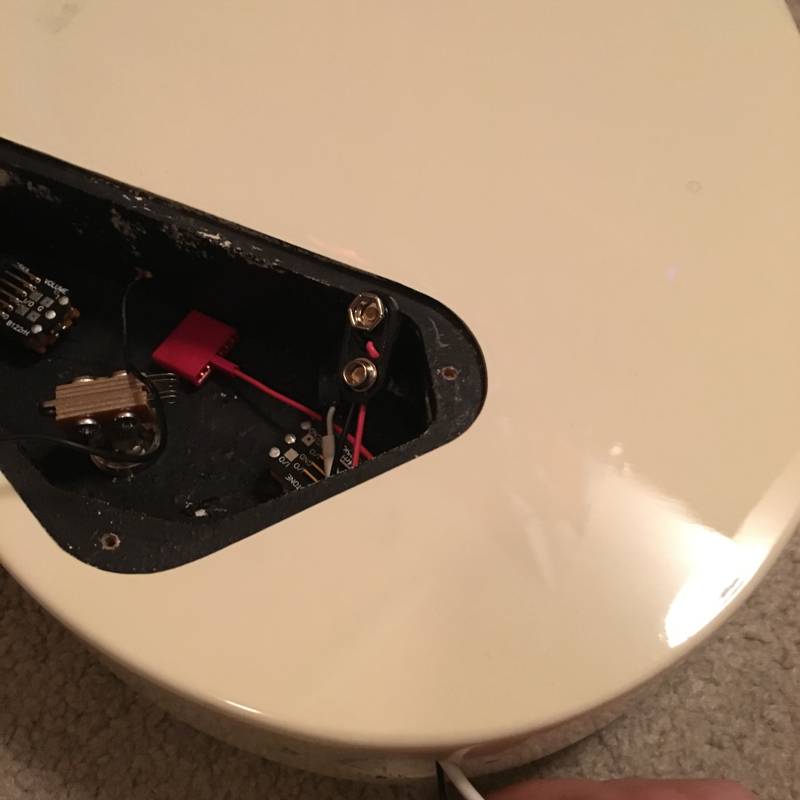
Once all the wiring was stuffed back in, it was time to connect a 9V battery to the battery clip.
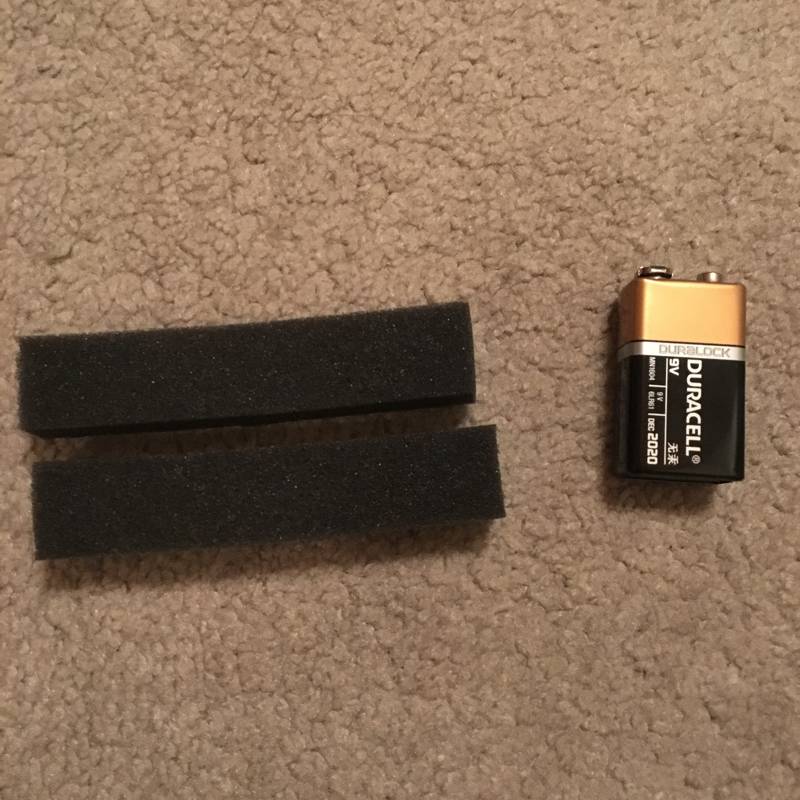
I grabbed those foam strips that were already in the control cavity when I opened up the guitar and wrapped the battery with them.
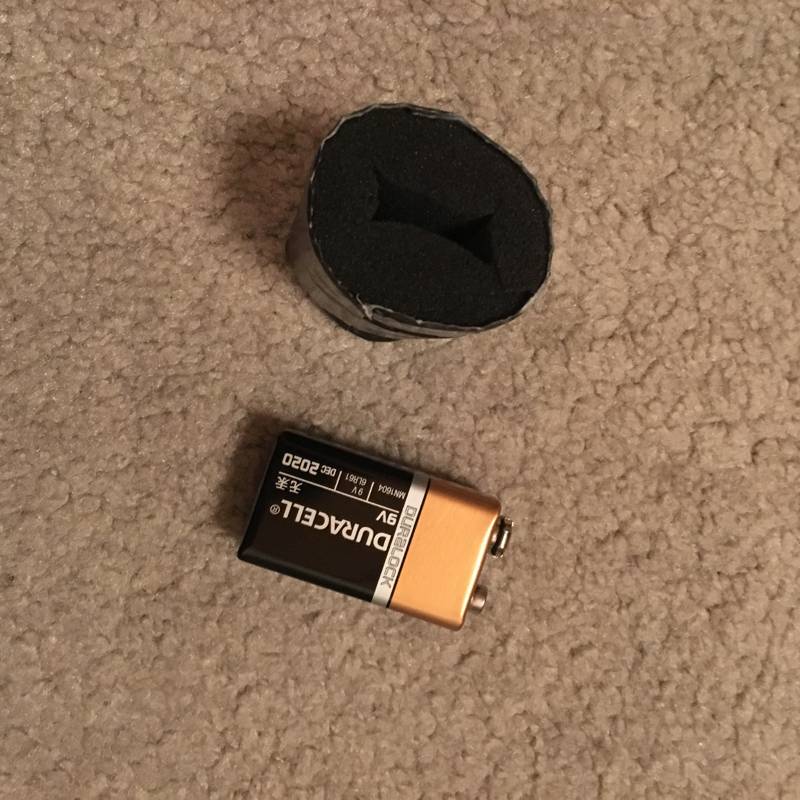
Then I wrapped the foam/battery with some duct tape.
This made for a snug fit without any concern of the metal touching anything inside.
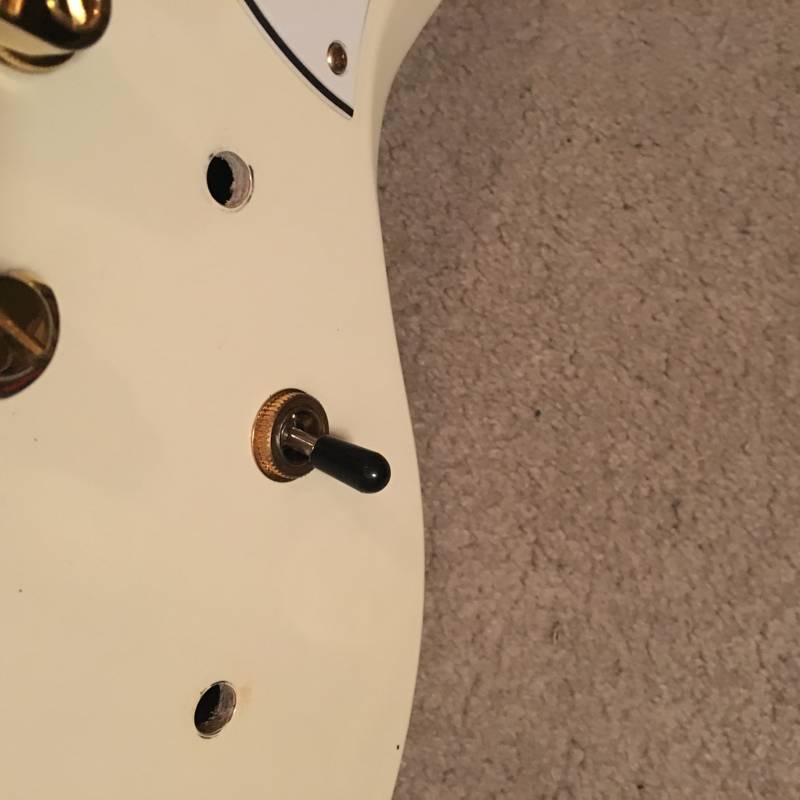
At this point I closed the back panel, rubbed the guitar down with microfiber cloth, and grabbed some guitar strings.
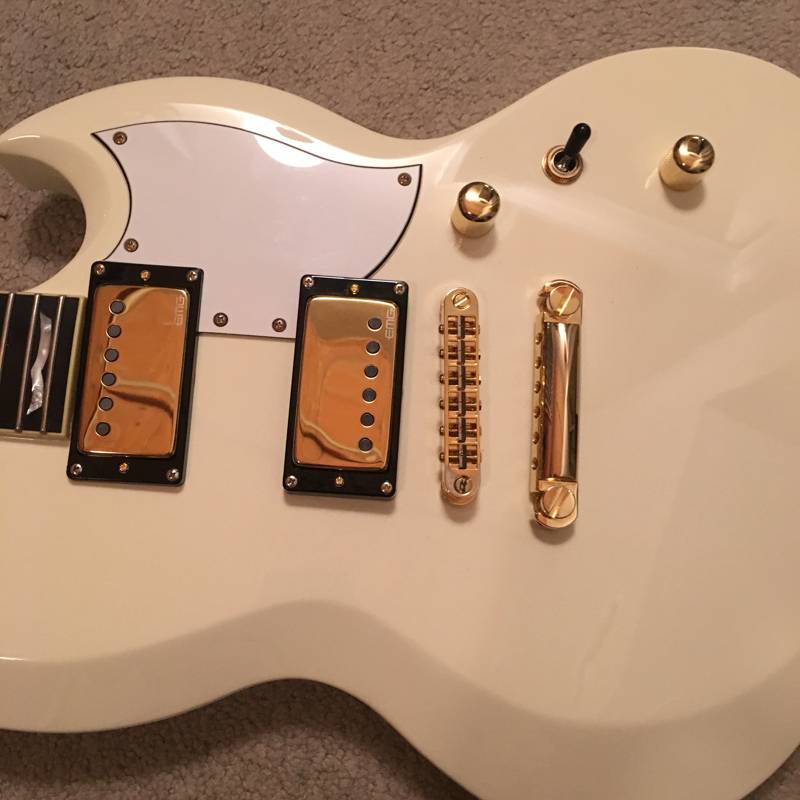

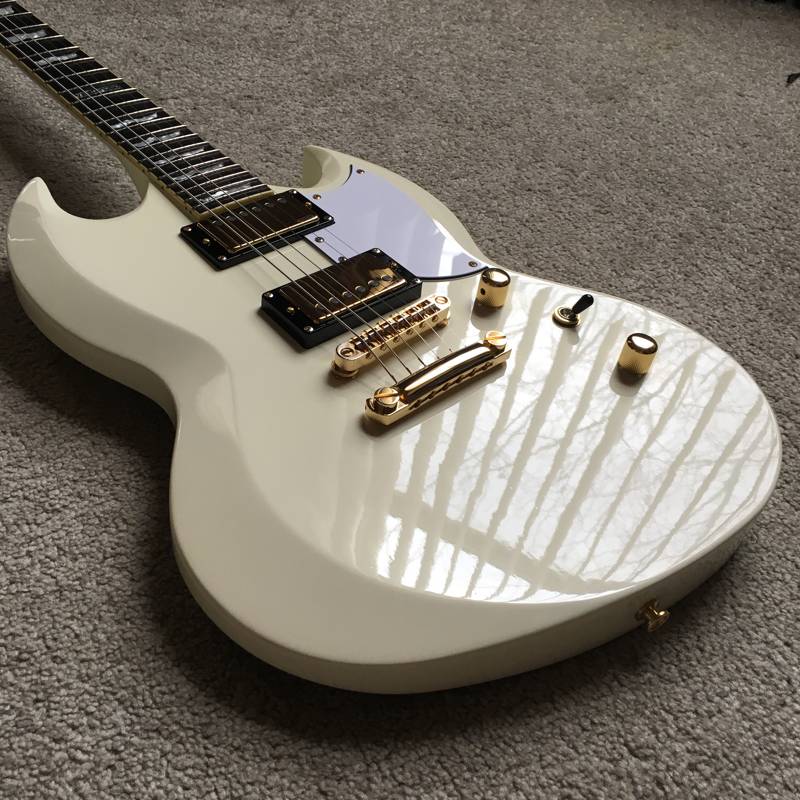


Fade to White
I am really happy with the way this guitar turned out both aesthetically and tonewise. These pickups can really create an aggressive, crunchy, metal tone but also maintain character that I think would work out for rock and other genres. The clean tone is great as well.
Overall I liked working with this “solderless” setup. The “Het Set” seems like the perfect bridge between the standard 81 active set and passive pickups.
I recommend these pickups for anybody who loves the EMG 81/85 or 60 combo but feel as though they are missing some versatility tonewise.

Hello
Wow, that was a real report. Well done!
And your guitar looks realy nice after the change.
Since I get some problems on my Gibson SG with the soldering on the poties (the wire ar so short, that the wire pull on the soldering points in the cold winter time). So, mostly I keep the guitar back open for fingering the soldering points till I get some sound.
Also, soldering is not my very quality, I`m nearly 59 yo and my eyes are not more 20.
That`s why I think about a change, and a non soldering package will be the best thing.
The difference to your guitar is the four potis and I`ve seen that the package include all four. Is there also a manual inside to plug in two volume and two sound poties?
If you still have a picture about I would be happy if you could send one to me.
Thanks in front.
Best Regards
Steven
Here’s a link to an online PDF with the diagram:
http://www.emgpickups.com/media/productfile/j/h/jh_set_0230-0210rb.pdf
Is mandatory to switch the pick up selector switch when converting from passive to active? I suck at soldering.
EMG sells a solderless quick-connect pickup selector switch. You can find them on Amazon/eBay etc.